There is no doubt about it . . . I have been a neglectful blogger! My last post was on January 29. Unfortunately, my series on objects around the house did not inspire my creativity for too long. However, I did promise that I would identify the objects I photographed. The objects I posted were the following:
January 27 – slotted spoon
January 28 – potato masher
January 29 – whisk
~~~~~~~~~~~~~~~~~~~~~~~~~~~~~~~~~~~~~~~~~~~~~~~~~~~~~~~~~
On Sunday, I had promised my daughter that I would do a photo shoot for her for a school assignment. In English, she is doing a unit on media and for a project, her teacher assigned the students to create a magazine of their choice. Courtney decided to create a fashion magazine and have her friends model for the cover, ads, and articles.
Her three friends arrived at 1:00 but we did not start shooting until almost 4:00. It seems that the preparation stage of hair, makeup and clothes takes a LONG time!
Finally, the girls were ready. We tacked up a white sheet on a wall in our family room and moved out the extra furniture to make way for the shoot. First, we turned on some current music to get the girls “in the groove” and Courtney also showed pre-recorded episodes of Canada’s Top Model for posing suggestions. Courtney acted as the director for the shoot, with the other girls not currently being photographed offering suggestions. Courtney also chose the hairstyles, makeup, and wardrobe for the shoot.
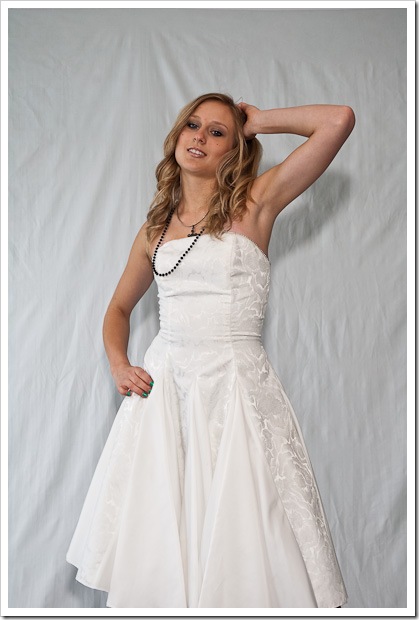
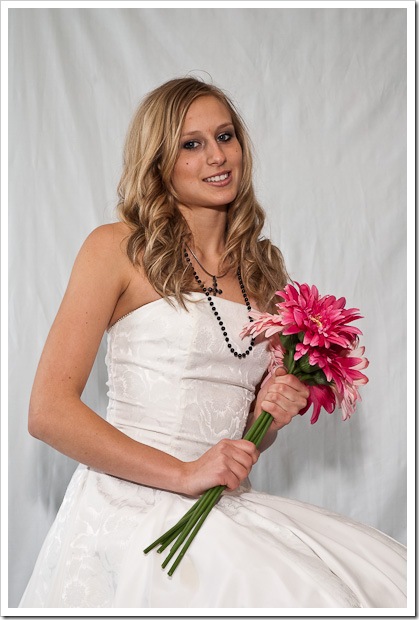
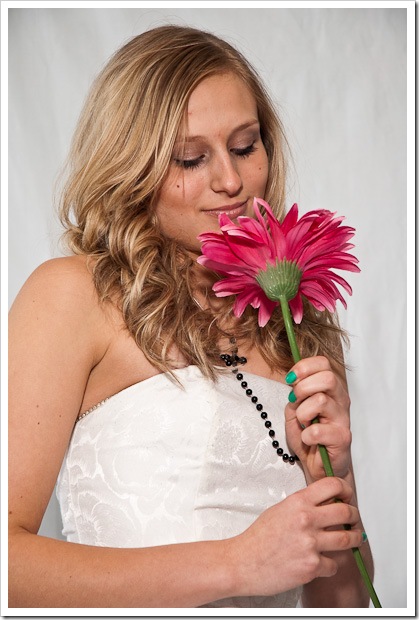
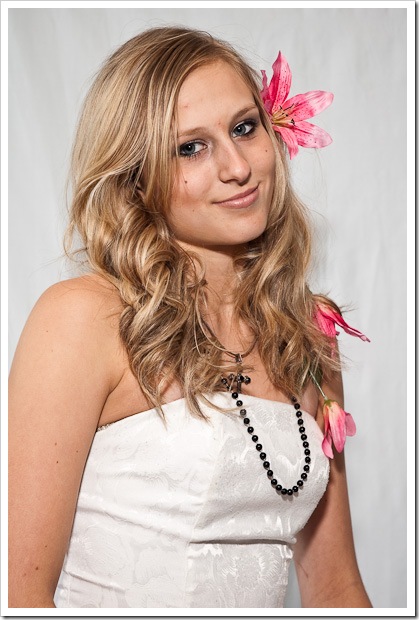
Brenna was first to model, wearing a white dress. At first I thought that a white dress on a white background might make everything a little washed out but instead it looked great! (Hit side of head – of course, high key photos!) For the shoot, we had window light on the left and I used my SB-800 Nikon Flash equipped with a Gary Fong Lightsphere accessory to provide better shadow effects. To get the flash in the right place, I mounted my flash on a flash bracket. No other lighting was used. My camera was set to ISO 400 with an aperture of 5.6 and of course, all shots were RAW. I used my 18-70mm Nikon lens for the beginning shots. This allowed me to get almost full-length and “from the waist up” shots. For the close up face shots, I switched to my Nikon 50mm lens. I purposely did not use a tripod to allow me to move around easily during the shoot. All processing was done in Lightroom 2.
Of course, not being a professional photographer, some things had to go awry! I shot about 150 total shots for the entire shoot but only noticed after the first 30 or so that my camera lens had been set to manual focus (from a previous picture taking session) so all the first shots were blurry! After selecting Auto Focus, my next shots became clear and focused!
Brenna was naturally photogenic and the girls gave her excellent suggestions for posing so that I was able to capture some lovely shots of her in her white dress.
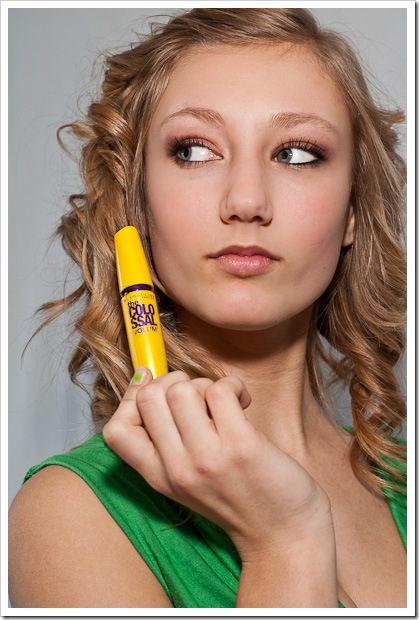
Next to model was Cody. This girl not only looked great but knew how to pose. She must have learned a lot from her cousin who I found out is a model. Cody was modelling for an ad for mascara.

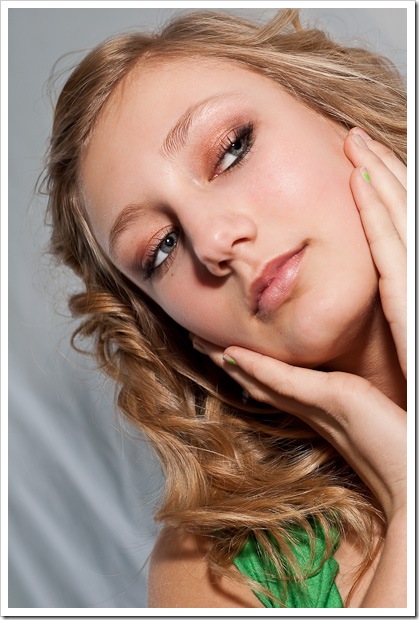
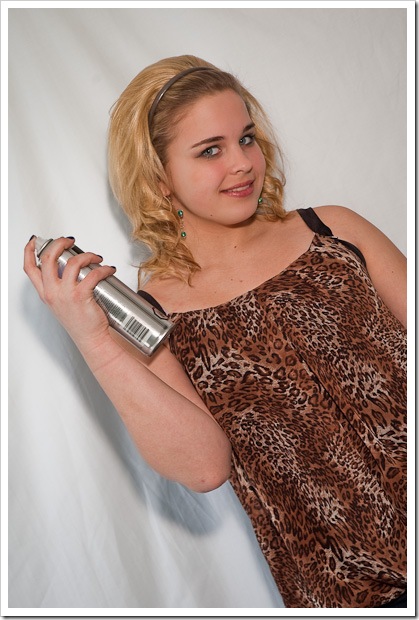
Caitlin did the modelling for an ad for hairspray. This girl had a natural sparkle and a hint of mischief in her eye!
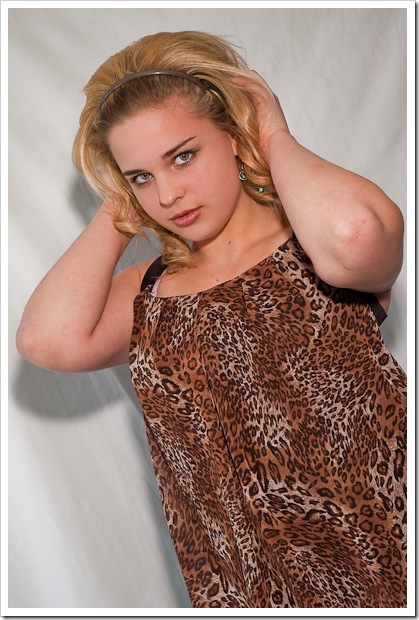
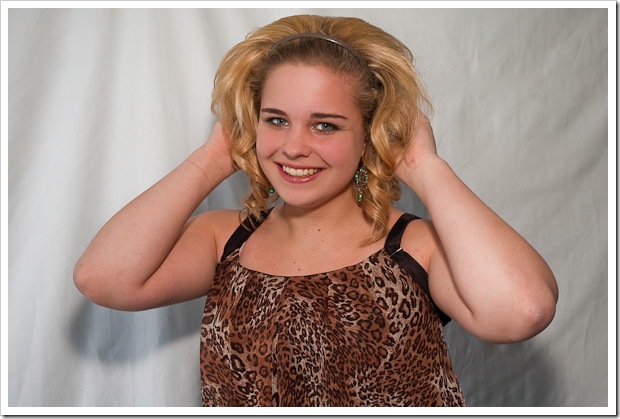
Brenna made a wardrobe change before the next shots, which even included a Marilyn Monroe style shot executed by using a fan placed below her and held in place by Courtney.
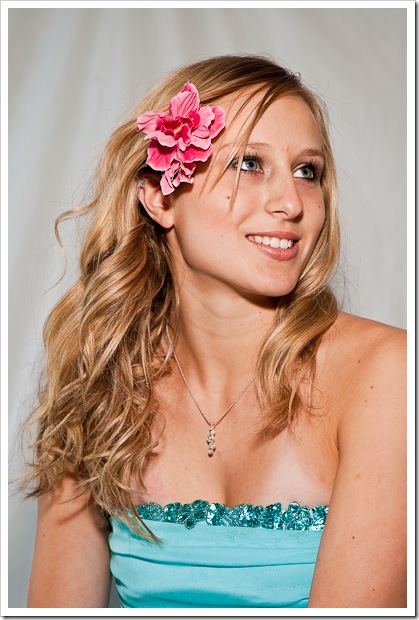
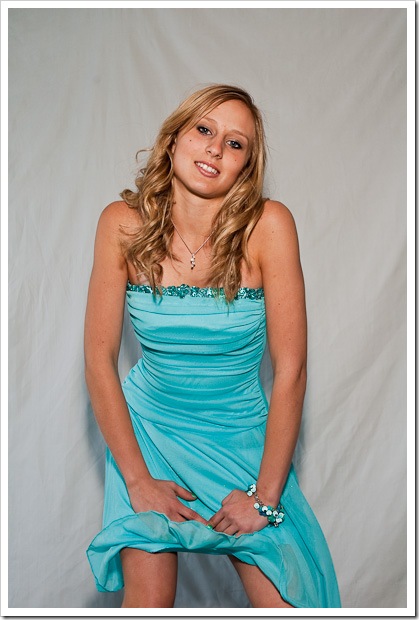
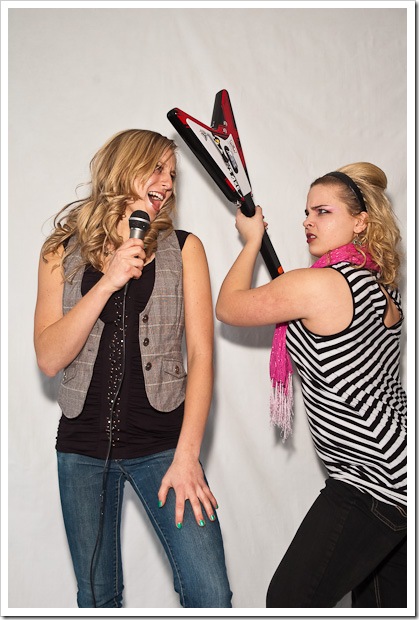
The last shots were of Caitlin and Brenna together, posing as rock stars. Of course, this required a wardrobe change, new props, and heavier, glitzier makeup. This was fun to shoot and the girls had a hoot posing for the shots! The last shot was a typical, Van Halen type “jump.” I even managed to get the jump in only one take!

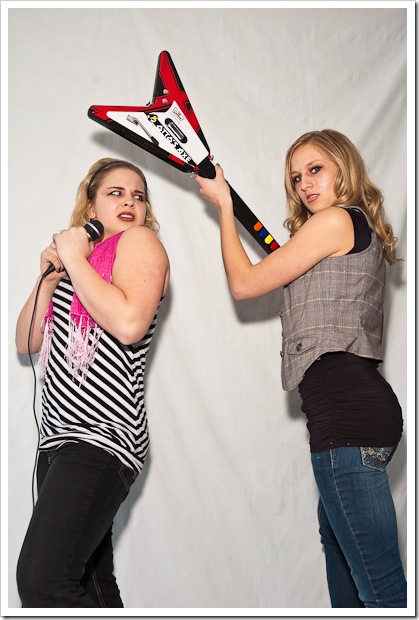
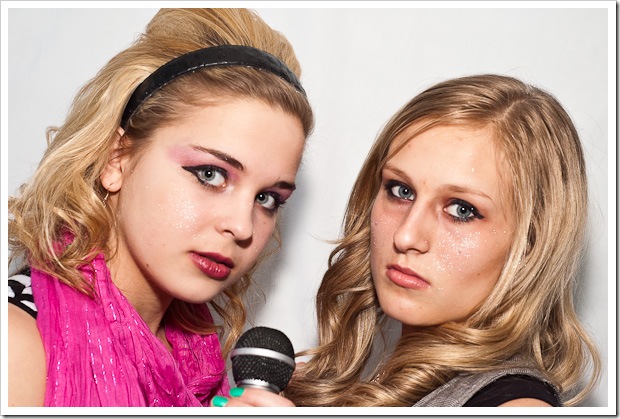
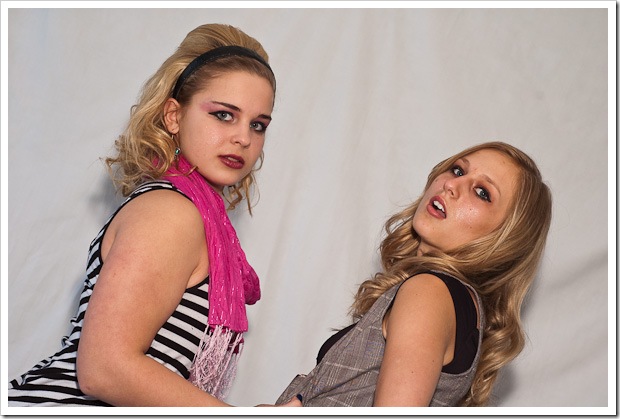
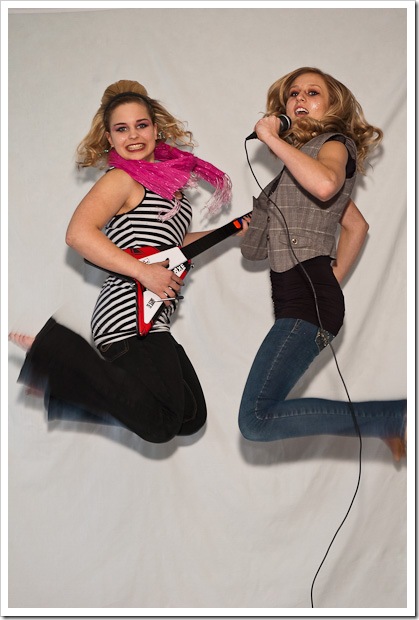
With me preparing a roast chicken for our dinner during wardrobe changes, we finally finished the shoot about 6:30. It was definitely fun for all! My only regret is that I did not snap any photos of Courtney applying makeup and styling the girls’ hair. I guess we might have to do another shoot in the future!
Here’s my image for today, following along in my series of photos of things from around my house.
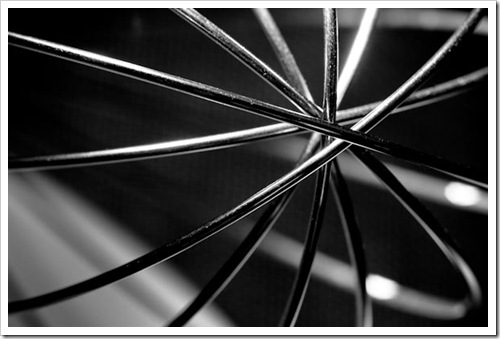
This photo was taken as three images, bracketed 2 stops apart and processed as an HDR image in PhotoMatix Pro. I used my Sigma Macro 105mm lens, mounted on my tripod, f8, shutter somewhere between 1/15 and 1/250 seconds. After processing in PhotoMatix, it was brought back into Lightroom and converted to monochrome.
I dislike the two hotspots on this image but could not fix them to my liking so left them as they were. I need to learn more about proper lighting technique to diminish these in future shots.
What’s your guess as to what this is? Leave me a comment below! At the end of a week’s worth of images, I will reveal the identity of each item.
Here’s my image for today, following along in my series of photos of things from around my house.

Like my previous photo, this image was supposed to be taken as three images but my card filled up on the second of the three so that is where I stopped! The shots were bracketed 2 stops apart and processed as an HDR image in PhotoMatix Pro. I used my Sigma Macro 105mm lens, mounted on my tripod, f8, shutter somewhere between 1/30 and 1/3 seconds. After processing in PhotoMatix, it was brought back into Lightroom for further processing where I added a preset called Cross Process – Alan’s Custom from a set of presets downloaded from Inside Lightroom. They have some really nice presets and they are FREE so go get some for yourself!
What’s your guess as to what this is? Leave me a comment below! At the end of a week’s worth of images, I will reveal the identity of each item.
I have decided to take a theme approach to my picture taking for the next little while. I will be photographing things around the house. You’re thinking, “BORING!” My job, then, is to be as creative as possible in my picture taking so that I can make everyday objects look interesting! I am hoping that I can excel at this challenge, and who knows, my kitchen sink may just show up in one of my images!
Here is one for today:
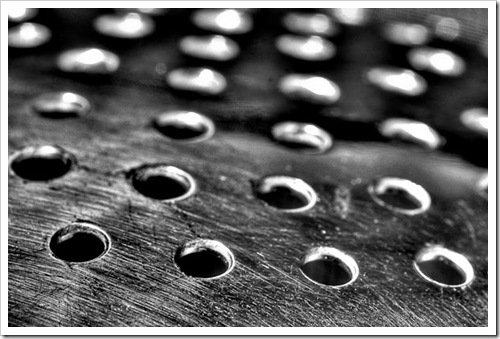
This photo was taken as three images, bracketed 2 stops apart and processed as an HDR image in PhotoMatix Pro. I used my Sigma Macro 105mm lens, mounted on my tripod, f8, shutter somewhere between 1/45 and 1/3 seconds. After processing in PhotoMatix, it was brought back into Lightroom and converted to monochrome.
What’s your guess as to what this is? Leave me a comment below! At the end of a week’s worth of images, I will reveal the identity of each item.
Have you ever wanted to replace a sky in a photo? You may have taken the perfect photo but the sky just wasn’t overly dramatic and you wanted to make the overall photo look better. I have done this before, using a very painstaking method of selecting the sky and doing a lot of masking and feathering, etc.
Until TODAY!
Today I came across a brilliant tutorial for replacing the sky in a photo using the Blend If parameters on the layer styles dialog in Photoshop. Unfortunately, this will not work in Photoshop Elements because Blend If does not exist.
Now I have known about Blend If for some time but have never really used it until seeing this tutorial by Helen Bradley.
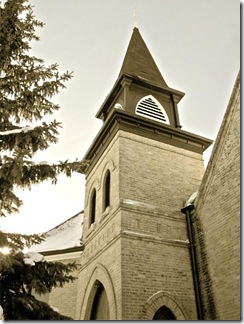
I was quickly able to blend these two images:

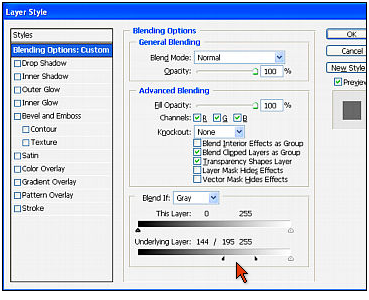
I used these settings:
This is what the image looked like before I added a layer mask:
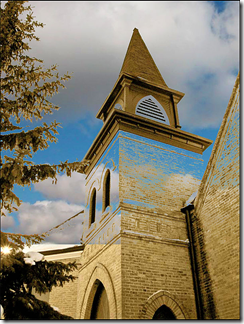
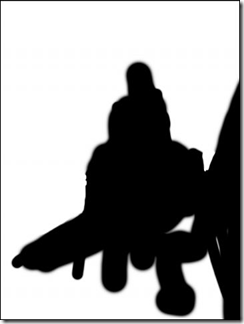
This is what my masking looked like (to cover up areas that were revealed while using Blend If):
This is my final result:

It should be noted that in the tutorial by Helen, she suggests using the burn tool to get rid of any halos around tree branches, etc. I did not do this but found I was able to remove the haloing by increasing the split of the black slider.
Including masking, the entire process took me less than 5 minutes to complete! I am sure you will agree that this will be an invaluable technique to add to your Photoshop arsenal!
I thought it might be interesting to find out a little more about using Blend If so I dug up these tutorials for you:
Advanced Layers Blending: The Blend If Parameters This tutorial by Panos shows how using Blend If can help with montaging a moon image into a scene.
Photoshop Advanced Blending – Blend If Steve Patterson details how to use Blend If to blend writing onto a brick wall to make it look like graffiti written on a wall.
Misunderstood Photoshop: Blend If This is another tutorial by Helen Bradley that not only details replacing a sky but how to knock the background from an image. The latter technique would be excellent for knocking out the background after scanning an object. In her example, Helen uses lace. Clicking on the second part of the tutorial will help to explain what it is that the sliders are doing.
I hope that you will enjoy exploring these tutorials! Drop me a comment below if you get the chance to try them.