|
|

Walmart Family Meal Deals Under $10 and more...
Walmart Family Meal Deals Under $10
Trying to get dinner on the table without spending a fortune? Walmart has some great Family Meal Deals that can help you feed a family of four for around $10 while keeping your grocery budget in check. Whether you’re juggling sports practices, work, or just don’t feel like cooking from scratch, these ready to heat, easy meal bundles can be a lifesaver. They’re faster than waiting for takeout, cheaper than grabbing fast food, and perfect for those busy nights when you just need dinner on the table. If you’re a Walmart+ member, you can schedule delivery for right around dinnertime so everything arrives just when you need it.  What Are Walmart Family Meal Deals?Walmart offers a variety of meal bundles designed to make dinner simple. Depending on your local store, you’ll find options that include fully cooked meals, rotisserie chicken dinners, frozen family meals, and meal kits that only require a little prep. Availability varies by location. One popular option is the Walmart Rotisserie Chicken Meal Bundle, which includes:
At around $9.97, it’s an inexpensive way to feed your family on a busy night. Two Rotisserie Chicken Meal Deals to choose from: We personally love the lemon pepper rotisserie chicken from Walmart and tend to pick one up almost every single time we are there.  Why I Love Walmart Dinner BundlesI’m always looking for ways to save money without making life more complicated. Not every night has to be a homemade masterpiece. Sometimes the biggest win is simply getting everyone around the table for dinner without blowing the budget, ordering expensive takeout, or waiting in the drive-thru. These cheap Walmart dinners are especially helpful when:
An Even Easier Option with Walmart+One thing I especially love is that if you have Walmart+, you can place your order earlier in the day and schedule it to arrive just before dinner. That means no extra stop at the store after work or practice, and dinner is practically waiting for you when you get home. For busy families, that convenience can be worth every penny. More Ways to Save at WalmartIf you’re shopping anyway, don’t forget to look for additional Rollback prices, digital offers, and store brand items to stretch your grocery budget even further. You can also browse Walmart’s Value Meals, which feature simple recipes built around affordable ingredients to help families prepare meals for around $6, $12, or $16. With food prices continuing to rise, finding easy ways to save on dinner can make a real difference. Walmart’s Family Meal Deals are definitely worth checking out if you need a quick, affordable meal that everyone will actually eat. Is Walmart rotisserie chicken a good value? If you’re looking for an affordable, quick dinner, Walmart’s rotisserie chicken is one of the best values in the deli. Pairing it with prepared sides like mashed potatoes and macaroni and cheese makes it easy to serve a complete family meal for around $10, saving both time and money compared to many takeout options. Are Walmart Family Meal Deals fully cooked? Many of them are. The Rotisserie Chicken Meal Deal includes a fully cooked chicken along with prepared side dishes that simply need to be heated before serving. Can I order Family Meal Deals for pickup? Yes. If your local Walmart offers grocery pickup, you can often add Family Meal Deals to your pickup order and choose a time that’s convenient for your schedule. Do Walmart Family Meal Deals change? Yes. Walmart occasionally introduces new meal bundles and seasonal options, so what’s available may change throughout the year. It’s always worth checking your local store to see the current selection. Are Walmart Family Meal Deals cheaper than fast food? In many cases, yes. A Family Meal Deal can cost about the same—or even less—than buying individual meals at a fast-food restaurant. Plus, you’re getting a complete meal with sides that can feed multiple people. Are Walmart Family Meal Deals available at every store? Not always. Meal bundles can vary by location, and some Walmart stores may offer additional options depending on what’s available that day. Check Out Walmart Family Meal DealsIf you’re looking for an easy dinner idea this week, take a look at the current Walmart Family Meal Deals and see what’s available at your local store. • View comments • Track comments •
Grab Your FREE Walgreens 8×10 Photo Print
You can get a FREE 8×10 Photo Print from Walgreens.  This is a great time to get one of those family pics printed. Pic up an inexpensive frame from the Dollar Store and you have a very thoughtful gift!  Use the coupon code BONFIRE to get one FREE 8×10 photo print. Choose to pick up your free photo print in your nearest Walgreens store to also get free shipping.  Free Walgreens Photo CouponWalgreens App Instructions:
Get yours here today!  If for some reason this doesn’t work for you, try using a desktop computer instead of the mobile app to get it to work. • View comments • Track comments •
How to Get Free Photo Prints
If your camera roll is packed with family memories, now is a great time to get some of those photos printed! I always mean to print more of my favorite pictures, but they usually end up living on my phone. Deals like this are the perfect reminder to turn those digital memories into photo albums, scrapbook pages, framed prints, or memory boxes.  Walgreens is offering 2 FREE 5×7 photo prints right now! Just add 2 prints to your cart and enter the coupon code ITS2FREE at checkout! Choose free in store pickup to avoid shipping costs. Whether you’re printing vacation photos, snapshots of the grandkids, or special family moments, this is an easy way to preserve those memories without spending a fortune. Be sure to grab this deal soon, as Walgreens photo promotions are only available for a limited time. • View comments • Track comments •
Homemade Lemonade Recipe
There is just something about a tall glass of homemade lemonade on a warm day. Whether you’re sitting on the porch, hosting a backyard barbecue, or looking for a refreshing drink to cool off after spending time outside, this easy lemonade recipe is always a favorite. The best part? You only need a handful of simple ingredients to make fresh, delicious lemonade that tastes so much better than anything you’ll buy at the store. Once you learn how easy it is to make homemade lemonade from scratch, you’ll probably never go back to the powdered mixes again.  Why You’ll Love This Homemade Lemonade RecipeI’ve made this recipe more times than I can count during the summer months over the last 30 years of living my adult life. It’s very inexpensive and one of those recipes that’s simple enough for the kids to help make, but delicious enough to serve when friends and family come over. I also love that it’s easy to customize. Some days we like it extra tart, while other times we add a little more sweetness. You can even toss in fresh berries, mint, or sliced fruit to make it feel a little more special. If you’re looking for the perfect refreshing summer drink, this recipe is one you’ll come back to again and again.  Ingredients
 How to Make Homemade LemonadeFull directions on how to make this simple Homemade Lemonade recipe are in the printable recipe card below. This is a quick walk through on how it is made. Step 1: Make the Simple SyrupCombine the sugar and 1 cup of water in a small saucepan. Bring to a gentle boil, stirring until the sugar has completely dissolved. Remove from the heat and allow the syrup to cool.   Step 2: Juice the LemonsWhile the syrup is cooling, squeeze enough lemons to make 1 cup of fresh lemon juice. Strain out the seeds and excess pulp if you prefer a smoother lemonade. 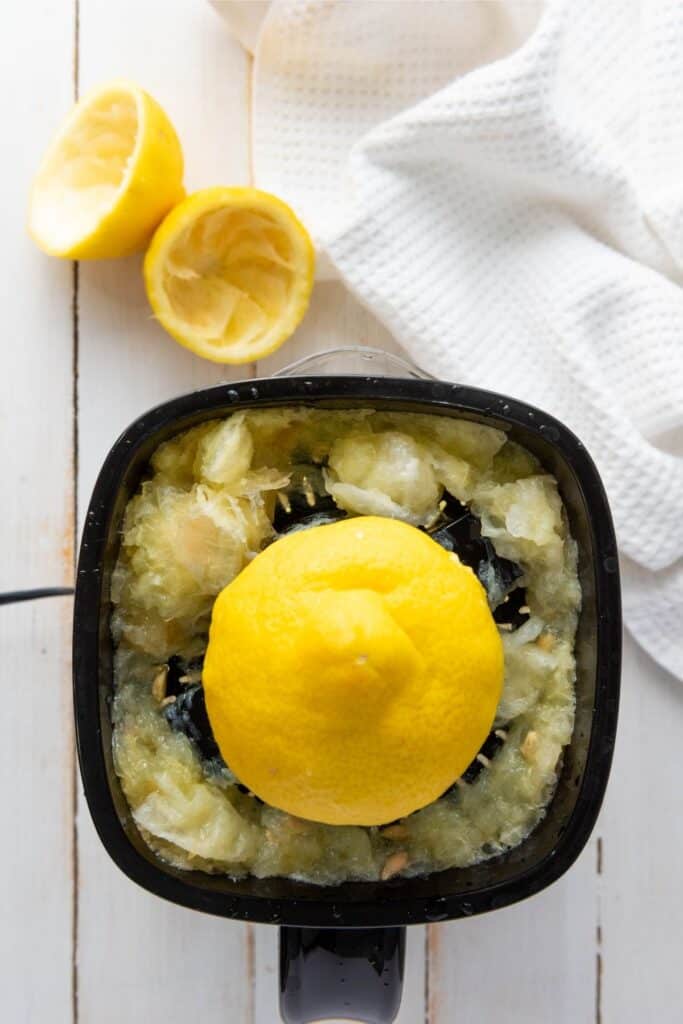 Step 3: Mix Everything TogetherPour the cooled simple syrup, fresh lemon juice, and 4 cups of cold water into a large pitcher. Stir until well combined. 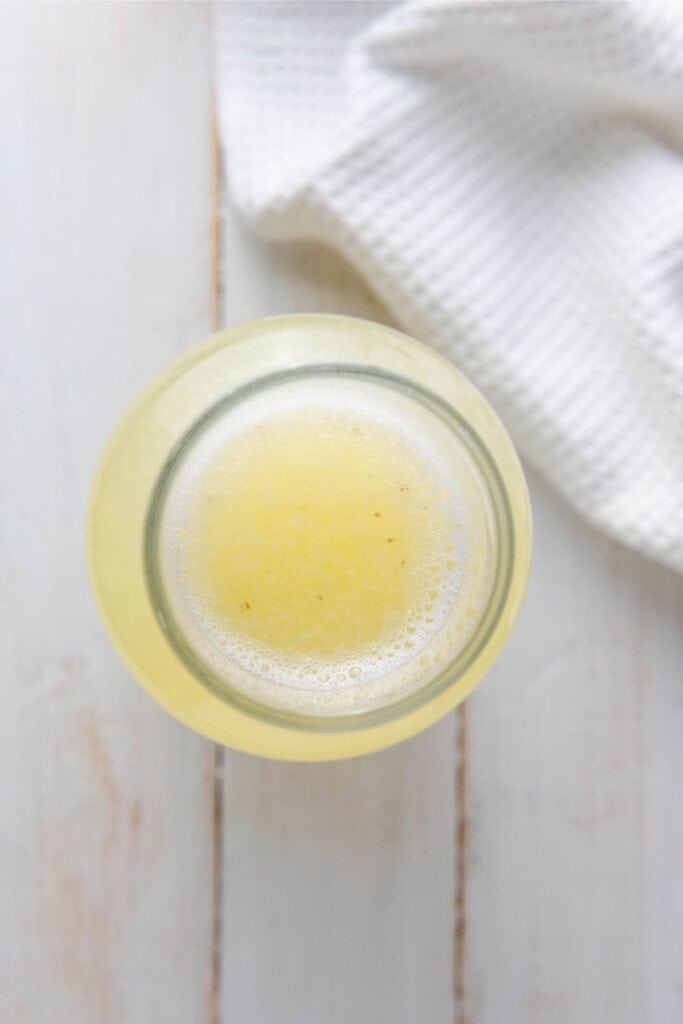 Step 4: Taste and AdjustEveryone likes lemonade a little differently. Taste it and add a little more water if it’s too strong, more lemon juice if you’d like it tarter, or a little extra sugar if you’d like it sweeter. Step 5: Chill and ServeServe over plenty of ice and garnish with fresh lemon slices or mint if desired.   Homemade Lemonade RecipeServings 6
Calories 137kcal
Ingredients
Optional Add-ins:
Instructions
NutritionCalories: 137kcal | Carbohydrates: 36g | Protein: 0.1g | Fat: 0.2g | Saturated Fat: 0.02g | Polyunsaturated Fat: 0.01g | Monounsaturated Fat: 0.002g | Sodium: 11mg | Potassium: 43mg | Fiber: 0.1g | Sugar: 34g | Vitamin A: 2IU | Vitamin C: 16mg | Calcium: 9mg | Iron: 0.1mg Helpful Tips & Variations
StorageStore leftover homemade lemonade in a covered pitcher or airtight container in the refrigerator for up to 5 days. For the freshest flavor, wait to add ice until you’re ready to serve. This keeps the lemonade from becoming watered down. You can also freeze lemonade in freezer-safe containers or ice cube trays. Frozen lemonade cubes are perfect for adding to future glasses without diluting the flavor. FAQsCan I use bottled lemon juice?Fresh lemon juice gives the best flavor, but bottled lemon juice can work if that’s what you have on hand. How many lemons do I need?Most lemons produce about 2 to 3 tablespoons of juice, so you’ll usually need 4 to 6 lemons for this recipe. Can I make this ahead of time?Absolutely. Homemade lemonade actually tastes even better after it has chilled for a few hours. Can I reduce the sugar?Yes. Start with a little less sugar if you prefer a tarter lemonade. You can always stir in a little more after tasting. Can I double the recipe?Definitely. This recipe doubles easily, making it perfect for cookouts, birthday parties, family reunions, and summer gatherings. More Refreshing Summer RecipesLooking for more easy recipes to enjoy this summer? Here are a few favorites:
 Now That You’ve Made This RecipeOne of my favorite things about homemade lemonade is that no two pitchers have to be exactly alike. Once you’ve mastered the basic recipe, have fun experimenting with different fruits, herbs, and flavors to make it your own. If you try this recipe, I’d love to hear how you served it. Did you stick with the classic version, or did you add your own special twist? Leave a comment below and let me know! • View comments • Track comments •
JCPenney Buy One Get Two FREE Women’s Sandals Sale
If you’ve been needing a few new pairs of sandals for summer, this is one of the best sandals deals I’ve seen in a while! JCPenney is running a big Buy One, Get Two Free Sandals Sale right now! That means you can walk away with three pairs of sandals for the price of one.  How the JCPenney Sandal Sale WorksThere are over 100 styles to choose from! No coupon code is needed. Just add three pairs to your cart and you’ll see the discount at checkout. Whether you’re looking for everyday flip flops, comfortable walking sandals, dressier styles, or something to wear on vacation, there are hundreds of styles included in the promotion.  Popular Styles IncludedYou may find brands and styles such as:
Selection varies by size and availability. My TipIf you’re already planning to buy one pair of sandals this summer, this is a great opportunity to stock up. You could also use this opportunity to:
These promotions tend to be popular, so the best sizes usually disappear first. See all of the Buy One Get Two FREE sandals here. Prices and availability can change without notice. Offer valid while supplies last. • View comments • Track comments •
More Recent Articles |