Feb 05 2019

Creativations 2019 Tim Holtz Blog Hop and Giveaway

Hello!  Welcome to our Creativations 2019 Blog Hop!

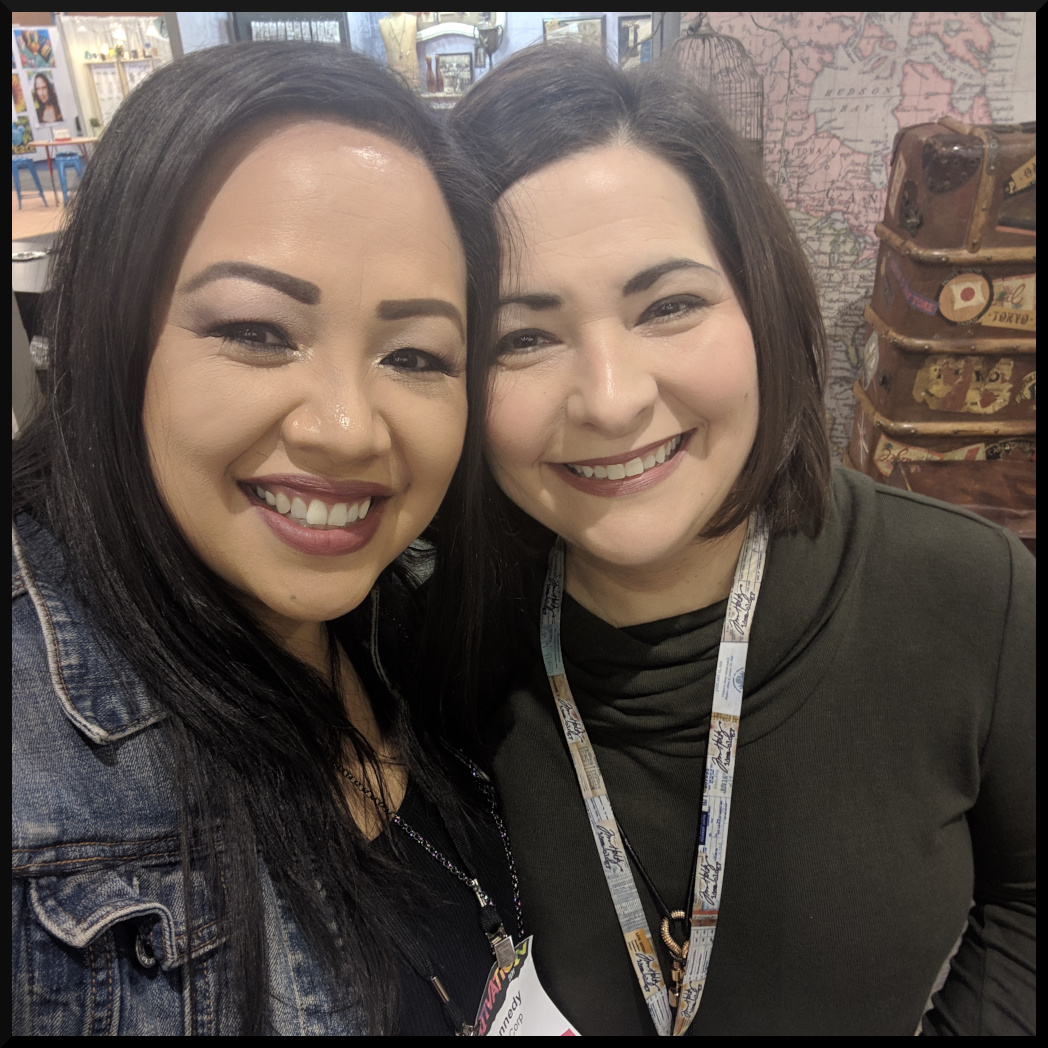
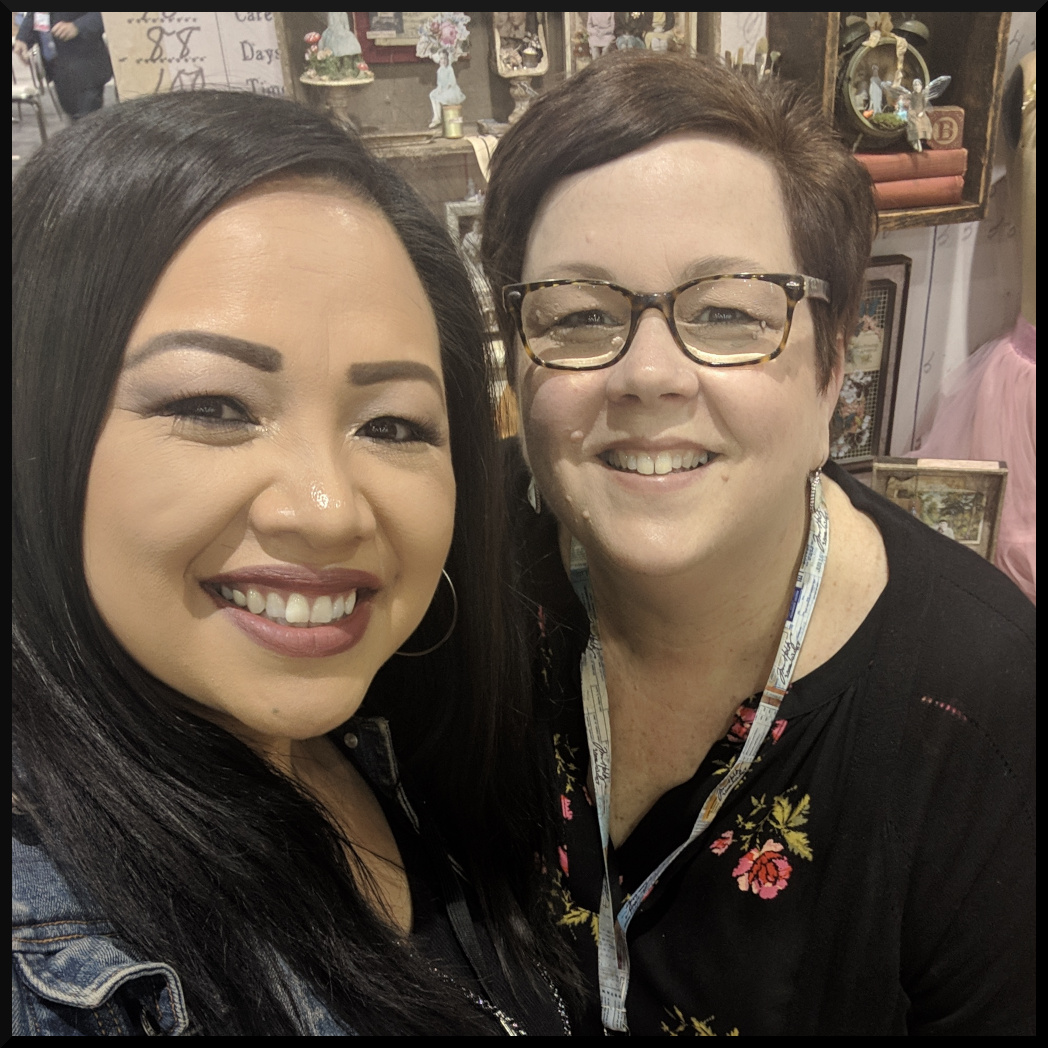
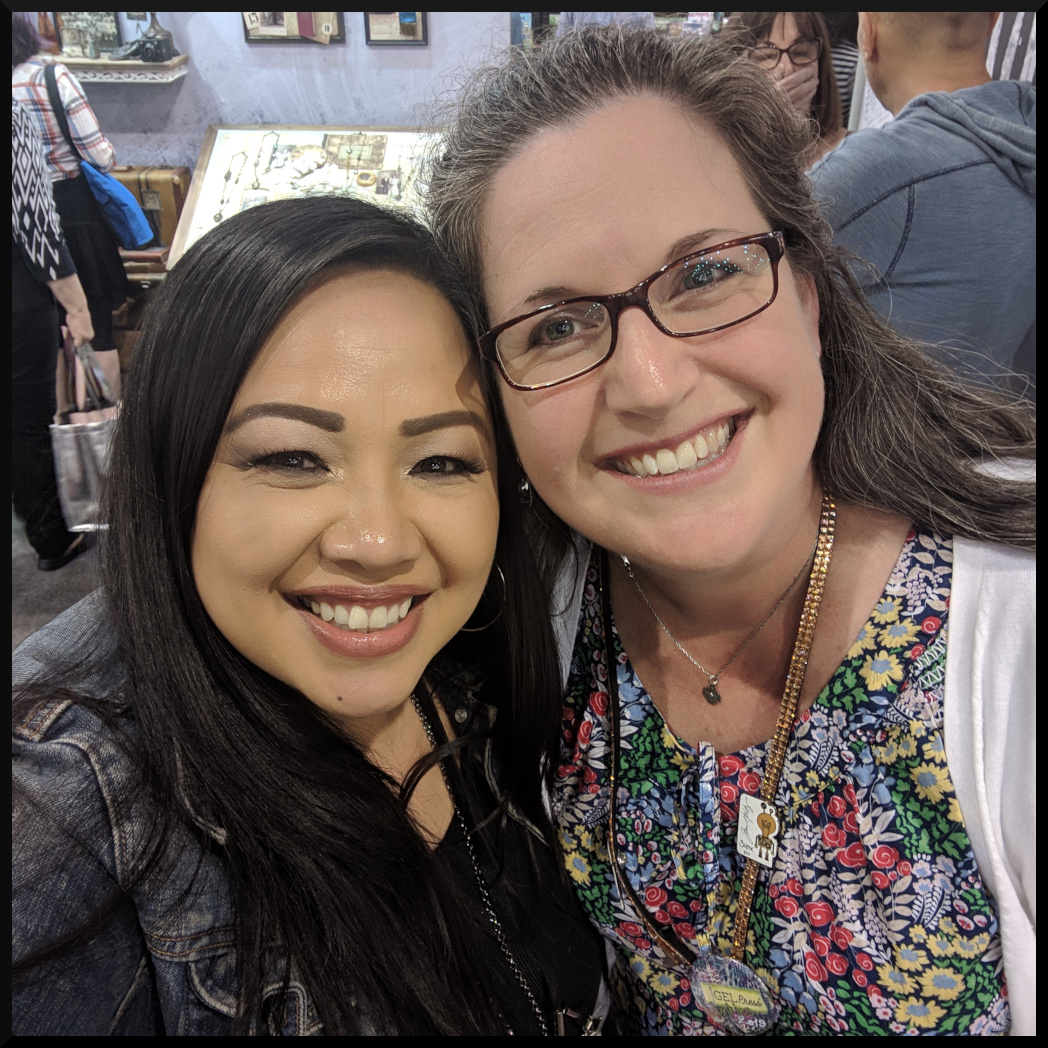
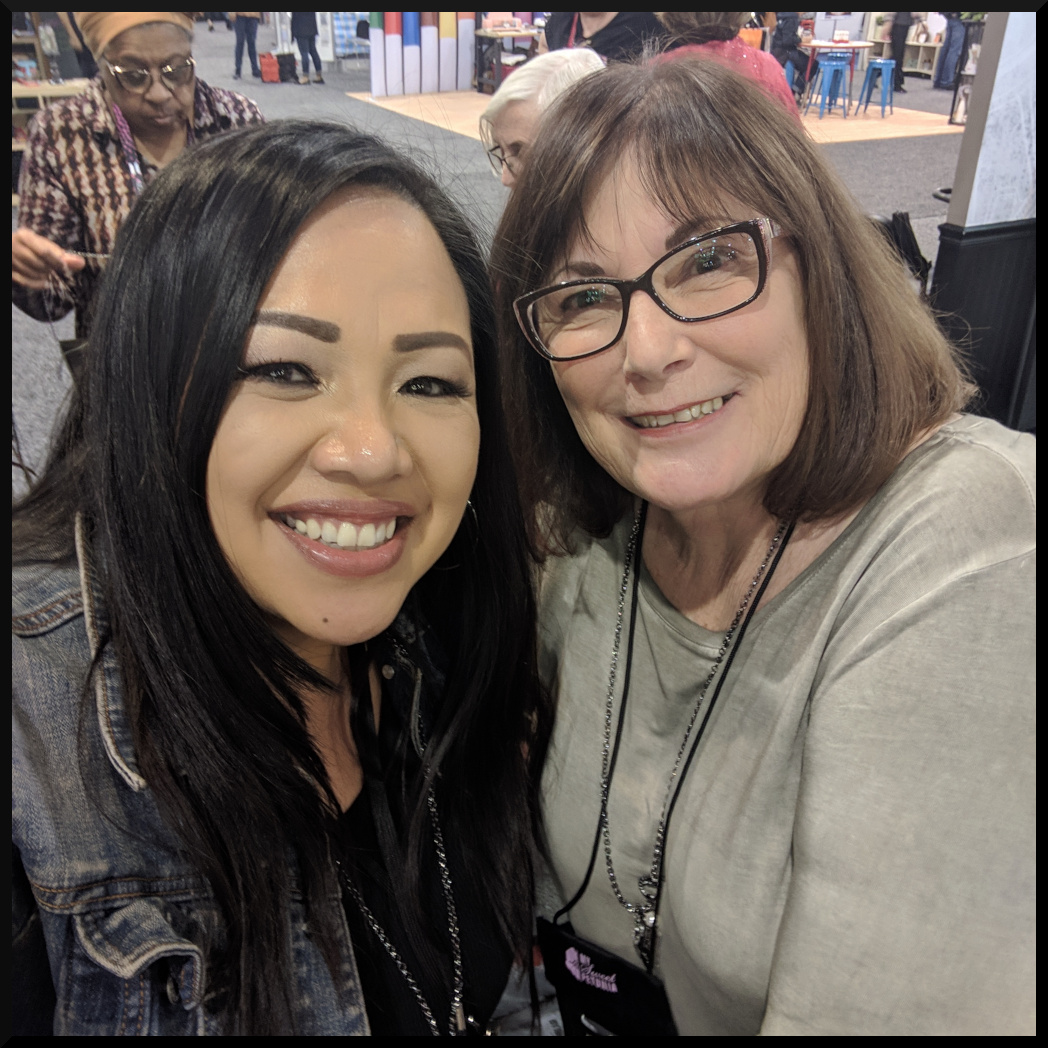
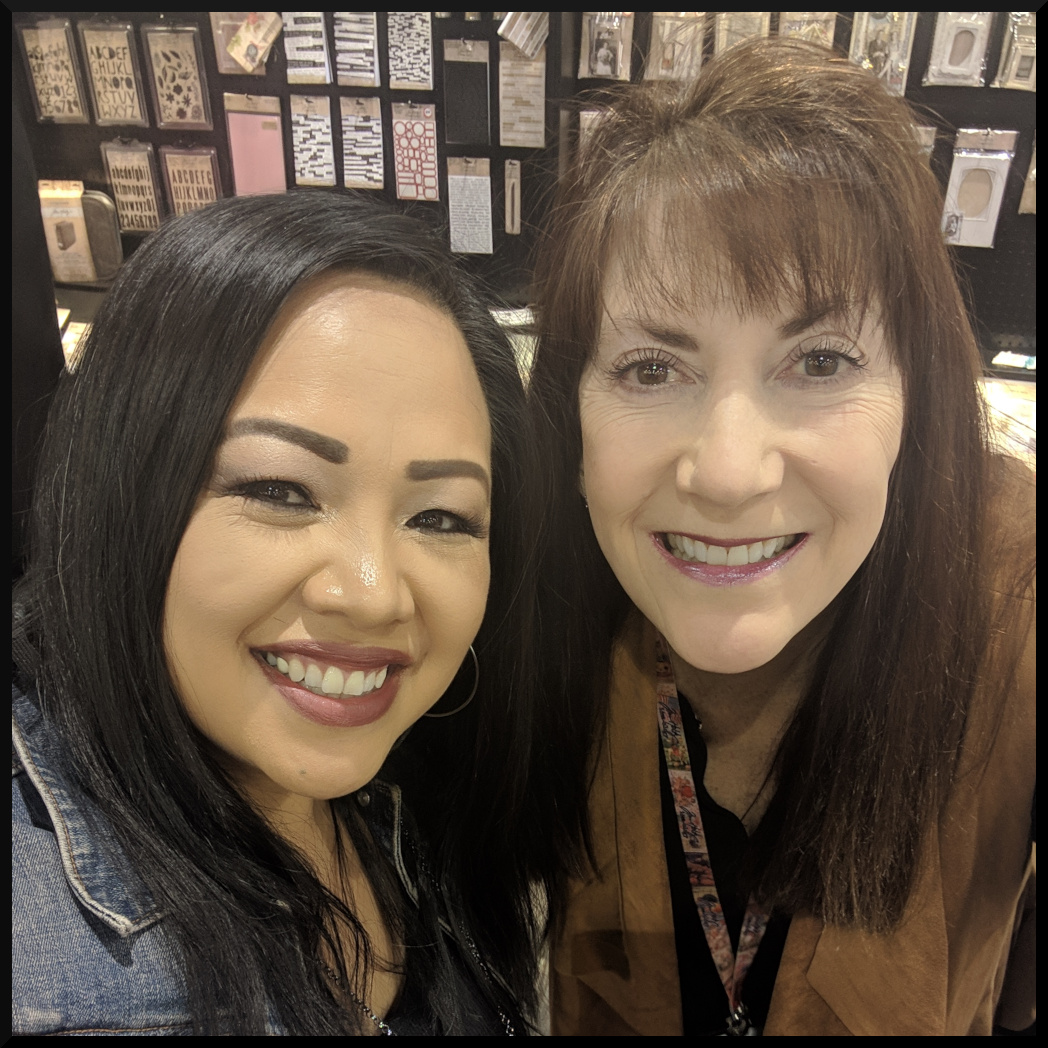
I’d like to share one of the card samples that I created for Stampers Anonymous.  But first, I want to take the time to thank the people at Creativations for being so kind and so inspiring… here are just a few pictures that I took of some of the people I got to spend time with!

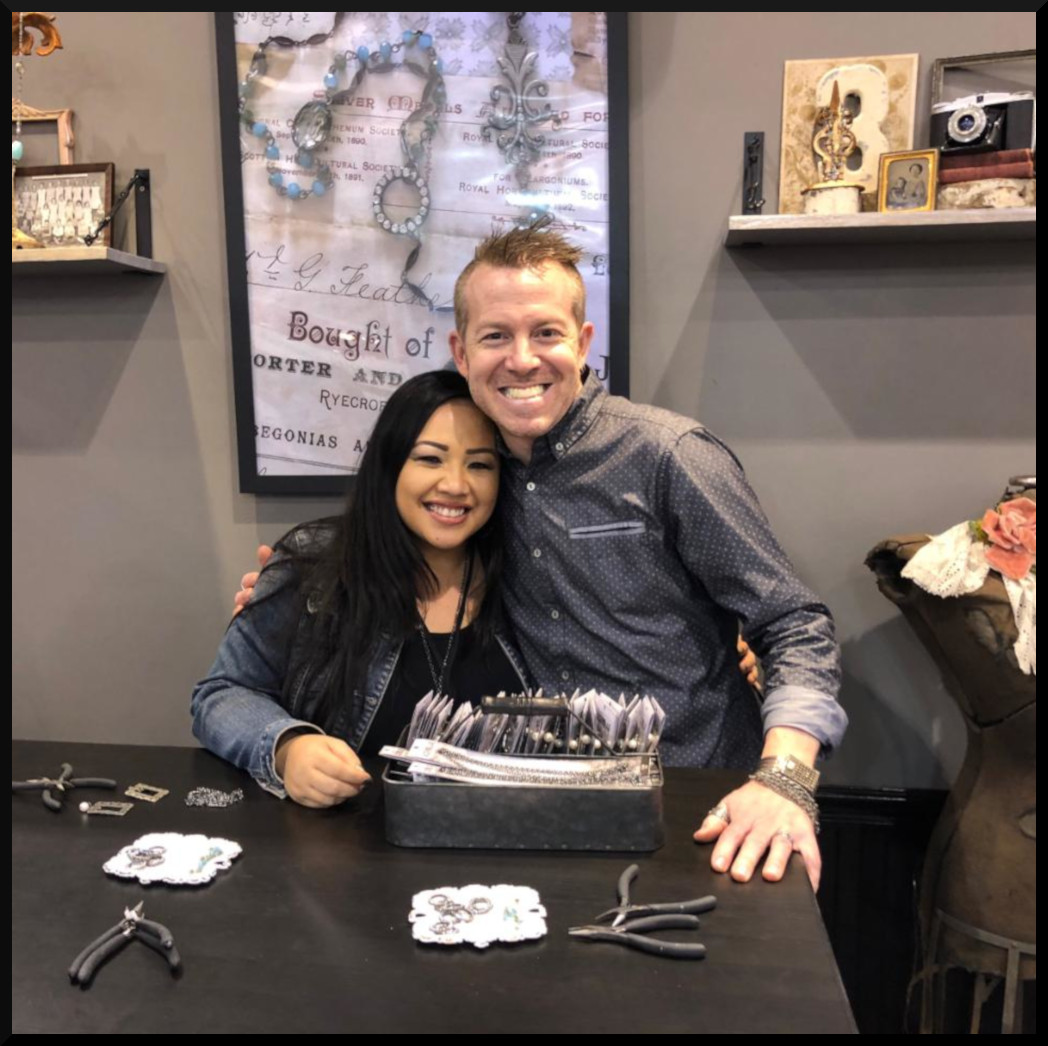
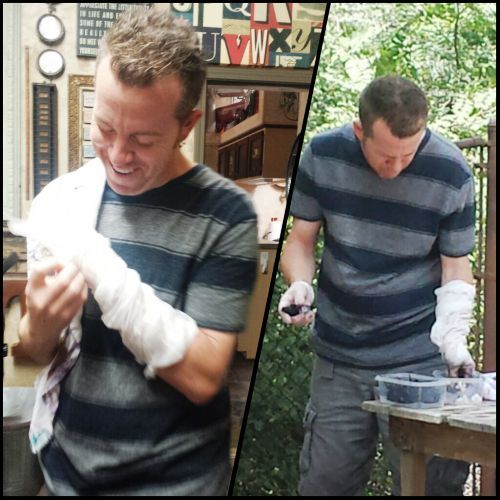
First off…. “The Boss”…. aka #meBoo.  Thank you Tim Holtz for allowing me to be a part of the team.  Thank you for continually inspiring me both creatively and in life!  (and thanks to the person that took this photo during her Make and Take)  This is where I hung out making a beautiful necklace from the Assemblage Line.

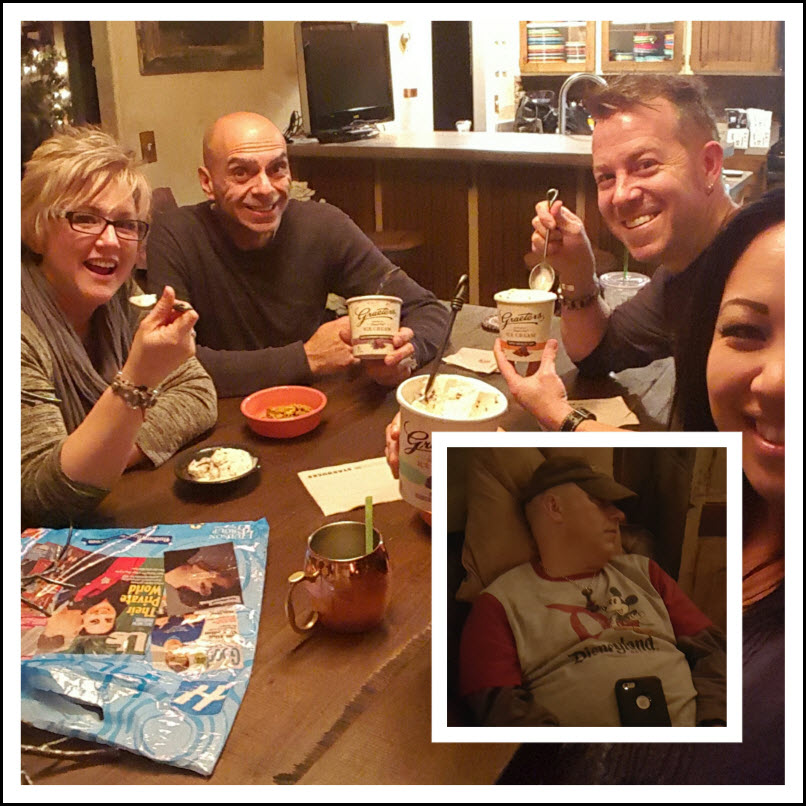
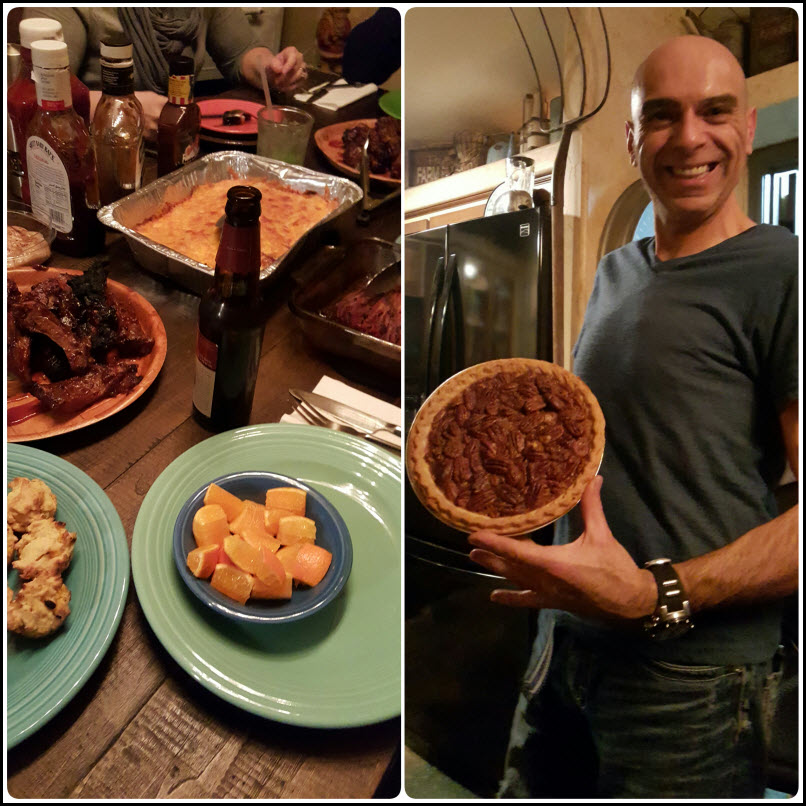
And it was so much fun spending time with these folks:


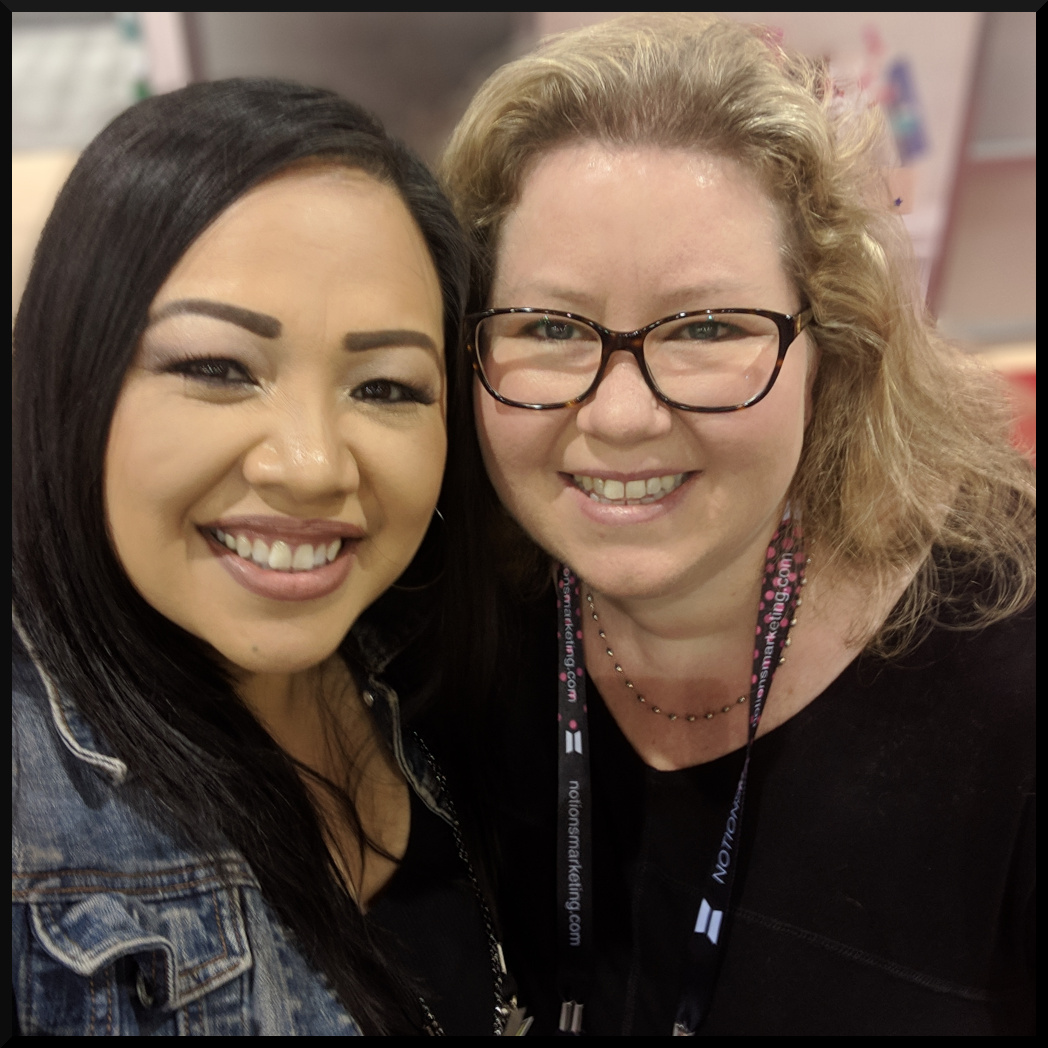
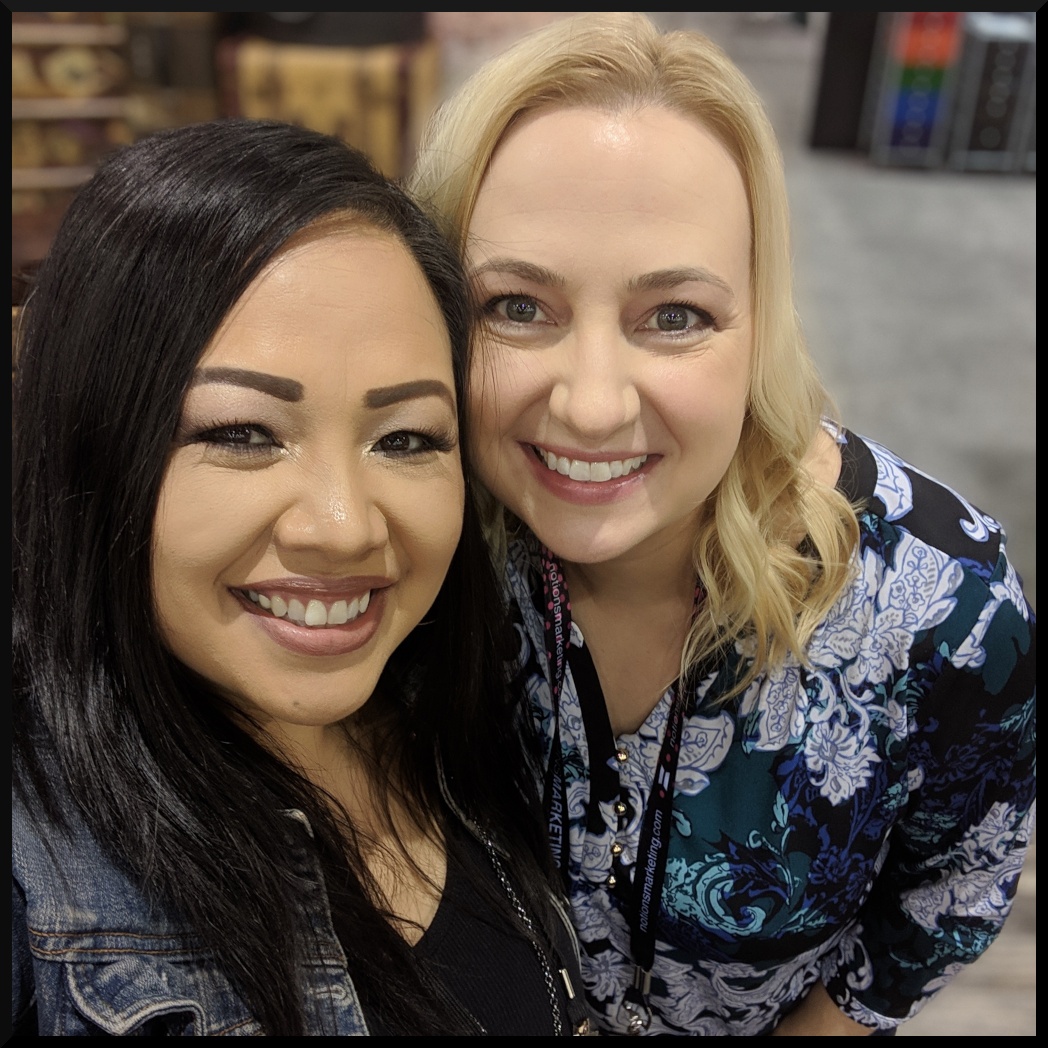
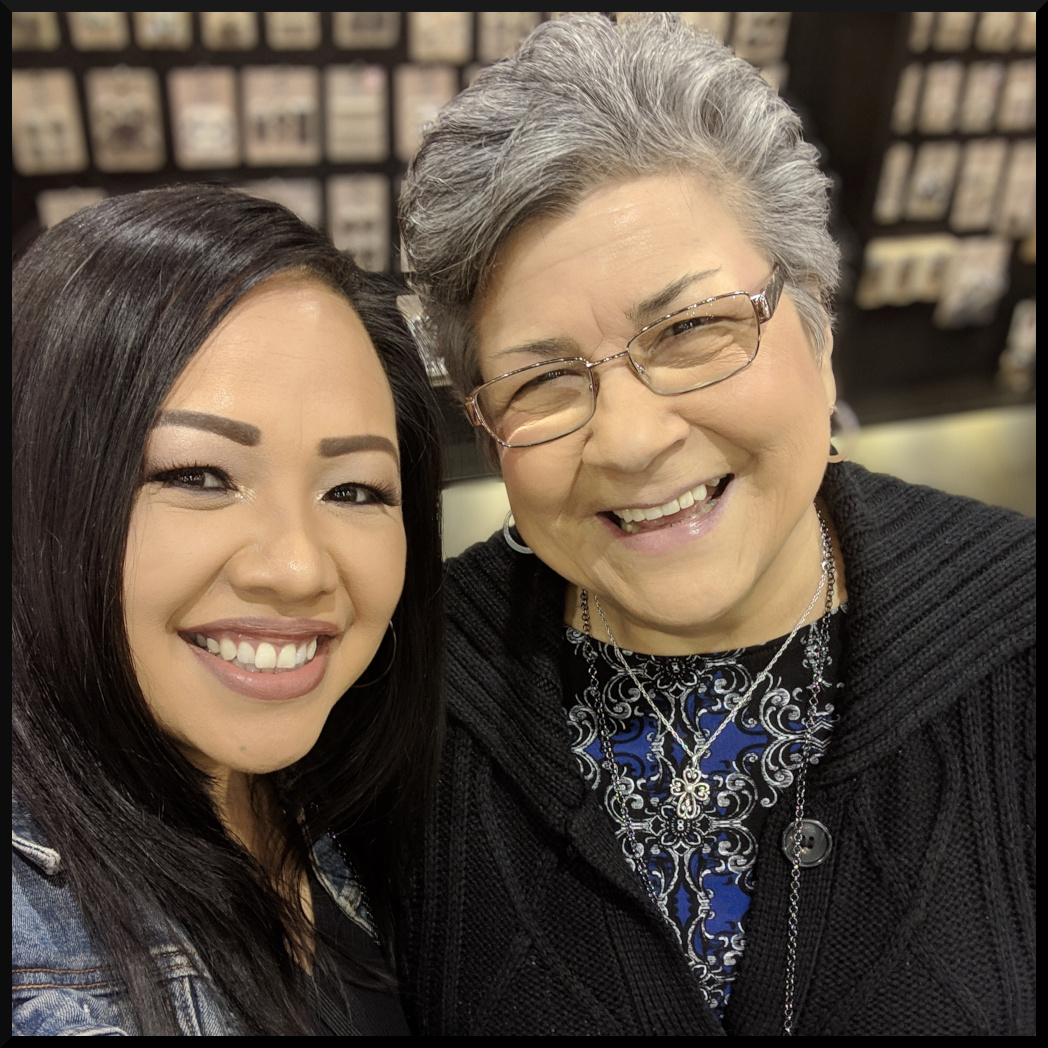
(and yet there were so many people I didn’t get a chance to take a photo with! ugh!)

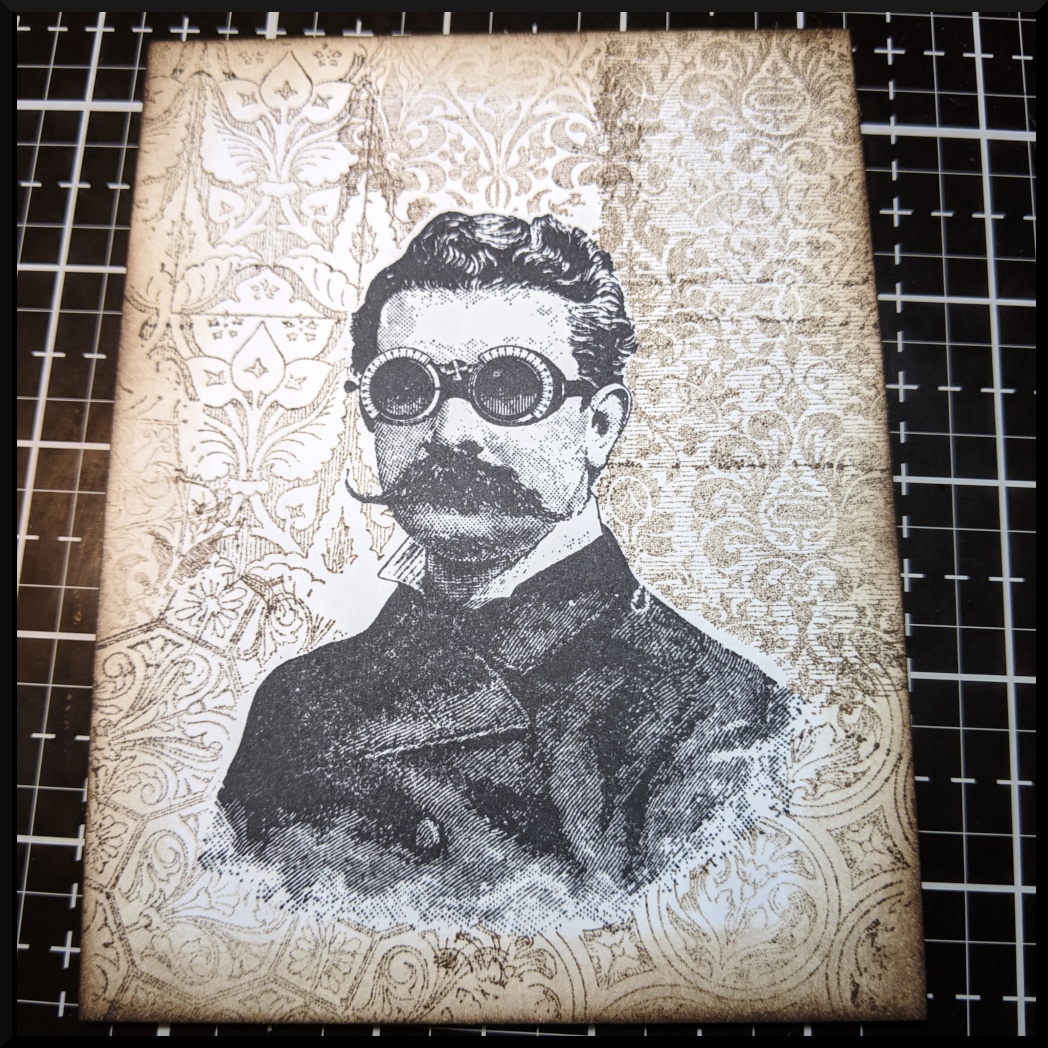
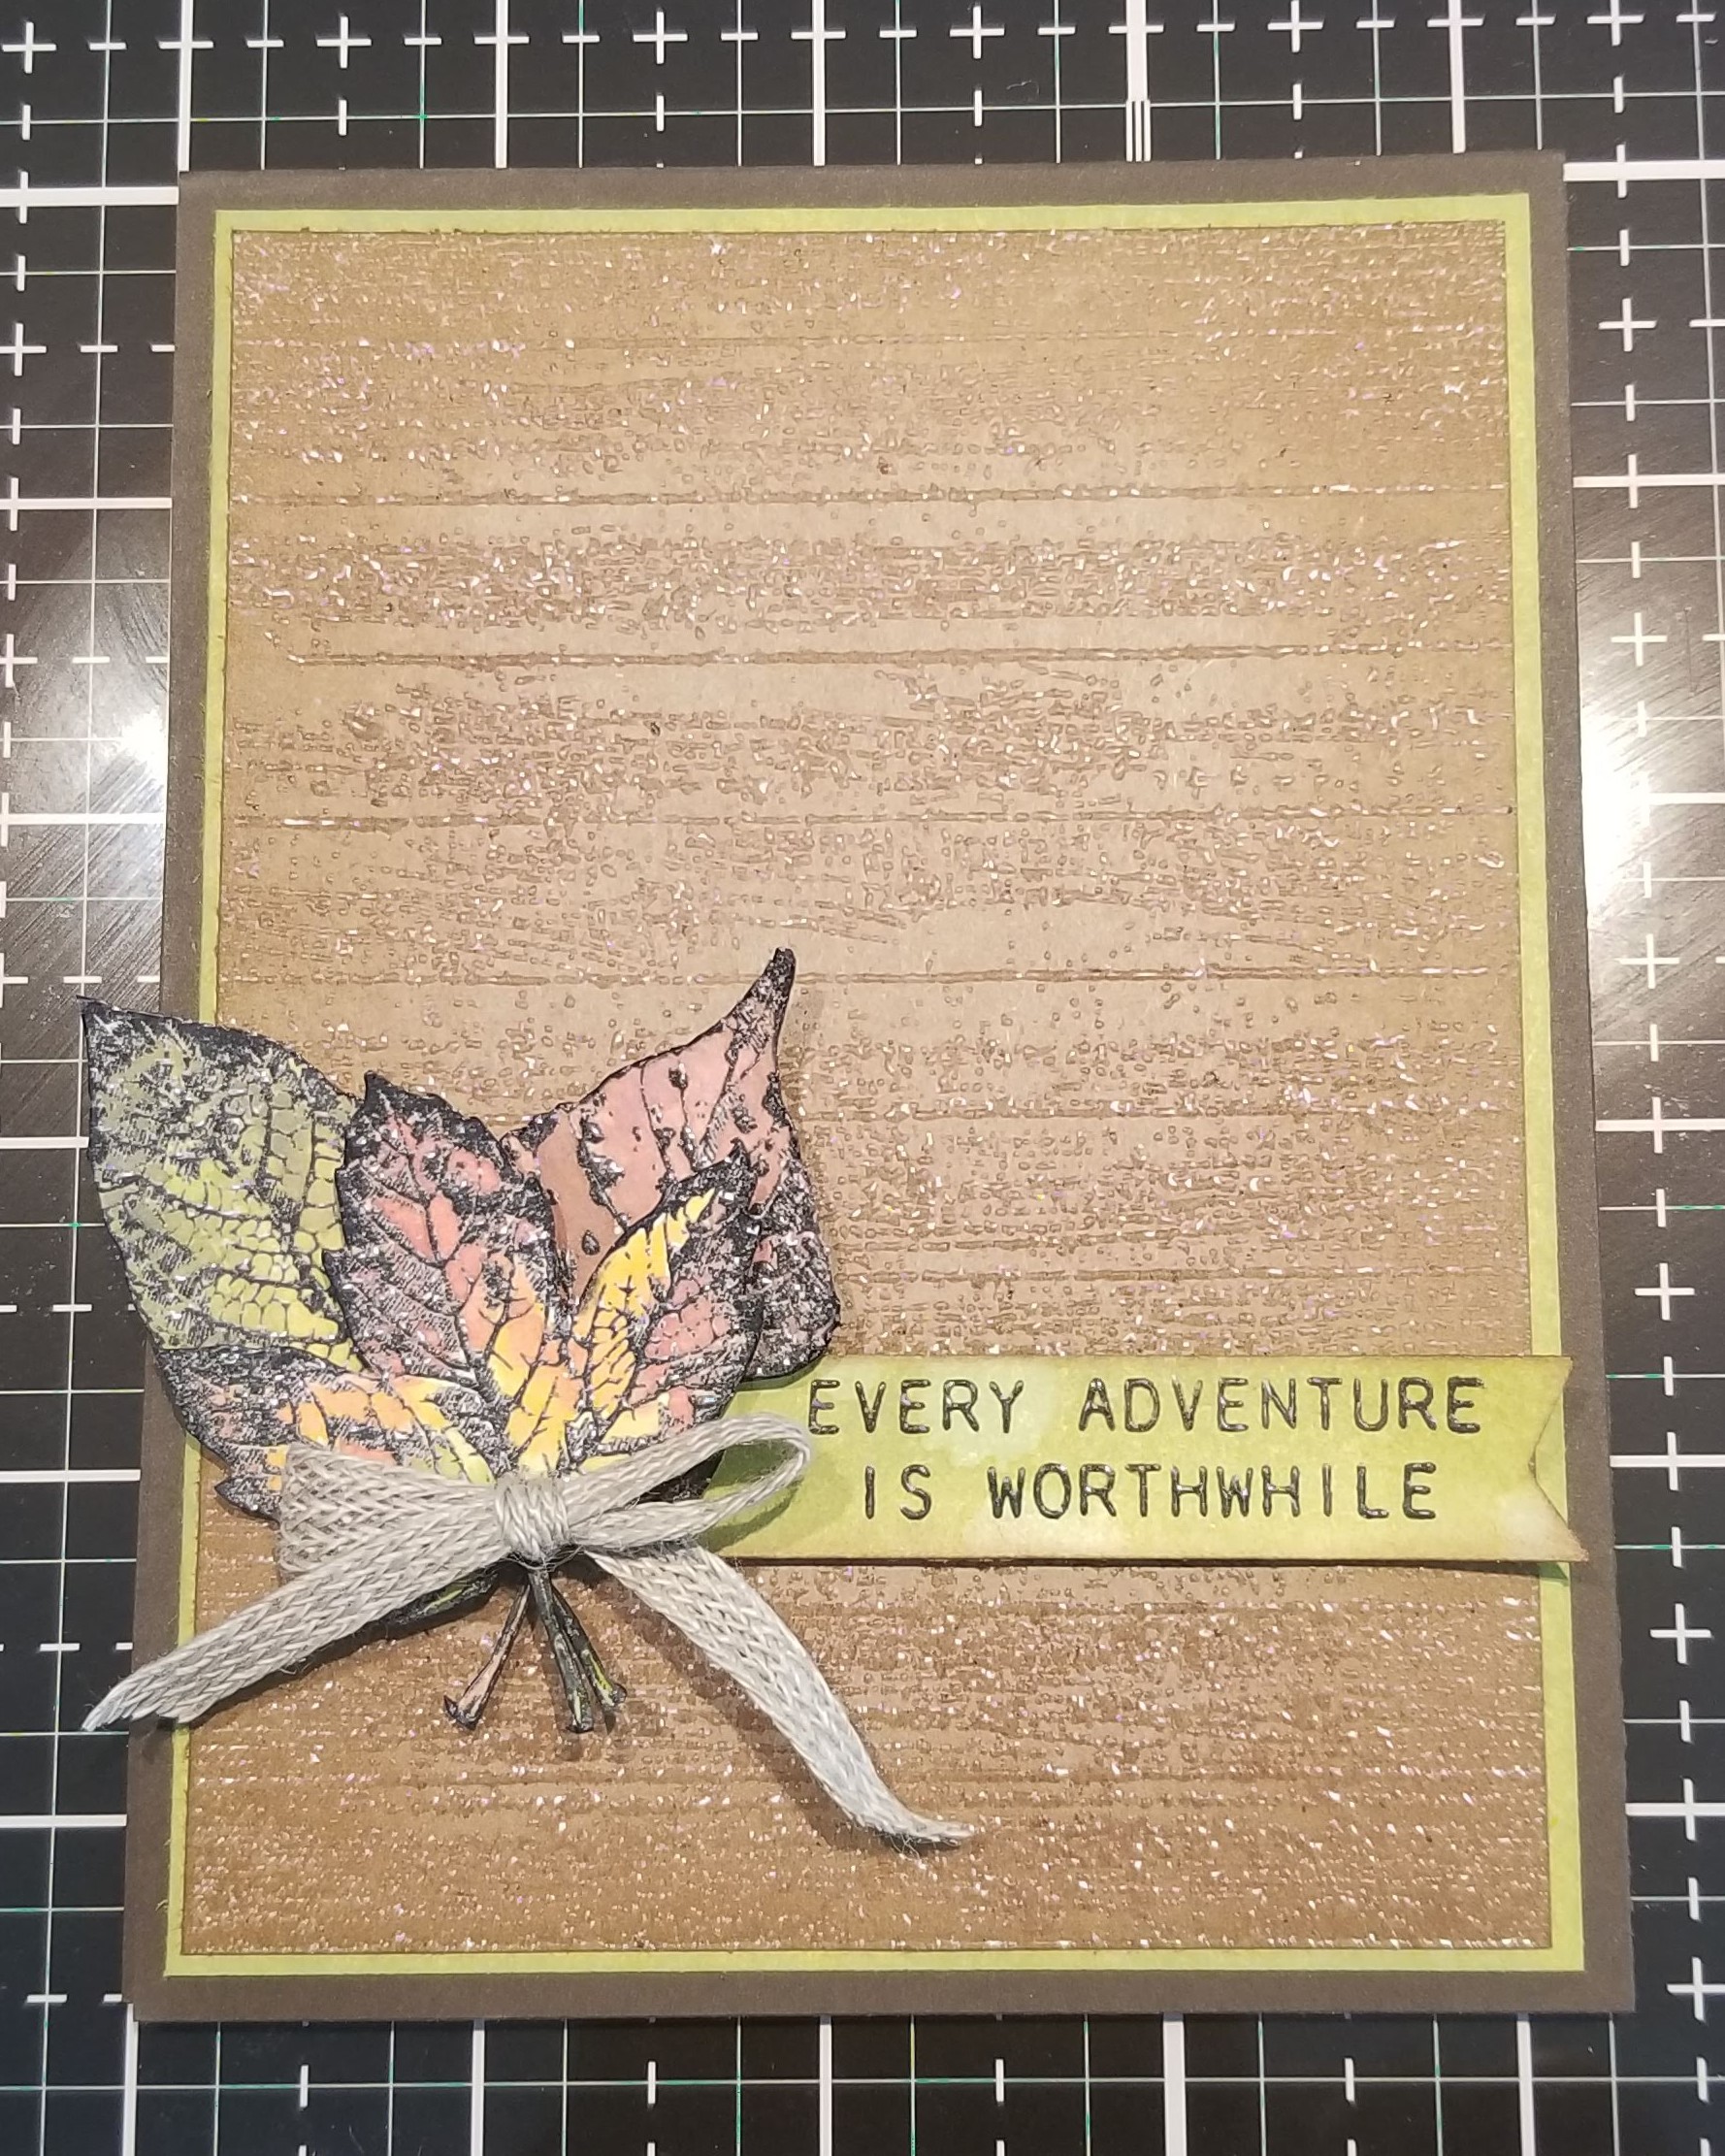
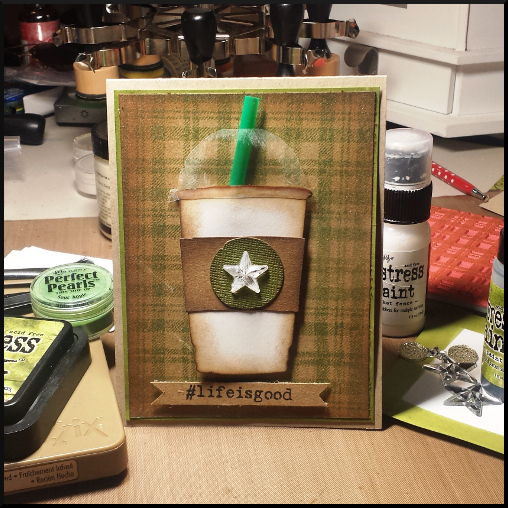
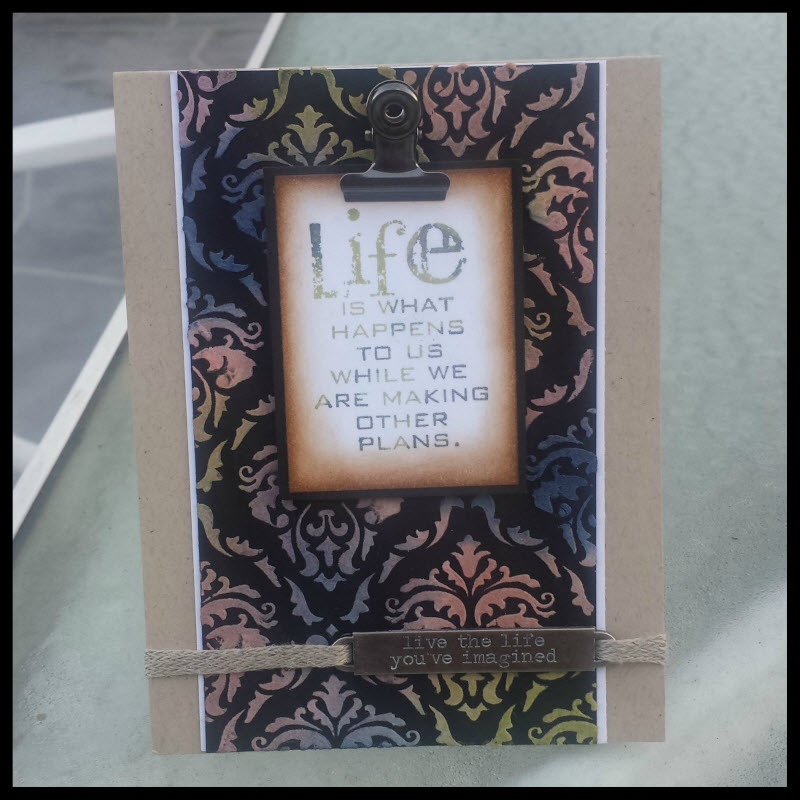
Well, back to my card sample…. for those that know me, I loooooove interactive cards.

(click to see the hat move up and down…)

[youtube]https://youtu.be/mmJDAPAYz8c[/youtube]

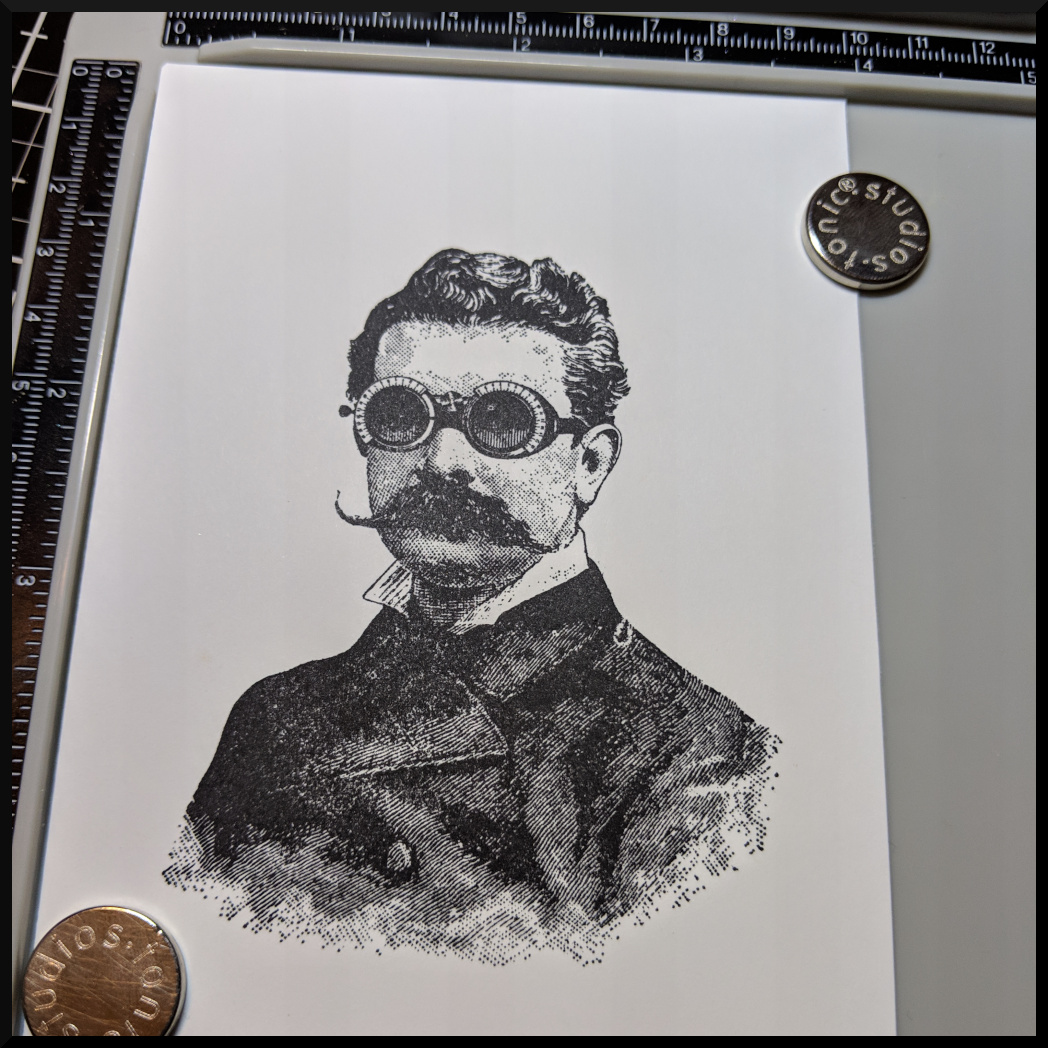
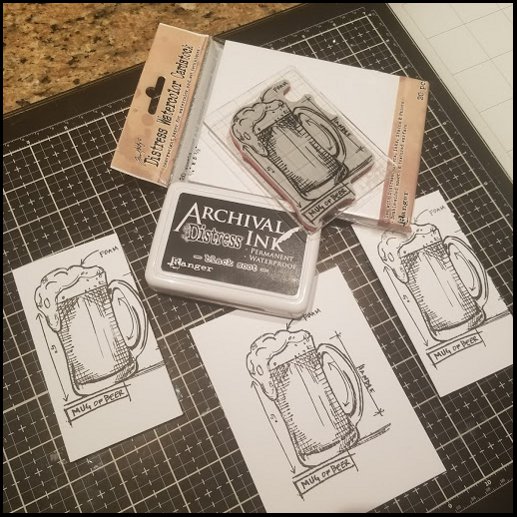
To create this card, stamp the image of the professor low enough to make room for the hat…

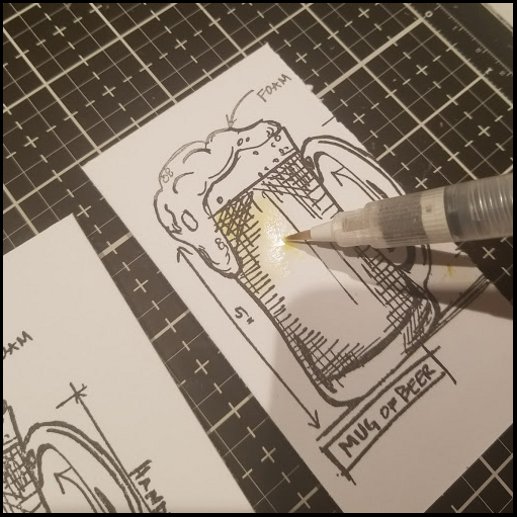
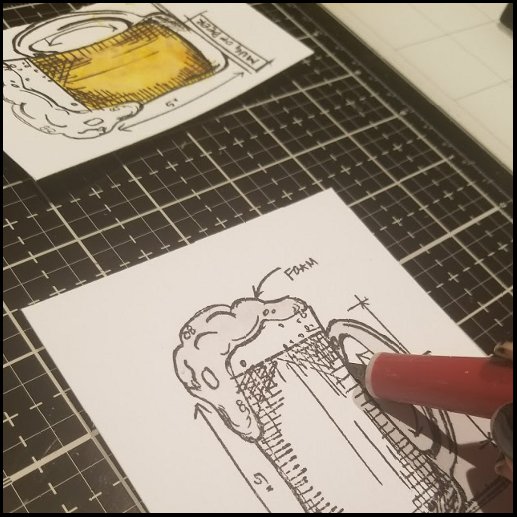
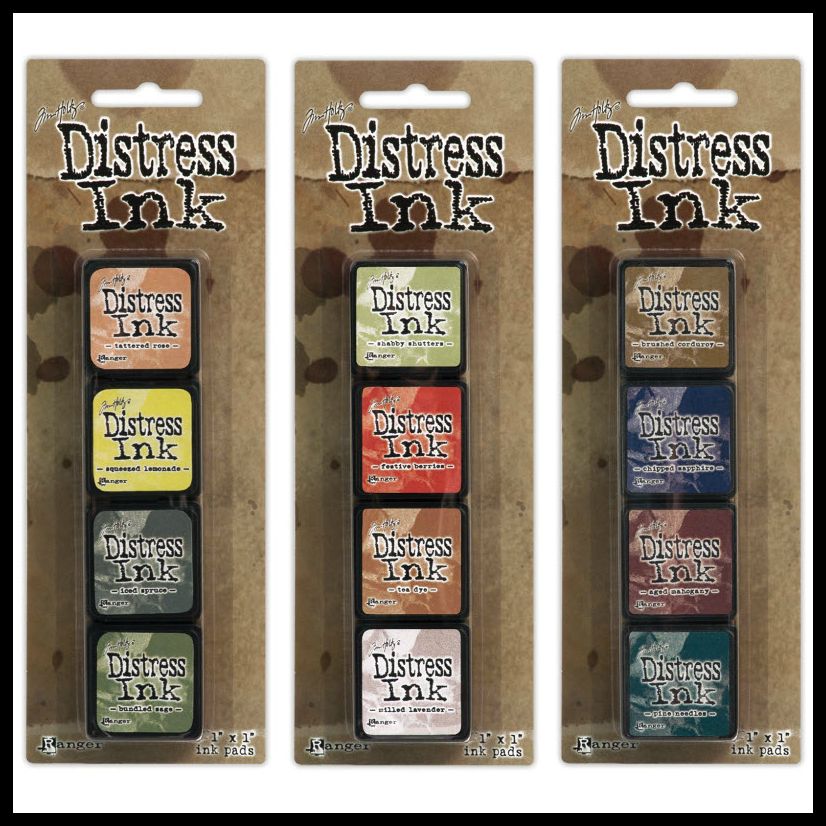
I don’t know if its the stamp…. or the new Distress Archival ink…. (probably a mix of both), but the image comes out so crisp and clean… in just one shot!  (I neeeeeed these archival inks in ALL of the distress colors! 😉 )

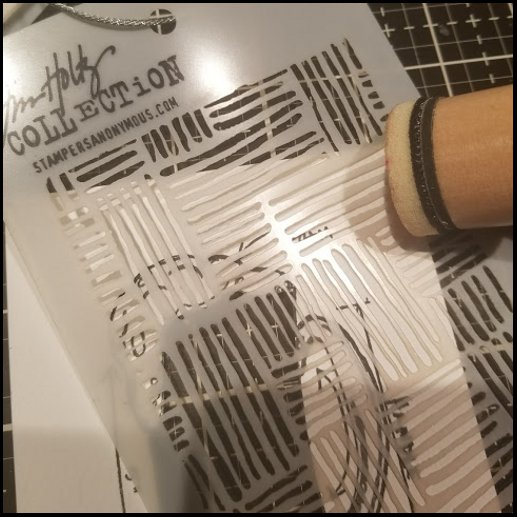
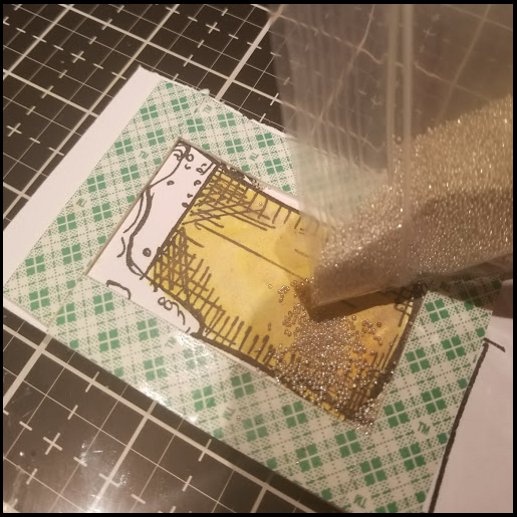
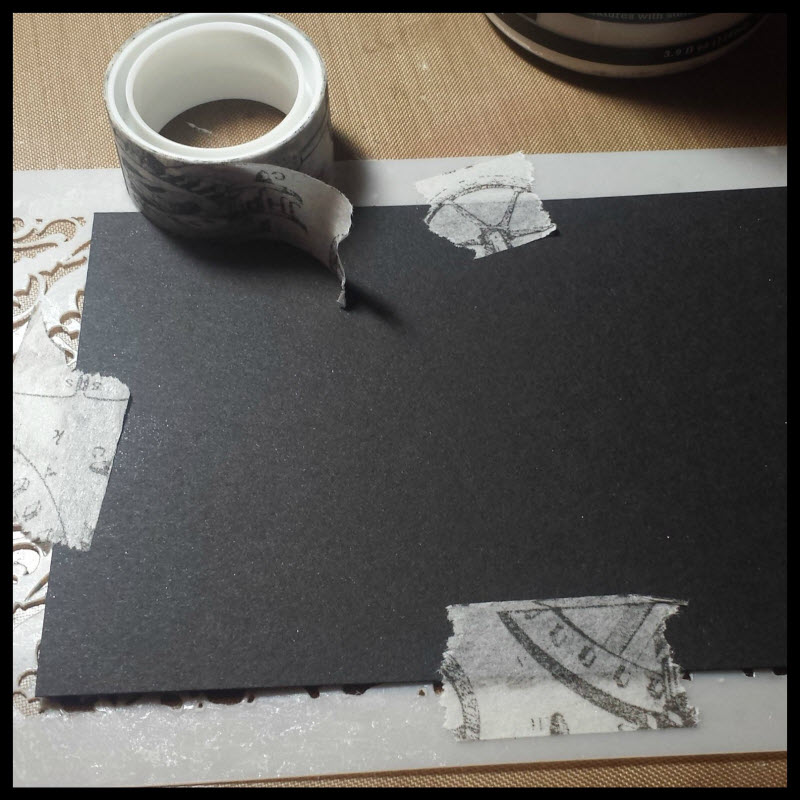
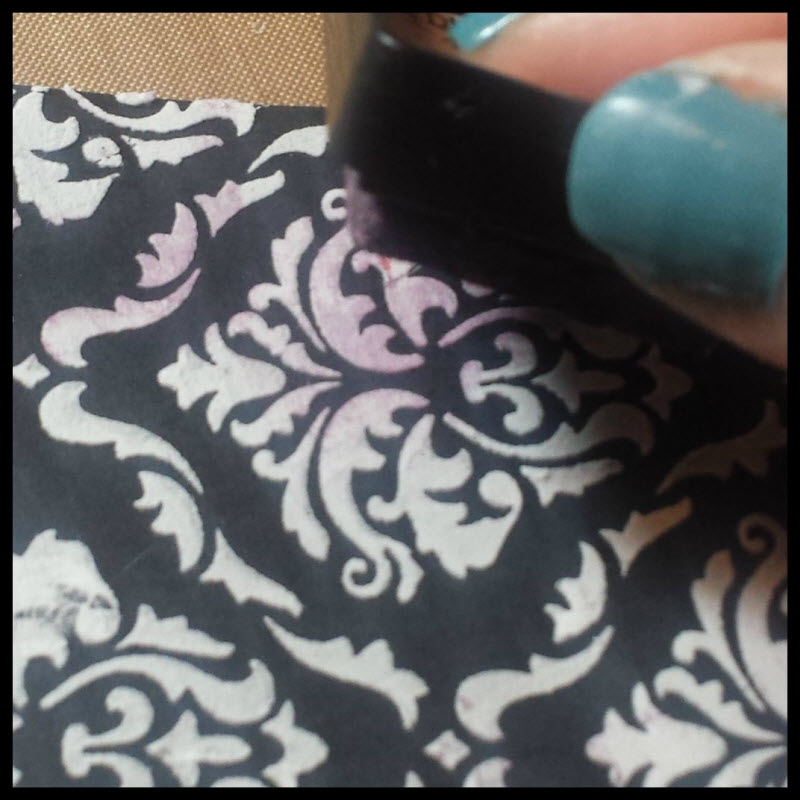
I then used Eclipse masking tape to create a mask of the professor and covered the him so that I could stamp the beautiful fragment stamps for the background.

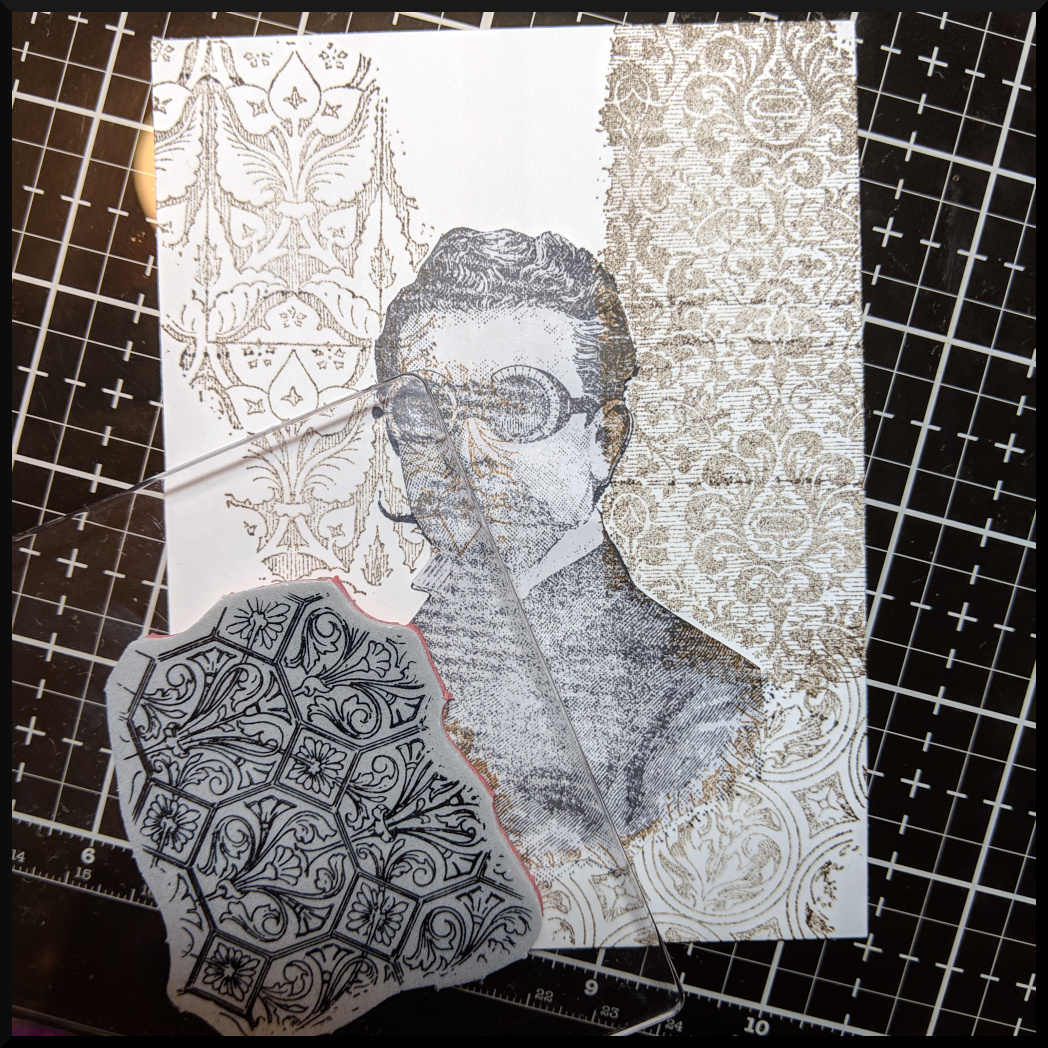
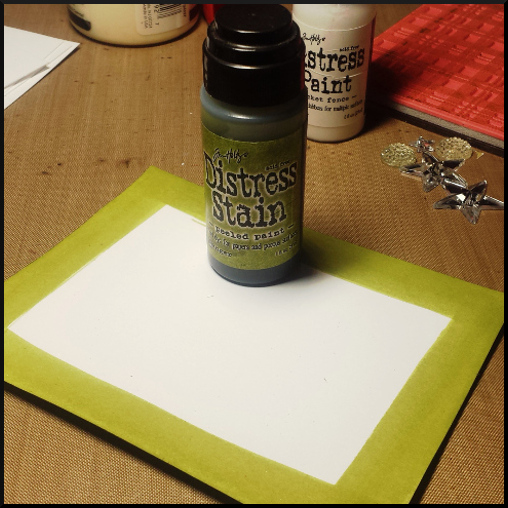
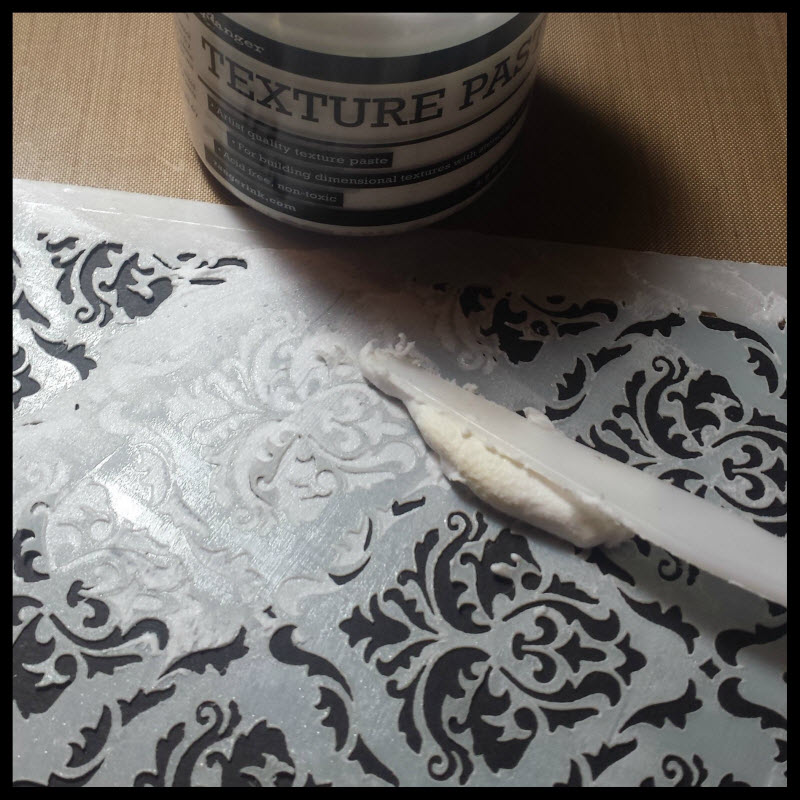
I usually feel like it looks like such a mess before the mask is removed…


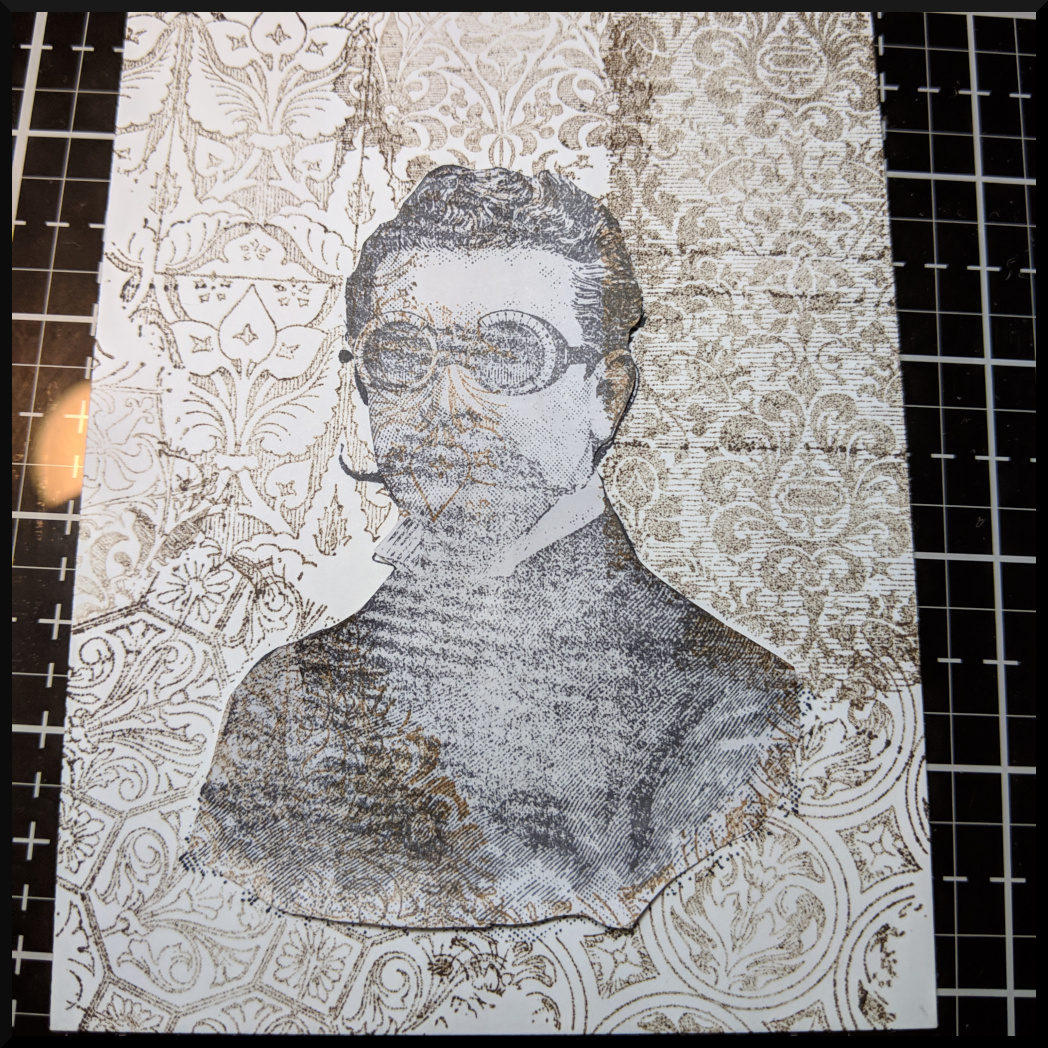
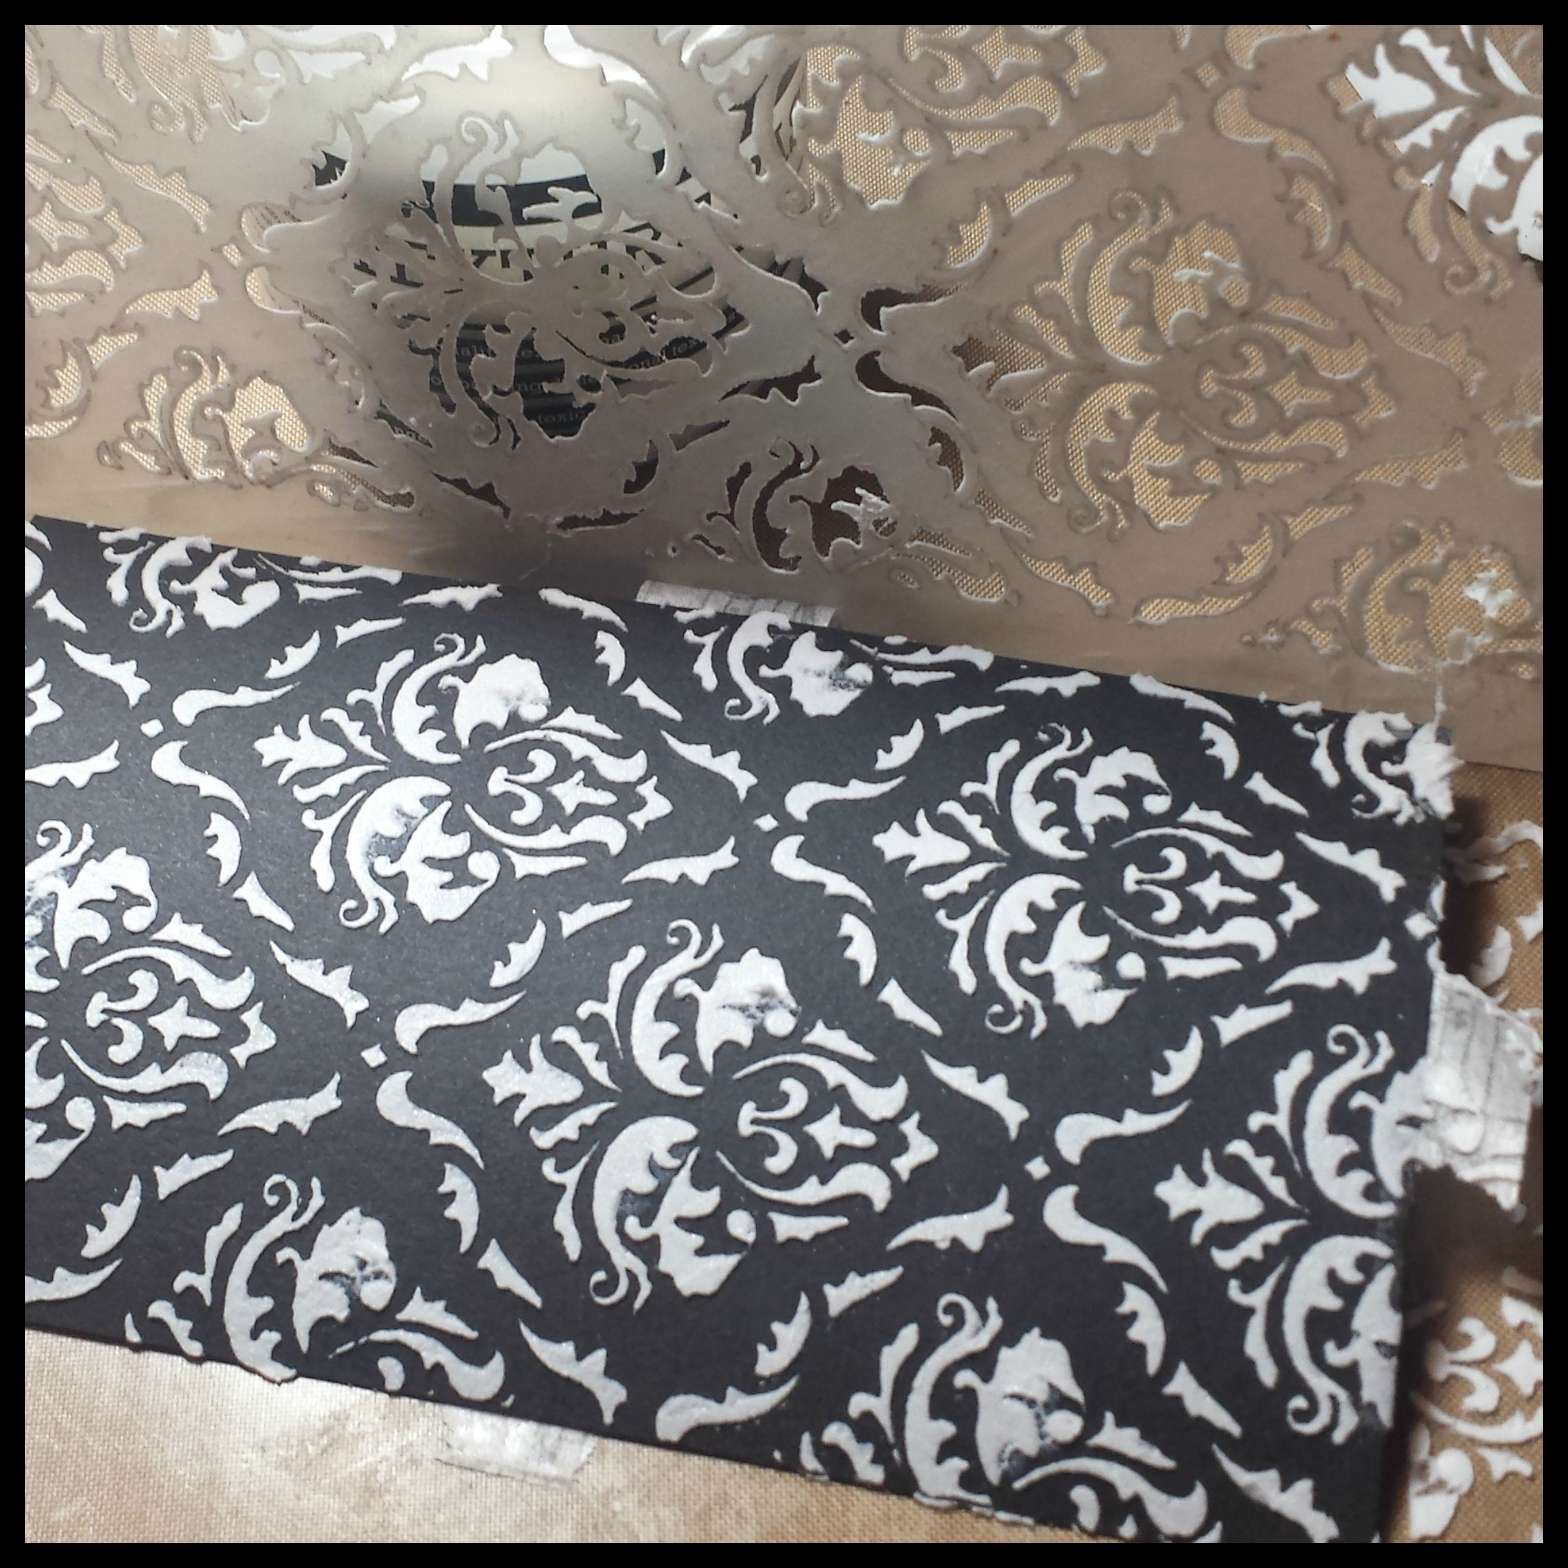
But once it does, and you ink up the edge, you really see it start to come through…


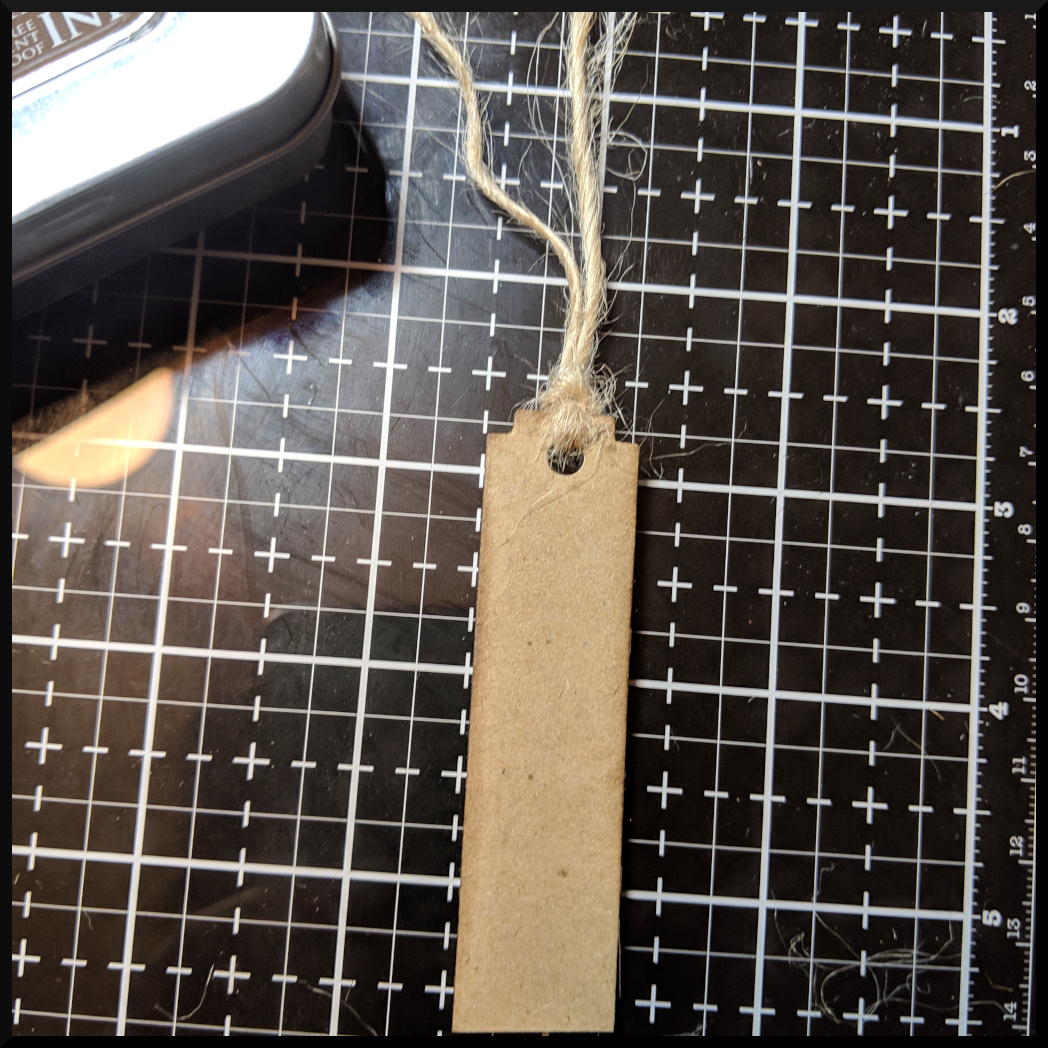
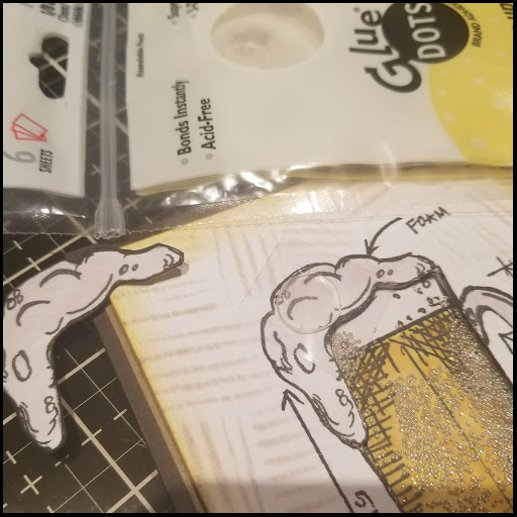
Then comes the fun part…. I’m not very good with an craft knife…. so I chose to use my paper trimmer.  You need a slit above the man that is about .25 inches wide.  And I make it as tall as the hat needs to move….

I also cut out a piece of cardstock that will act as the mechanism to move the hat up and down.  I punched a hole and added some jute so that it will be easy to move the cardstock up and down.


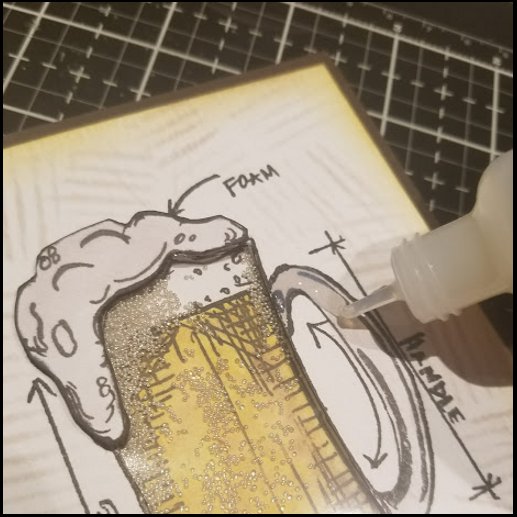
Now you want to line up that cardstock behind your image.  Add a piece of dimensional to the bottom of the “track”.  This is where you will attach the hat.  The dimensional will give the hat just enough room off the main image to be able to move up and down.

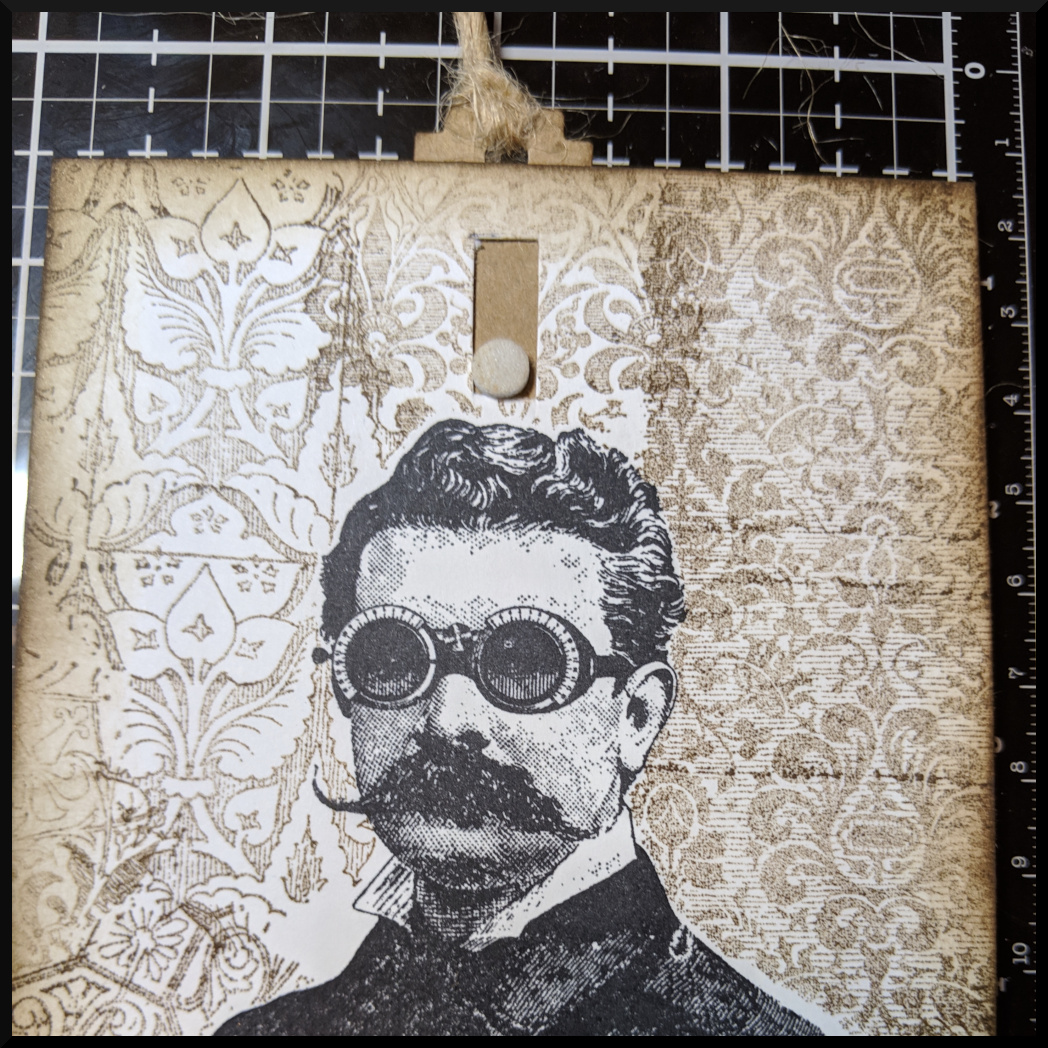
To keep the cardstock from flopping around and to keep it on the track, i used mounting tape to surround the cardstock.  Don’t make it so close so that the brown cardstock can’t move…. but you don’t want it too loose to where the cardstock may go “off course”.

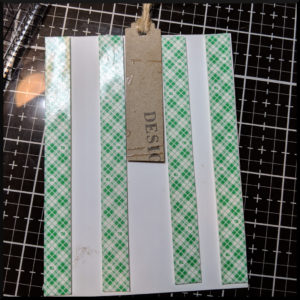
Then, you just assemble your card… and just like that, you have an interactive card.

Kath Stewart is up next…. and her card had my jaw dropping… so happy to have been able to see it in person!


PRIZES, PRIZES,PRIZES!

We have a few prizes to give away just leave a comment on the blogs before midnight PST February 9th for a chance to win!

Winners will be announced on February 10th from the different blogs!


Here is the creative line up….. Be sure to leave a comment on each blog for a great chance of winning! 🙂

Here is the creative line up…..

Richele Christensen

200 responses so far

Aug 08 2018

Nature’s Wonder

 20180806_142258

Every stamp release from Tim Holtz absolutely blows me away!  Make sure you check out his Facebook Live Video where he shares the stamp sets, stencils,and Etcetera accessories.  To be in his head…. wow!

This card is one of the cards I created with his new stamp sets.  I always LOVE tim’s woodgrain stuff whether it be stamps, embossing folders, or woodgrain paper.  So, I felt it this new Planks stamp set would be perfect for the background.  I just applied Distress Embossing Ink to the stamp and then used Clear Embossing powder.

For the leaves, I stamped in black in and applied embossing powder and colored them with Distress Oxide Inks.  I hand cut each of the leaves and used linen ribbon to “tie them together”.

I didn’t have “the right” green paper, so I used Peeled Paint Distress Oxide ink to ink around a white piece of cardstock and used that to mat the kraft paper and used it for the sentiment banner.

It’s always fun creating when you have fun stamps to play with! 🙂

Thanks for stopping by!

~joy

4 responses so far

Feb 02 2018

Creativations 2018 – Tim Holtz Blog Hop and Give Away!

 Hello!  Welcome to our Creativations 2018 – Tim Holtz Blog Hop and Give Away!  Did you just come from Zoe Hillman‘s blog?  Isn’t she awesome?


I’d like to share with you one of the card samples I created for the Stampers Anonymous booth.  I’ll be very honest… I get a bit of anxiety whenever it comes time for samples.  The teams are so talented… so much detail… they think outside the box…  As for me, I’m a simple girl… that’s my style.  But, I love interactive cards… so that I what I created…. a shaker card. 🙂
 01 - Beer Card


I was so thrilled when I saw that more blueprints stamps were coming out!  I love the collaborations between tim holtz and Mario Rossi III (aka MJ3) I hear that these will be the last sets… which makes me sad… but I am so happy that they went out with a bang.  I love love love all of these sets.


To create this card, I stamped the beer blueprint 3 times on Tim Holtz’s watercolor paper.  One image will be the main image of the card.  The other 2 can go on just half of the cardstock since we will only be using bits of each of the images.
02 Stamp Images


I took the mini distress inks and smooshed them onto the Tim Holtz media mat by Tonic.  (Can I just say that I absolutely LOVE this mat?  It really has changed the way I craft!)
03 Ink Cubes


I used the Tim Holtz Distress Detail Waterbrush to pick up ink from the media mat and add it to my image.  I let it air dry in between layers.  I also added some of the ground espresso with the fossilized amber to make it more the color of the beer that I would drink.  lol
04 Coloring


After coloring the parts of the images that I needed, I used my craft knife to cut out the center of the beer image so that we could make the shaker portion of the card.
Cut out Inside


I used one of the new stencils to create my background all around the image.  Then attach a piece of acetate on the back of the cardfront… just big enough to cover the cut out area.
06 Stencil


On the image that I water colored the beer, I used foam tape to create the “well” that the glass beads will “live” in.  I cannot stress enough that you need to make sure that there are NO GAPS between the pieces of foam tape.  Otherwise your beads (aka your beer bubbles) will be spilling through that gap. (then you will be shaking air. lol)  Then you remove the release paper of the foam tape and you align the card front to match the colored beer.
07 Foam and Beads


 For a little extra detail, I used the pop up glue dots to a give that foam some dimension after I fussy cut the image.
08 Pop Up Foam


I added some glossy accents to the handle and the bottom of the beer glass.  It gave it that extra pop.
09 Glossy Accents


I stamped, colored, and cut the prezel from the mini blueprints set and popped it up on the bottom of the card… (mmmmm… beer and pretzels :))
10 Finished


Thank you for stopping by to see one of my creations. 🙂

Now please be sure to check out the amazing project that Bobbie Smith has shared with us!


PRIZES, PRIZES,PRIZES!

We have a few prizes to give away just leave a comment on ALL the different blog hop posts for a chance to win!

Comments must be posted by midnight PST on Tuesday, February 6th.

Winners will be announced on Wednesday, February 7th on Richele’s blog (californiaARTgirl.blogspot.com)


Here is the creative line up….. Be sure to leave a comment on each blog for a great chance of winning! 🙂
Here is the creative line up…..

IDEA-OLOGY

SIZZIX

STAMPERS ANONYMOUS
Kath Stewart
Cheiron Brandon
Stacy Hutchinson
Chelle Fowler
Zoe Hillman
Joy Kennedy
Bobbie Smith

201 responses so far

Mar 23 2016

Distress Stain Butterfly Card


IMG_20160321_084545_2

I love our little stamp-a-stacks… or as we now call it “stamp-n-snacks”.  I have the sweetest bunch of ladies that are so kind and so much fun.  I always wish I can stamp with them… but it becomes more social than anything.  And I don’t mind one bit. 🙂  This is one of the cards we made for the stamp-a-stack.  They are suppose to be quick and easy-ish cards since they are making “a stack” of 5 different designs.

What I love about tim holtz’s products is that it is so versatile.  One comment made to me about this card was “I can’t believe this is all tim holtz products.  It’s so bright and cutesy!”  That’s what I love about his products…. it can be used for grungy projects, it can be used for vintage projects, it can be used for cutesy projects. 🙂

I had the girls paint distress stains in picked raspberry, then go down to mermaid lagoon (while picked raspberry was drying), then back up with fossilized amber, then finished off with a stripe of cracked pistachio.  We worked on the sentiment while the stain was drying above. We also used the ink to sponge on the blue around the edges for the “matting”. (I don’t know if I can do a card without the matting… lol)  We had to make sure to not get the blue too close to the middle since it will show once the butterfly was cut out.

Once everything was dry, we took tim’s new detailed butterfly thinlit die and die cut the top layer of the butterfly die on the painted stain section.  We then added some shimmer to the butterfly using our wink of stella.  Once that was dry, we added some adhesive to just the middle section of the butterfly and popped the butterfly back in… just like a puzzle. We added the arrow from tim’s idea-ology line and added a few sequins to finish off the card. 🙂

I’ll share the other cards we made soon. 🙂

~joy

3 responses so far

Dec 24 2015

Joy Shaker Gift Tags

Published by under Projects,tim holtz

I love the Christmas Season for many reasons, but I have to say, it is fun to see my name everywhere.  It’s the only time I get to see my name “in lights”.  lol

As we were shopping around last weekend, MJ spotted some cute Joy Christmas gift tags.  It was the perfect inspiration.  So, when we got back to the house, tim and I pulled out the supplies to make our own.

01_Supplies

But when you’re crafting with #thesky, the possibilities are endless.  It was a constant “ooh! We should add this!” or “what if we do that?” or “it would be cute if we….” We kept stepping it up a notch… so a quick Christmas tag turned into the cutest little project… each and every one of them!  #ridiculous (with a smile)

_Minc

Tim had a great idea to use the minc machine to make the black cardstock have silver foiling of “joy” all over. So, he created a cute background that he printed on his laser printer and ran through his mini minc machine inserting the black cardstock and silver foil into the transfer sheet.  And bam! the cutest cardstock piece comes out the other side.

We used his Framelits Tags Collection to cut out the tags and then we used the Alphanumeric Thinlints to cut out the J and the Y from the black tag, as well as the fun foam (which tim Xyroned so that it already had adhesive on both sides).  Once we got the design in place, I used the Tissue Tape to hold the J and Y dies in place so that I could run the tags and foam through the vagbond easier without having to re-align the J and Y.

_TagDies

After the black cardstock was cut into tags, I ran the brushed pewter distress paint all along the outside of the tag.

_DistressPaint

We put the die cut fun foam onto the Yuletide paper tags.  Using the CUTEST little idea-ology spoon, we put 1/2 a teaspoon of distress glitter in the J and the Y and then covered that up with a piece of transparency, making the prettiest little shaker.  We then placed the black cardstock tag onto the rest of the tag.  It was nice that the black cardstock aligned so easily with the rest of the tag since we used the tissue tape to hold down the J and Y in place.

_Glitter

We die cut the tag re-inforcer out of Silver Metallic Core-dinations Cardstock.  The wreath was cut from Tim’s Pine Twine and he used his heat tool to help it lay flat onto the tag.  We used Gold Deco Sheets on kraft cardstock to punch out the Bow for the wreath.

_Wreath

Every time I put one together, I would smile.  This project made me super happy.

_JoyTag

Here are a few of the tags that we made.  I’m excited to be able to give these out to my family and friends.

_JoyTags

Merry Chrstmas everyone!

~joy

4 responses so far

Dec 21 2015

Winter Wonderland

Published by under Life,tim holtz

Since my last visit to my Winter Wonderland seemed too short, I thought I would stay a little longer my next time around…. Ummmm, how did this trip seem just as short?

Monday morning, I could not sit still at work, knowing that I was going to be on vacation for the remainder of the week. But, what set me over the edge was when I get got a text from tim and MJ saying that it was snowing. Nothing (well almost nothing) makes me happier than gorgeous snow in Prescott. That is my wish for my annual Christmas trip… Snow in my Winter Wonderland….

I met Ted and Michelle Cutts (Mr. & Mrs. StampersAnonymous) at the airport in Phoenix and hitched a ride with them up the hill to Prescott. When we got to the house, it looked like tim had sprinkled Distress Glitter all over the ground into the snow. It was so so pretty!!!

The next day, we hit downtown for some junkin…. But first stop…. In-N-Out. Mmmmm! Since Ted and Michelle do not have an in-n-out near them, it was a treat to go. And I was happy because I love in-n-out.

In-N-Out

We spent the day shopping and enjoying each other’s company. We even got to stop at TJ Maxx to feel some nice soft blankets and try some headbands on.

TJ Maxx

And who couldn’t resist a little late night ice cream? (apparently ted could. lol)

IceCream
The next day, we worked on things for CHA only taking a break from some delicious MJ cooking…. I was so excited about his cooking that I forgot to take a pic of lunch…. Yummy pastrami sandwiches…. But, I was able to take a pic of the pizza we had for dinner… YUM!

Pizza

After dinner, Michelle painted my nails and added some Gilded Holiday Remnant Rubs. It looks so cool and totally makes me happy!

Rub On Nails

Thursday, Ted and Michelle were going to be catching a flight back home, so we worked on more CHA stuff and ate more amazing food!!! For lunch, we had nachos with homemade guacamole… and who else, other than my bestie would section off a piece just for me. I have some quirky eating preferences and he was so sweet to modify the nachos for me.

Nachos

And dinner was absolutely delicious. We had BBQ ribs, brisket, coleslaw, potatoes, and corn muffins. Soooooo good. But, what was a special treat was dessert… MJ’s Pecan Pie. It was perfection! We had a couple of extra guests that night, too!

BBQDinner

I enjoyed the next 3 days with #meboyz doing what we do together, eating, crafting, working, running errands, laughing, and just enjoying each other’s company.

Tim helped me make some Christmas gift tags. They are SHAKER tags…. (I will share later this week on how we made these tags) They were so fun to make.

JoyShakerTag

The day I leave is always tough for me…. I can’t tell you how much I enjoy my time with the boyz. Truly 2 of the sweetest, most generous people I know. #luckygirl But, that morning was somewhat magical. Our dear friend Monica (who couldn’t make it out to AZ with me this year) wished for snow for me on Sunday…. and what do you know… 6 in the morning I wake up to beautiful snow coming down in my Winter Wonderland. (Thanks Monica!)

What I loved, too, was that it didn’t stop MJ from making my (new) favorite breakfast… snow and all, MJ went outside to make the special chips for our Huevos Rancheros. Sooooo Gooooood!!!

Huevos

We continued to make swatch boards for CHA up until the time I left…. I couldn’t believe how fast the time flew…. Another fun trip to my happy place…. Grateful for their hospitality…

Until next time Winter Wonderland….

Winter Wonderland

5 responses so far

Sep 10 2015

“Labor” of Love

Published by under Life,tim holtz

Hope everyone had a great Labor Day Holiday.

I had an awesome holiday.  I got to spend it with 2 wonderful people just laboring away! 🙂  Tim had a few classes coming up and I came to help kit some of the projects.  The thing that I love about working with him (other than his uber talent and funny personality) is that this man is sooooo organized.  Kitting is so much easier when it’s organized and thoroughly thought out.  Not only that, but his attention to every detail is like no other.  The things that he does to make his classes run smother always amazes me.  He goes above and beyond….

Who else would take 300 little white flowers, spray stain them black and add distress glitter so that their project is that much more adorable?  I love that he made his own special glove out of plastic bag. (I wish there wasn’t a glare when I tried to take the pic)

PhotoGrid_1441917552205_4

Who else would take the time to stain the toothpicks for the paper pine cone die cuts and already hot glue to the start of their paper pinecone?

PhotoGrid_1441917692915_4

Who else would have their bingo pieces inked black since the numbers come in red?

PhotoGrid_1441917804477_4

Those are just the few little things that I actually took a picture of… There is so much more that he does that just leaves me in awe!  Anything to make it that much easier or more special for his students.

Another thing I always look forward to is MJ’s (Mario) cooking!  Soooo good and so tasty.  It was so good that I forgot to take pix of it most of the time.  But, I was able to capture these two meals.

PhotoGrid_1441917875513_4

And… I got to meet MJ’s granddaughter Zoey.  She is so beautiful and so sweet.  I hogged her while her parents came for a short visit.

PhotoGrid_1441917922084_4

Although we worked looooong hours, we got to squeeze a little hobby lobby time in.  Even though they opened one near my house, going to THIS hobby lobby is always special to me.

PhotoGrid_1441917968781_4

And any time I can spend with my boyz is a good time!  So much so that I figured I can sleep when I got home. LOL.  We would kit until 1 am… and there was even a night (or I guess morning) that I had to tap out a little after 2.  Tim stayed up a little later… But, I had to get a few hours of sleep in because in just 4 short hours, I had to get up to have coffee and breakfast with MJ… and then an hour later, have breakfast with Tim.  HAHA.  I think I had like 5 meals a day and like 6 cups of coffee!  (#sogood)

How do 4 days fly by so fast?  But, I’ll take it.  Always grateful for whatever I can get.

It is always awesome to have my mama and papa pick me up from the airport… and this time, they brought this little guy.  I was so happy to see Huck.  I missed him while I was away.

PhotoGrid_1441922765943_4
Until next time….

9 responses so far

Aug 10 2015

Fresh Brewed

Yesterday, I held a stamp-a-stack (or stamp-n-snack as one of my dear friends called it) at the warehouse yesterday.  I design 5 simpler cards where ladies make sets of them.  Some are good at sending their cards out… others like to hold on to one.  So, this way, they can keep one and still send the other sets out. 🙂

I wanted to stamp with the girls yesterday, so I cut myself some of the kits… but of course, once everyone came, I did more socializing than stamping. lol So, I ended up crafting last night, and a little this morning.

This is one of the cards designed for our stamp-a-stack (SAS).  The girls loved the Latte Card we had made at the last SAS… they requested another coffee card.  Good thing there are 2 different types of coffee cups you can make with the Tim Holtz Fresh Brewed Sizzix Die.  I just love love love this die.  I also loooove the new Plaid Background from Tim Holtz/Stampers Anonymous.  I felt it would go perfect with this die.

??????????????

I ran out of my Peeled Paint Core-dinations paper and decided to use what few sheets I had left for the coffee label.  But, I don’t think I can create a card without matting it.  LOL  So, I cut white cardstock and ran Peeled Paint Stain on the outer edges to give us that green matting for the card.  I do this often with the stains so that the paper matches perfectly with the inks on the card.

??????????????

My obsession for Perfect Pearls has not stopped.  I just love the shimmer it gives when the light hits it just right.

??????????????

I was able to score “a few” straws from a certain coffee shop 😉 so, I had the girls cut the straw into short pieces and then cut them in half.  It have the perfect pop.  I also gave them the choice of using the Tim Holtz Mirrored Stars or the Gum Drops.  Most of them did some of each.  That’s the nice thing of making multiples of cards.  I added a touch of white distress paint to the star to distress it a bit. We also added white distress paint to the transparency lid.

??????????????

Although that last pic makes it look super shimmery, it really is a subtle shimmer… the light just hit it really strong… and since I was crafting at 5 am, there was no natural light in my craft room.  LOL!

Thanks for stopping by….

~joy

One response so far

Sep 28 2014

Sharing my “Vintage Journey”

Published by under Ranger,Sizzix,tim holtz

I was very honored to be asked to be a “Creative Guide” on “A Vintage Journey“.  The theme is “The Colours of Autumn” and I had fun creating the card below and sharing how I created it.

BeFunky_2014-09-27 14_2

I had so much fun playing and creating with some of my favorite products.  The distress stains are sooooo much fun to play with.  Below is “wet” and “dry” version of the background of the card.  I love the “spray” look.

BeFunky_PhotoGrid_1411963376086.jpg

And of course no card would be complete without perfect pearls…. haha.  I used the perfect copper to brush in between the cracks of the crackle paint.BeFunky_2014-09-27 07_50

Be sure to check out more details of my project on “A Vintage Journey” and I hope that you play long with the challenge of “The Colours of Autumn

Thanks for stopping by!

~joy

7 responses so far

Aug 15 2014

Mini Distress Sets 10-12

Published by under Ranger,tim holtz

Woohoo!!! They are here… the completion to these ADORABLE Mini Distress Inks. Sets 10-12.  So happy that they are now available in all 48 colors.

Thanks to Tim Holtz and Ranger, I am able to give one set away! 🙂

BeFunky_Sets10-12.jpg

For the card I created, I wanted to play with the Ranger Texture Paste since one of the properties I absolutely love-love-love about it is that it is inkable.

I didn’t want my paper to move around when I applied the paste, so I used Tissue Tape to temporarily adhere my black cardstock to the back of the stencil.

BeFunky_2014-08-14 22.jpg

I flipped it over and applied the paste to my (current) favorite stencil… Gothic.  I use the back of the palette knife to apply the paste.  Spread it all over like you are frosting a cake. (I hear that’s how you frost a cake anyway… I’m not much help in the kitchen… well, except help EAT the food 🙂 )
BeFunky_2014-08-14 23.jpg

 I seriously love the magic that happens when you lift that stencil up to see the gorgeous pattern.BeFunky_2014-08-14 232.jpg

Then, I took Milled Lavender and applied the ink directly onto the paste.  I did the same with the Tattered Rose, Chipped Sapphire and Shabby Shutters.  After the ink was down, I used my mini ink blending tools to blend the colors around the pasted pattern. (I got so excited that I forgot to take a picture of that step)BeFunky_2014-08-15 05

 I stamped one of the quotes from Attic Treasures in Shabby Shutters and lightly “kissed” certain parts of the stamp with the chipped sapphire.BeFunky_2014-08-15 05.jpg

 I love how the two colors go so well together.BeFunky_2014-08-15 06.jpg

 And I HAD TO add perfect pearls to the project… It’s my latest addiction.  My stamp-a-stack girls (or stamp-and-snack as tim thought it was called) can attest to my obsession. 🙂BeFunky_2014-08-15 062.jpg

 It’s hard to capture the pretty pretty shimmer that it adds to the project….BeFunky_2014-08-15 06

I inked the edges with Brushed Corduroy and put it on black cardstock for matting. I attached a hinge clip to the top of the quote.

I applied all of the pieces, as well as the wordband (that is adhered with the linen ribbon)  to Neenah Desert Storm Cardstock.

And here it is all put together.  I loooove the INKED textured paste.
BeFunky_2014-08-15 063.jpg

One thing I loved about making this card is that I stepped out of my comfort zone when it came to color combination.  I seem to always reach of the same colors for most of my projects.  But, it was fun playing with other colors.

Please leave a comment and tell me what your favorite color combos are for a chance to win a set of the new mini distress inks. 🙂  I want to try some of your new color combos.

Thanks so much for stopping by!

~joy

367 responses so far

Older Entries »