 Menu Plan July Week 4
This week’s menu plan is full of summer recipes that do not require the oven. 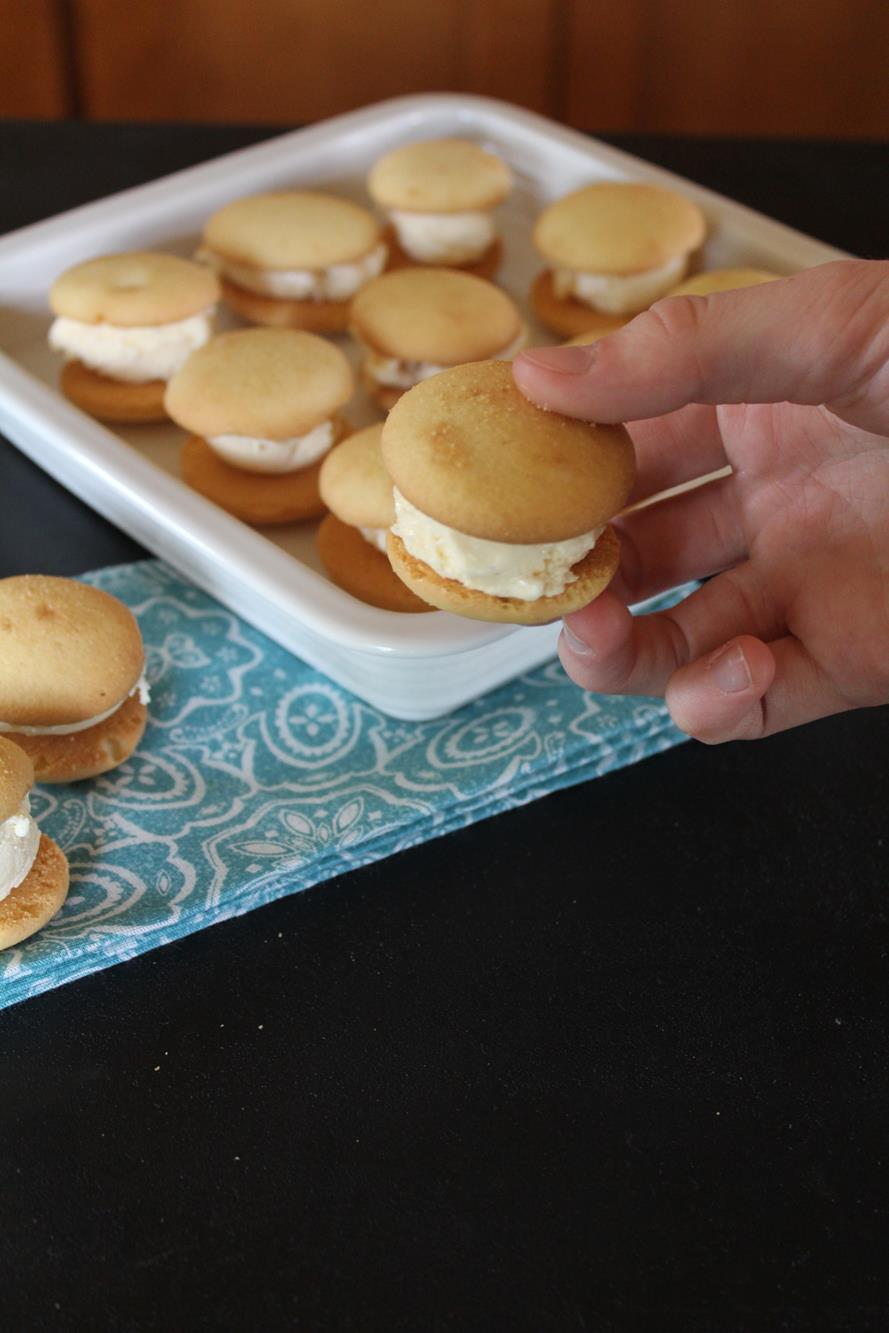 Menu Plan July Week 4Easy recipes for summer that do not require the oven. 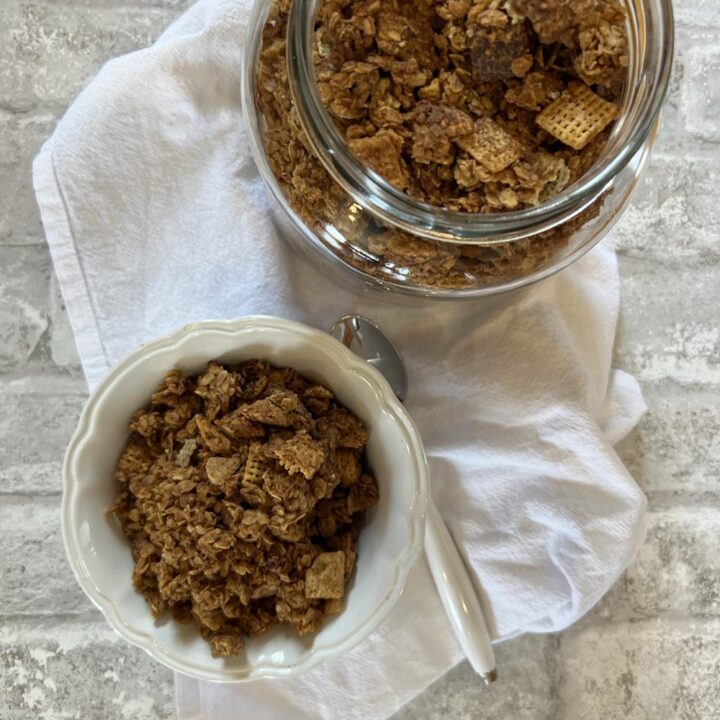 Peanut Butter Chex Granola RecipeSkip the store bought granola and make it at home. 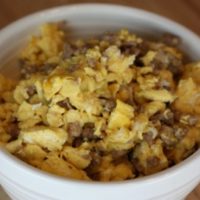 Eggs and Sausage { Freezer Friendly and Make Ahead Breakfast Idea}Eggs and sausage are a great make-ahead freezer-friendly breakfast. 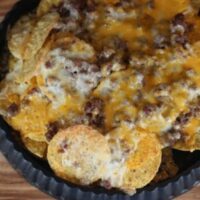 Grilled NachosChange up your basic nachos and grill them. 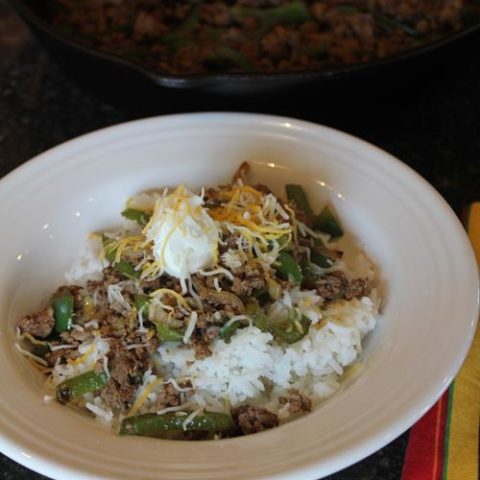 Ground Beef Fajita BowlChange up taco or fajita night with these ground beef fajita bowl recipe.  15 Minute Dinner Sausage Alfredo15 minute sausage alfredo is a quick and easy delicious dinner. It is also easy to make gluten free.  Light and Fluffy WafflesServe light and fluffy waffles with fruit for a delicious breakfast treat. 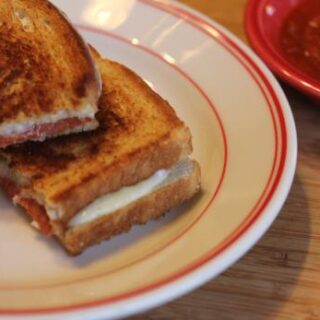 Pizza Grilled Cheese SandwichesAll the flavors of pizza in an easy to make grilled cheese sandwich.  Easy Slow Cooked Chicken LegsYou only need a few ingredients to make these easy slow cooked chicken legs. 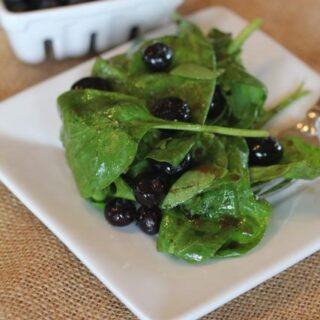 Blueberry Spinach SaladBlueberry Spinach Salad is a delicious side dish for any time of year. 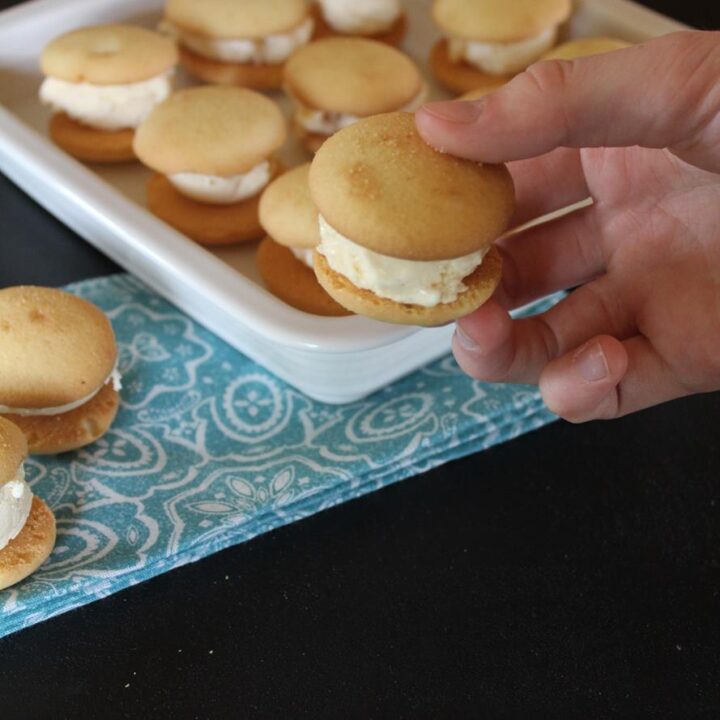 Vanilla Wafer Ice Cream SandwichesEasy two ingredient dessert. The post Menu Plan July Week 4 appeared first on Lynn's Kitchen Adventures. • View comments • Track comments •
Gluten Free Menu Plan July Week 4
Need easy gluten free meals for the week? This week’s gluten free menu plan is full of gluten free meals perfect for July. I made notes next to the ingredients that need to be gluten free, but as always read labels to make sure that the ingredients are safe for you. 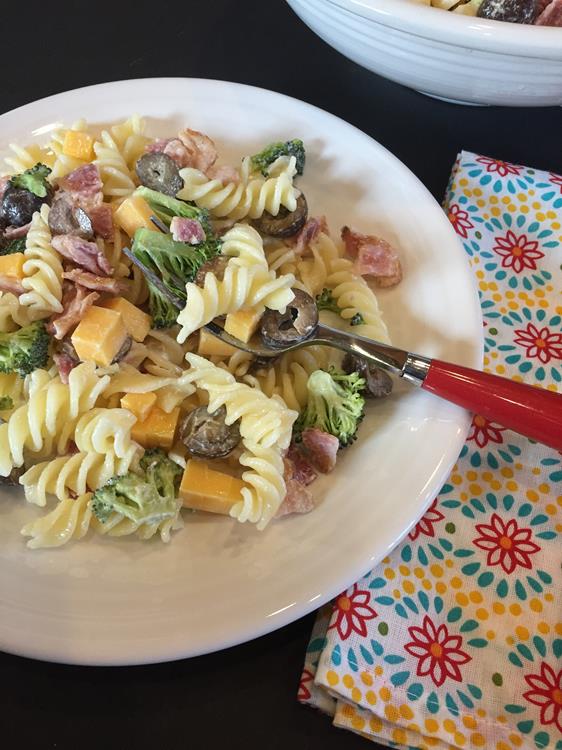 Gluten Free Menu Plan July Week 4Easy gluten free meals for July.  Peaches and Cream Baked OatmealA grown up version of those famous packets of oatmeal. Use gluten free oats for gluten free version. 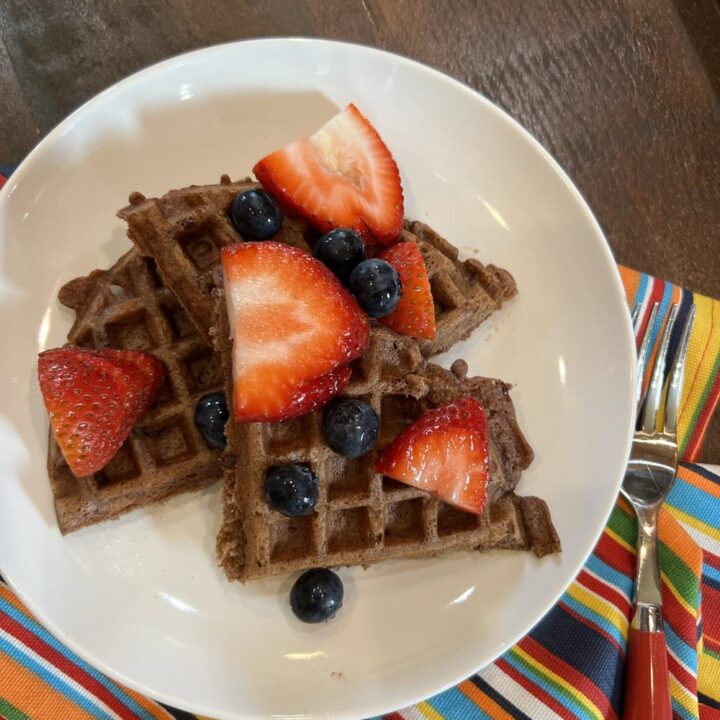 Gluten Free Chocolate WafflesGluten free chocolate waffles make a delicious gluten free dessert or even breakfast treat. 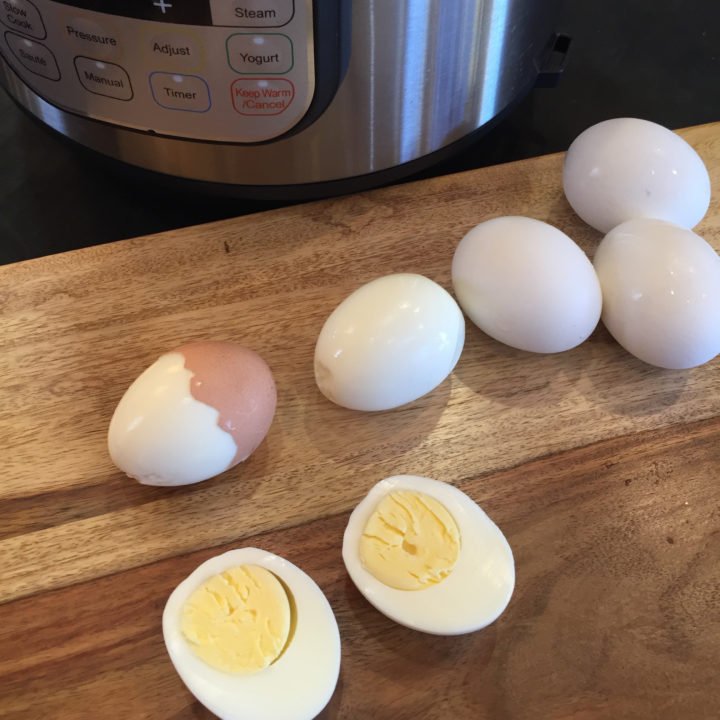 Instant Pot Hard Boiled EggsMy favorite way to make hard boiled eggs. 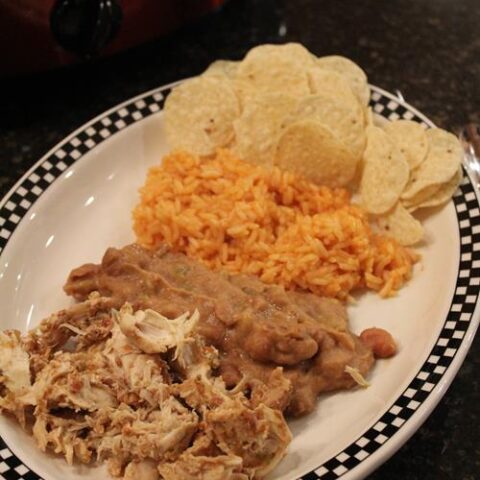 Slow Cooked Salsa ChickenSlow cooked salsa chicken can be used in so many different ways. 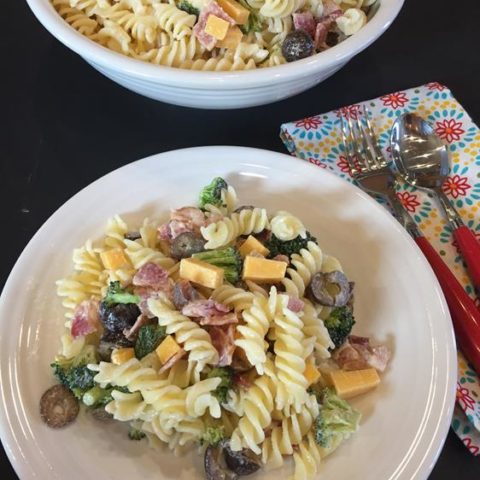 Broccoli Bacon Pasta SaladBroccoli Bacon Pasta Salad is a quick and easy summer lunch or dinner. 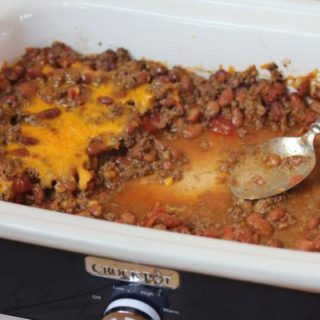 Crock Pot Beef and Bean Casserole Recipe {Five Ingredients or Less}Need a simple dinner that is easy to make gluten free? Make Crock Pot Beef and Beans for dinner this week. 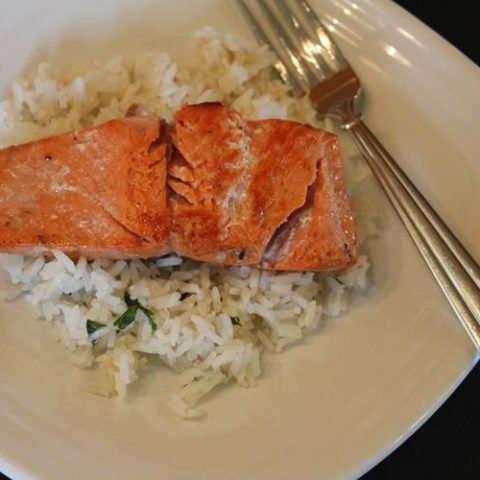 Pan Cooked Salmon with Cilantro Lime RiceOne of my favorite ways to serve salmon. 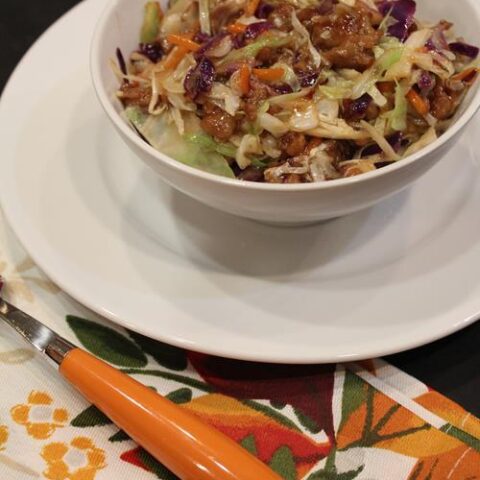 Easy Cabbage Stir FryQuick and easy cabbage stir fry dinner. 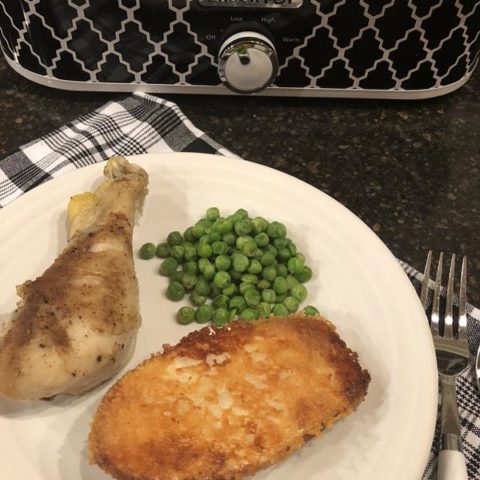 Slow Cooked Southwest Chicken LegsSlow Cooked Southwest Chicken Legs is an easy slow cooked dinner that your family will love.  Microwave Peach CobblerThis simple microwave peach cobbler is quick, easy, and delicious! The post Gluten Free Menu Plan July Week 4 appeared first on Lynn's Kitchen Adventures. • View comments • Track comments •
Fudge Cake Brownies
These Fudge Cake Brownies are adapted from an old Southern Living magazine recipe. They are still a favorite almost twenty years later.  I found this recipe in a Southern Living Magazine about twenty years ago. When you are still making a recipe twenty years later, you know it is a good recipe! Over the years, I have changed up how I make them, but the brownie part is still the same basic recipe. These brownies are rich, fudgey, and delicious! The recipe makes an 8×8 pan, but when I need a big pan of brownies, I just double the recipe and use a 9×13 pan. All you need to do is add a few minutes to the cooking time. 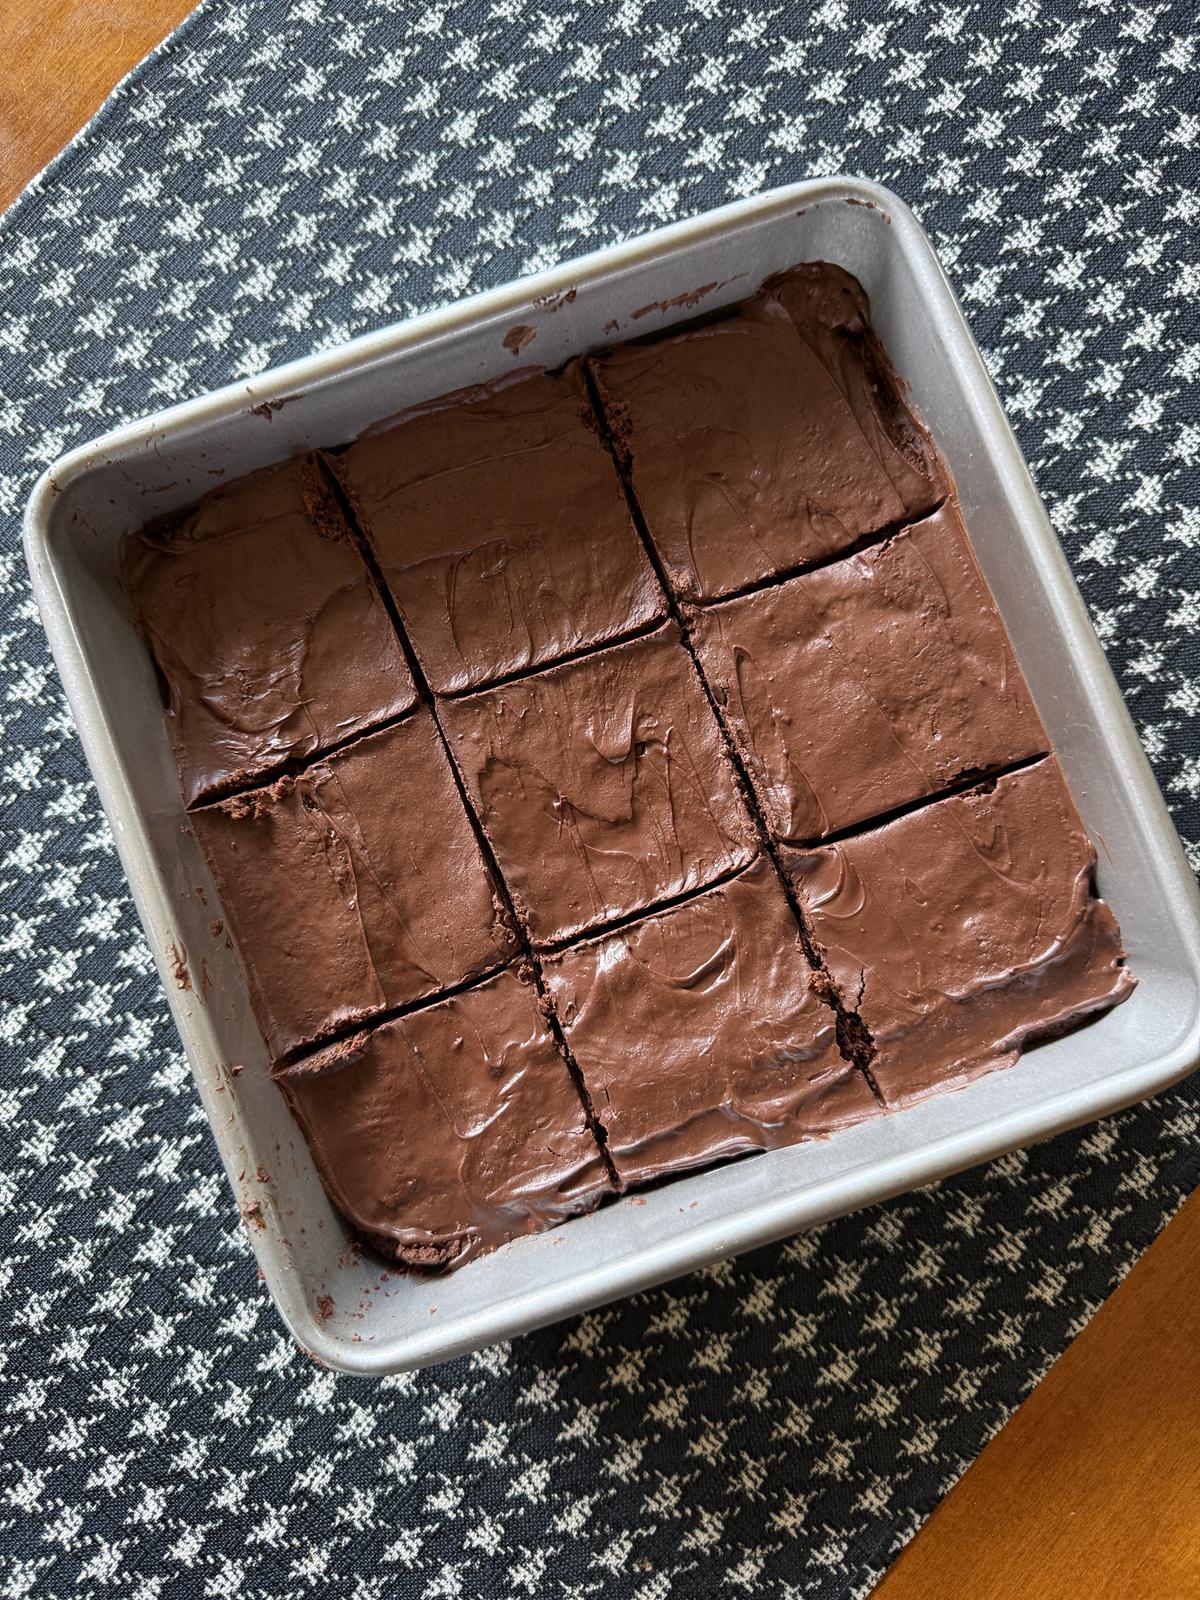 My favorite way to make these is to leave off the powdered sugar the original recipe called for. Instead of the powdered sugar, I place a few chocolate chips on the brownies about 5 minutes before they are done. 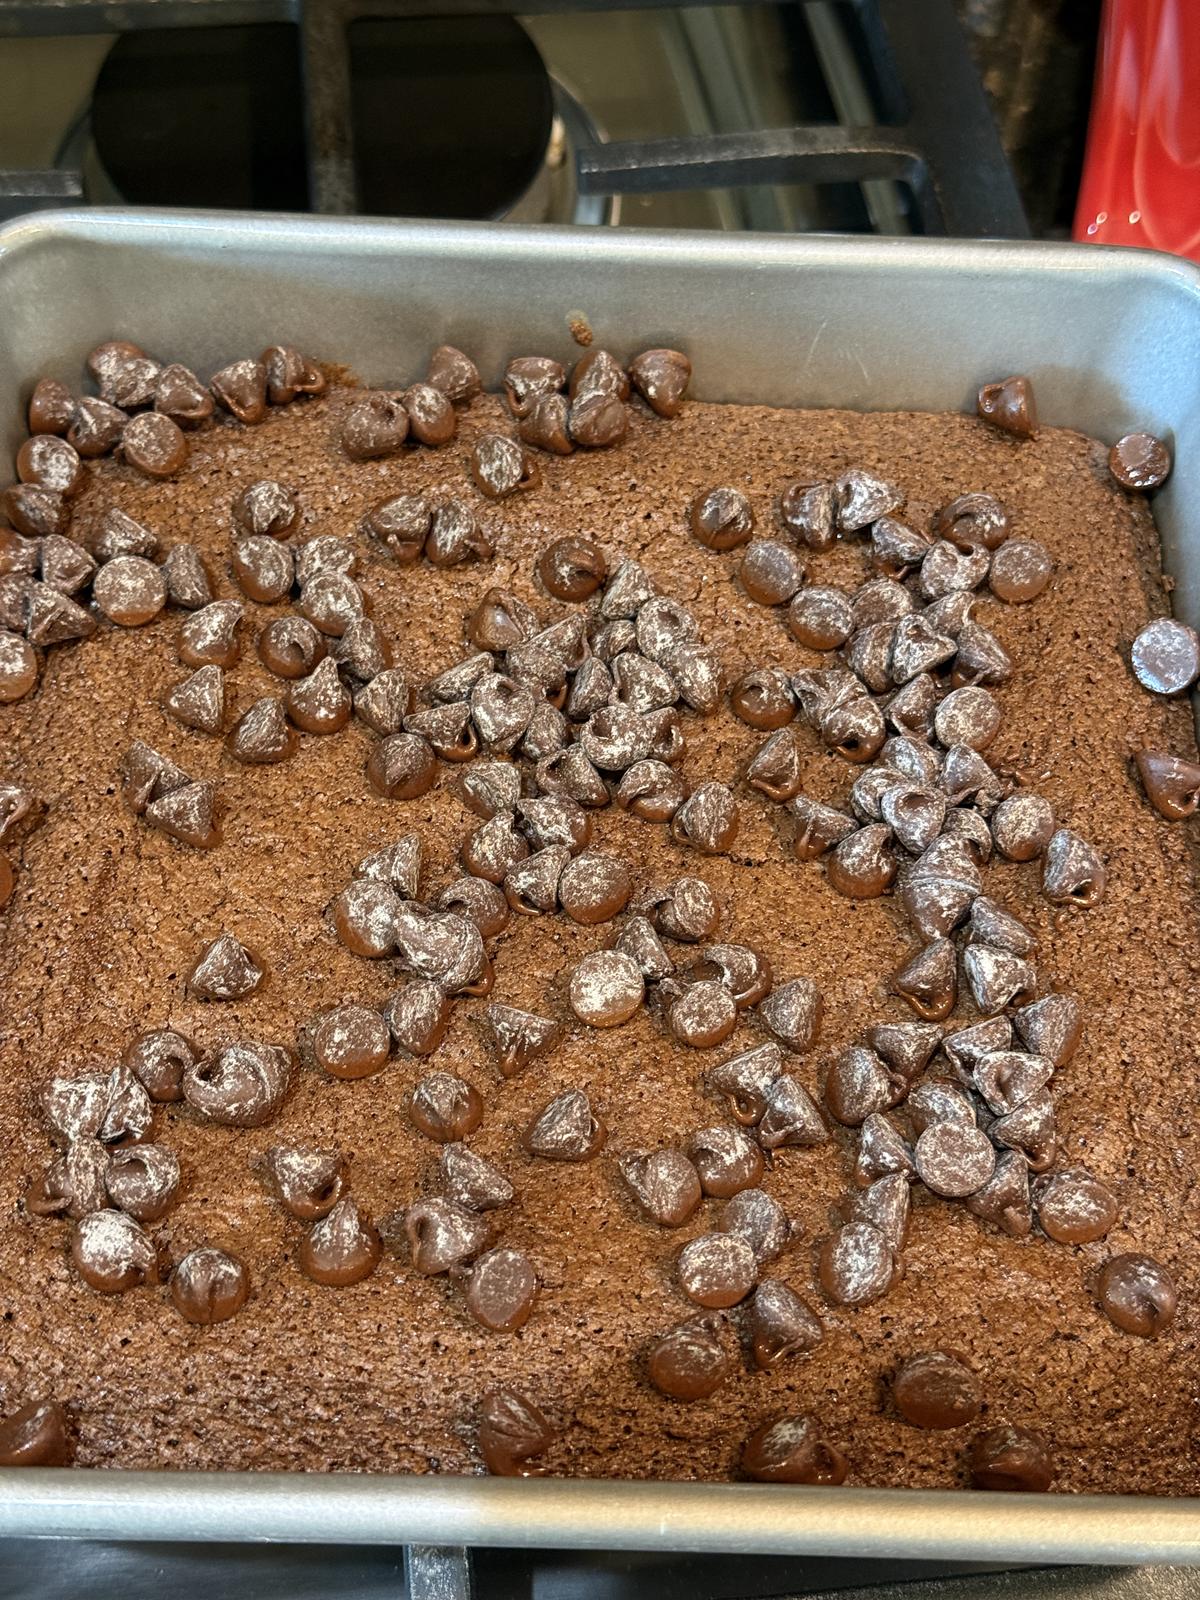 I put them back in the oven for the last few minutes. The chocolate melts. Then I spread them around the top for a delicious and easy chocolate frosting. One tip I have is not to use old chocolate chips that have turned white, like in the picture above. The chocolate chips on that pan of brownies did not melt right, and I had to take them off and start over. Chocolate does, in fact, go bad, or at least bad enough that it doesn’t melt right. 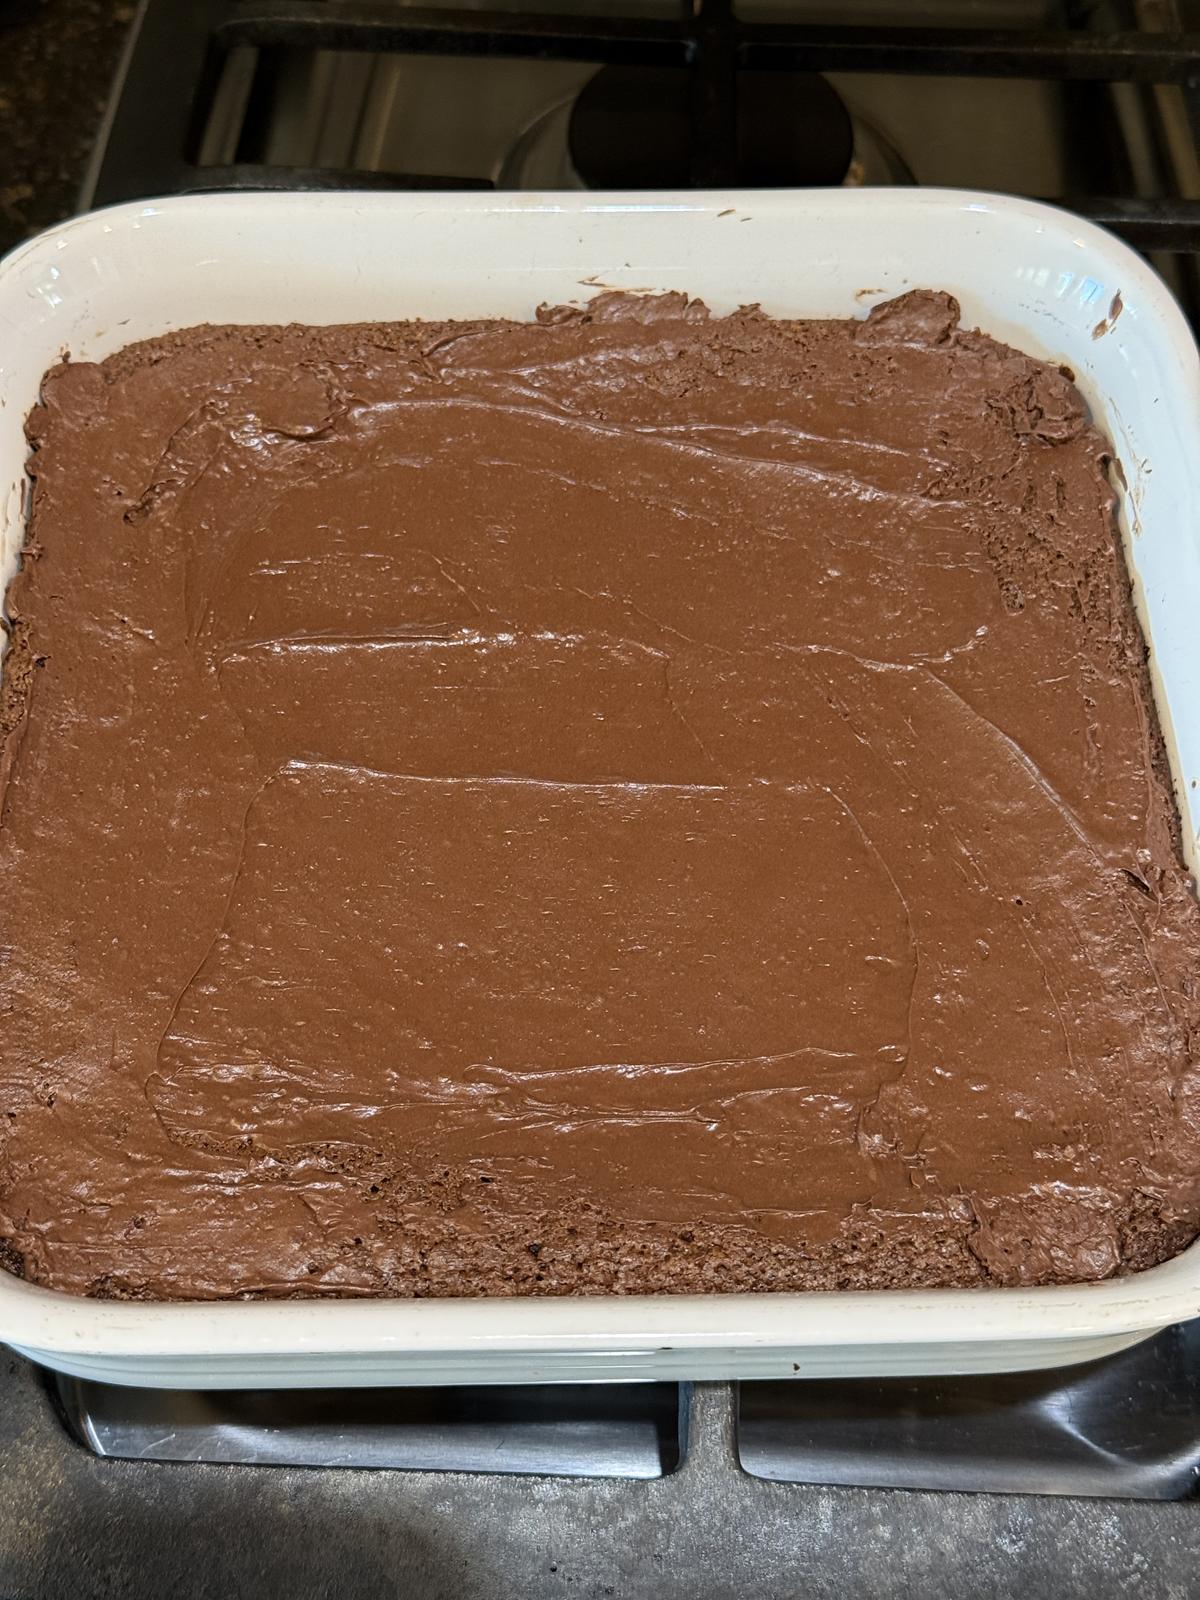 After the brownies are cool, I refrigerate them for a couple of hours for the chocolate to harden. You don’t have to refrigerate them, but the chocolate will set faster if you do. Can I make these Southern Living Brownies Gluten Free?Yes, you can! I have a recipe that I shared for my gluten-free version of Southern Living Fudge Brownies. 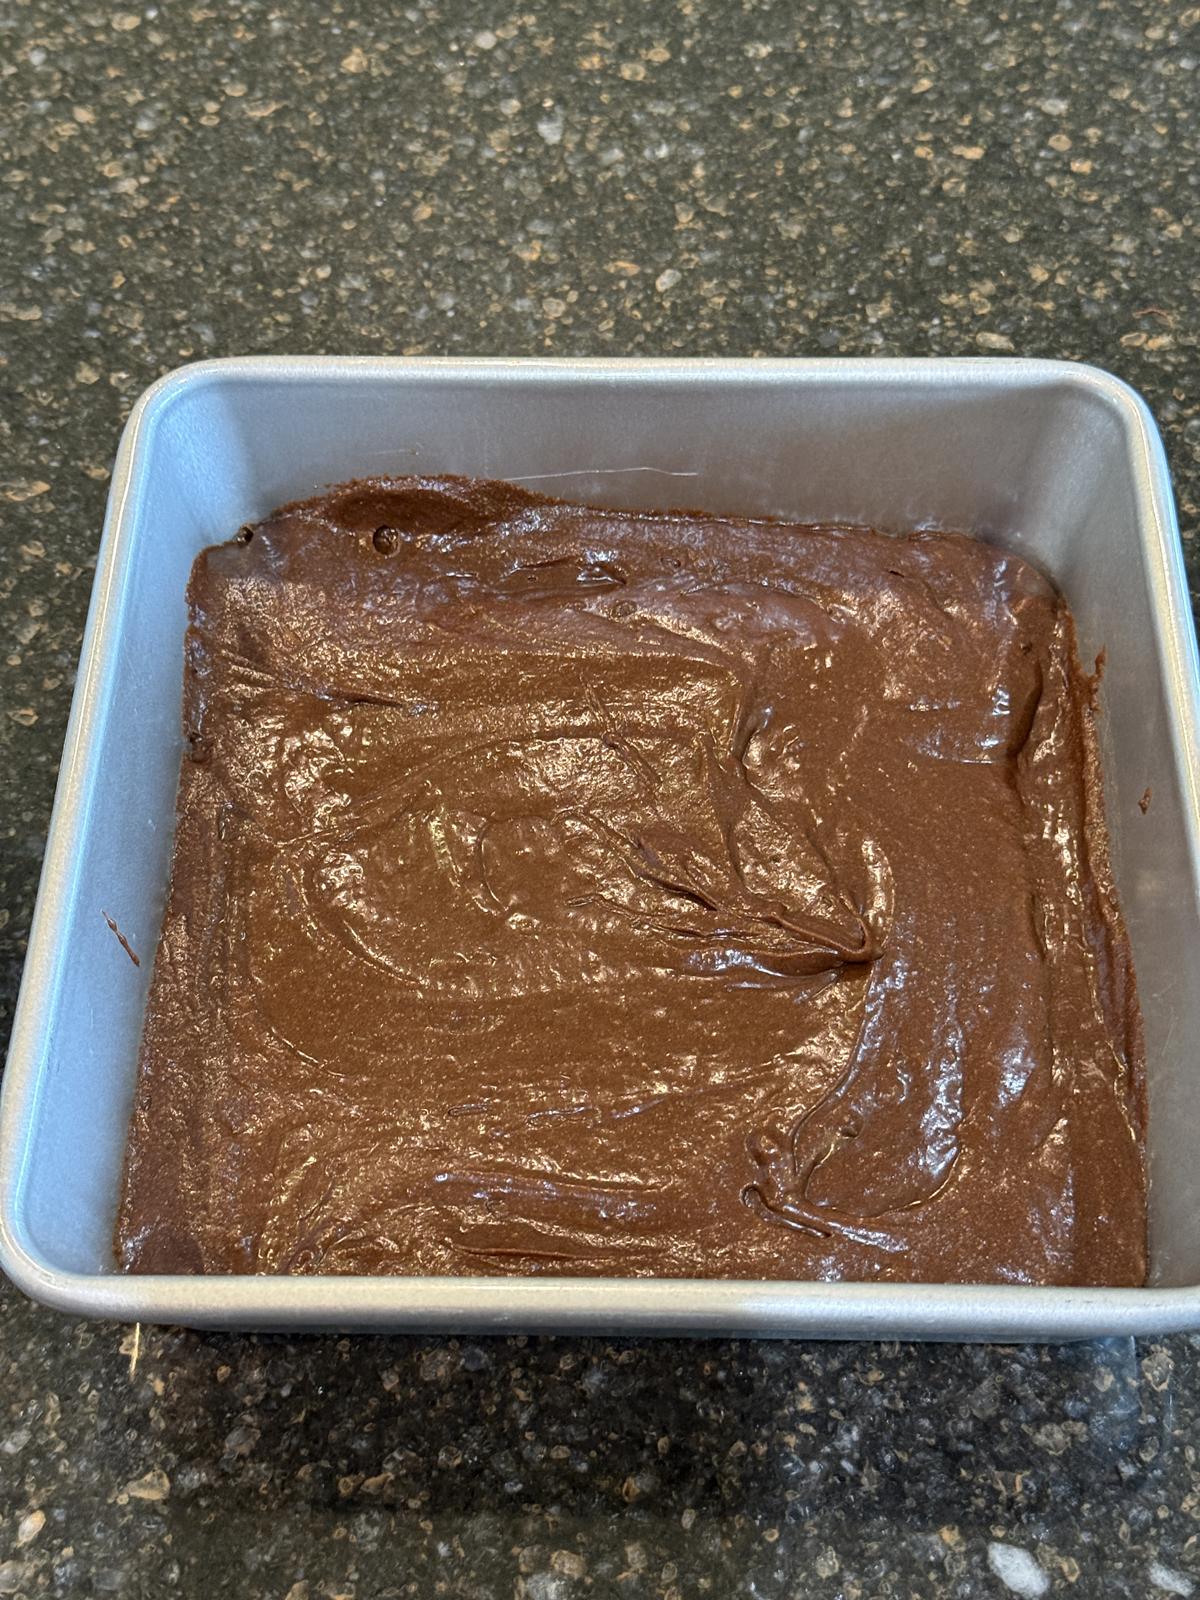 Ingredients
Yield: 9 brownies
Fudge Cake Brownies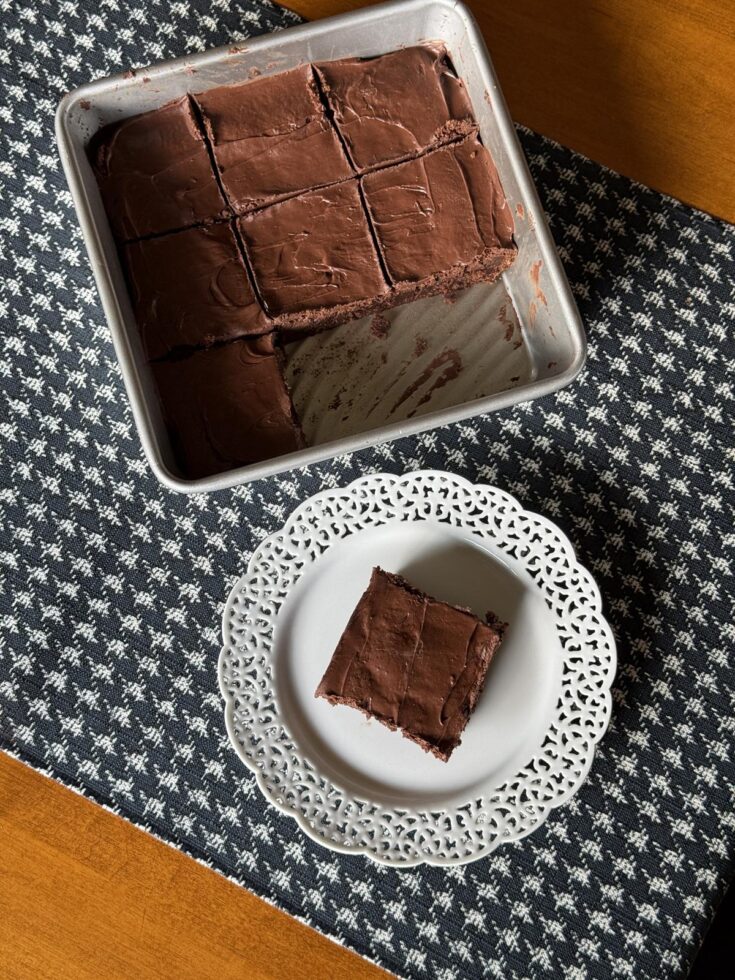 5.0 Stars (2 Reviews)
Classic brownie recipe that is delicous.
Prep Time
10 minutes
Cook Time
30 minutes
Total Time
40 minutes
Ingredients
Instructions
Nutrition Information:Yield:9Serving Size:1Amount Per Serving: Calories: 476Total Fat: 27gSaturated Fat: 11gUnsaturated Fat: 17gCholesterol: 72mgSodium: 106mgCarbohydrates: 55gFiber: 4gSugar: 36gProtein: 7g Nutritional values are approximate and aren't always accurate.
 Southern Living Fudge Cake Brownie recipe was originally published in July 2008. Updated July 2026. The post Fudge Cake Brownies appeared first on Lynn's Kitchen Adventures. • View comments • Track comments •
Southern Living Brownies Made Gluten Free
These Gluten Free Fudge Cake Brownies are an old Southern Living brownie recipe made gluten free. They are rich, delicious, and gluten free!  I recently updated a brownie recipe that I shared way back in 2008, that was before I went gluten free. When I updated the recipe, I realized that I had never shared the gluten free version. I have been gluten free since late 2009, so I can’t believe that I have never shared the gluten free version of these Southern Living Fudge Cake Brownies. They are one of my favorites. 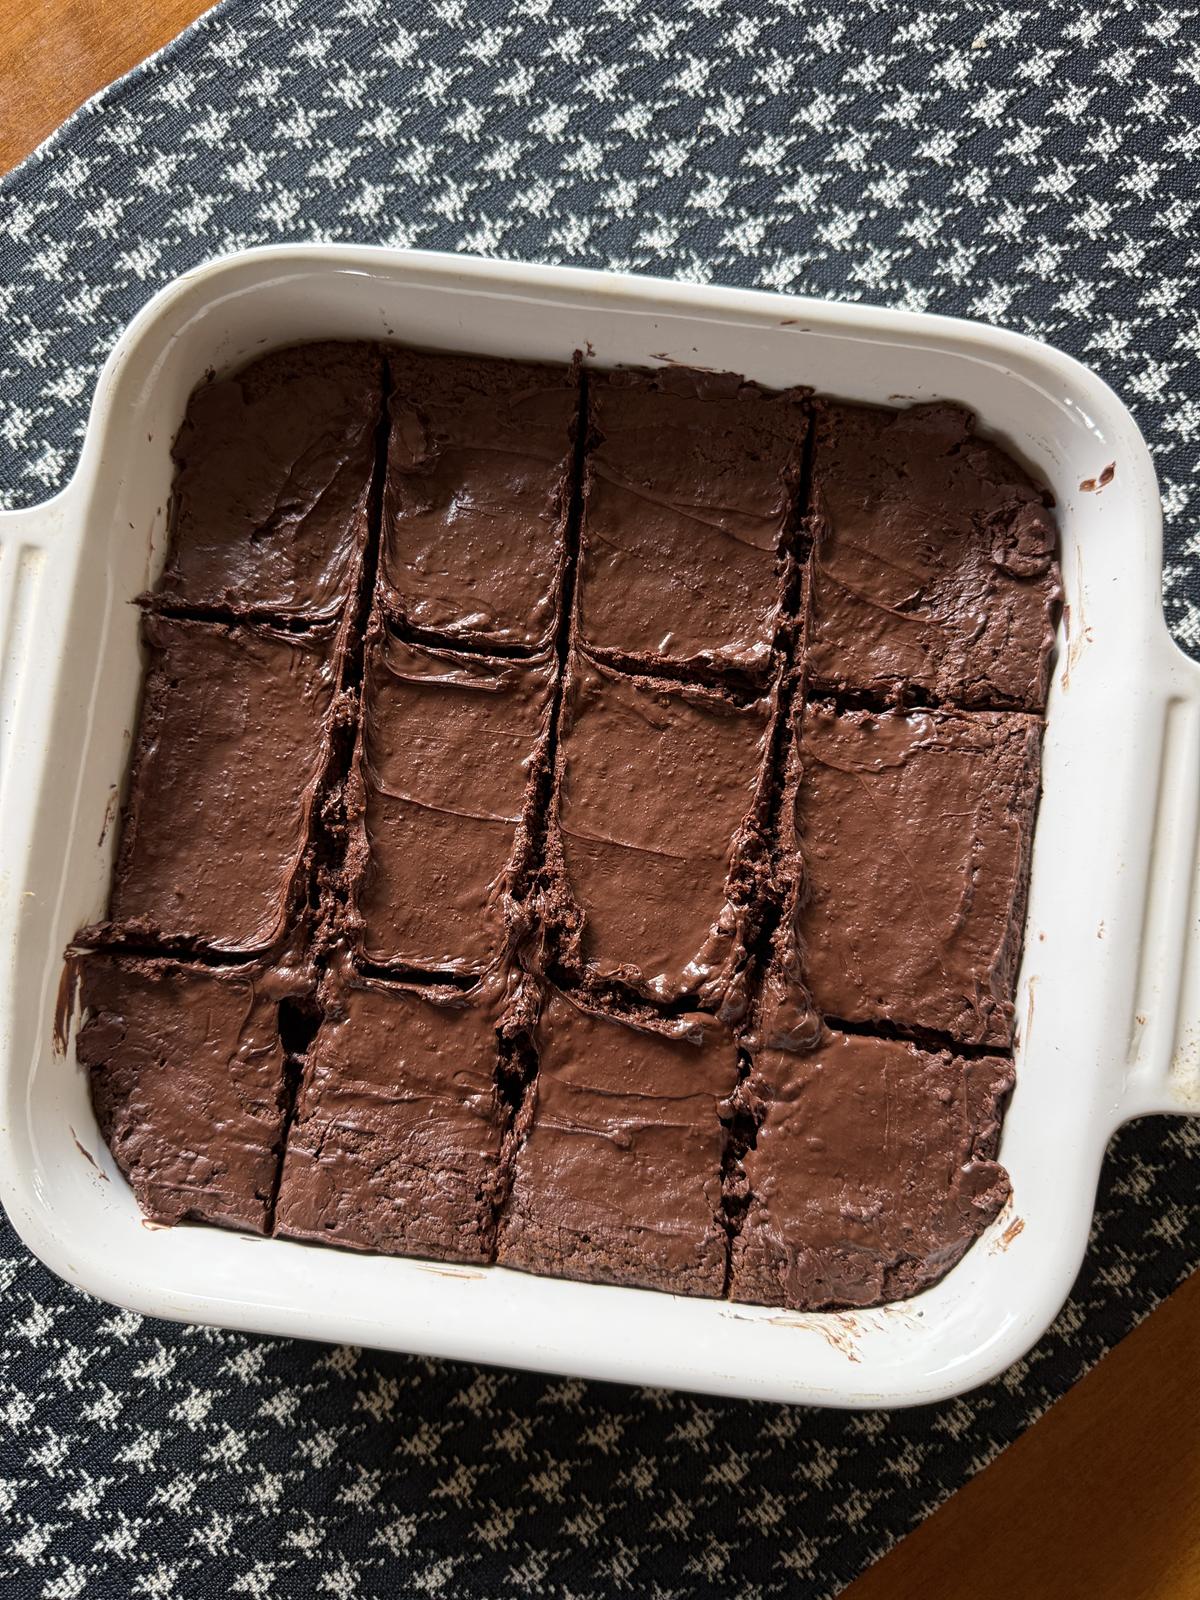 The main reason that I hadn’t shared this recipe is that the original recipe calls for self-rising flour. For a long time, I just didn’t make recipes that call for self-rising flour, but then I realized I could just make my own gluten-free self-rising flour. It really is easy to make gluten free self rising flour at home. All you need is a gluten free flour blend, salt, and baking powder. 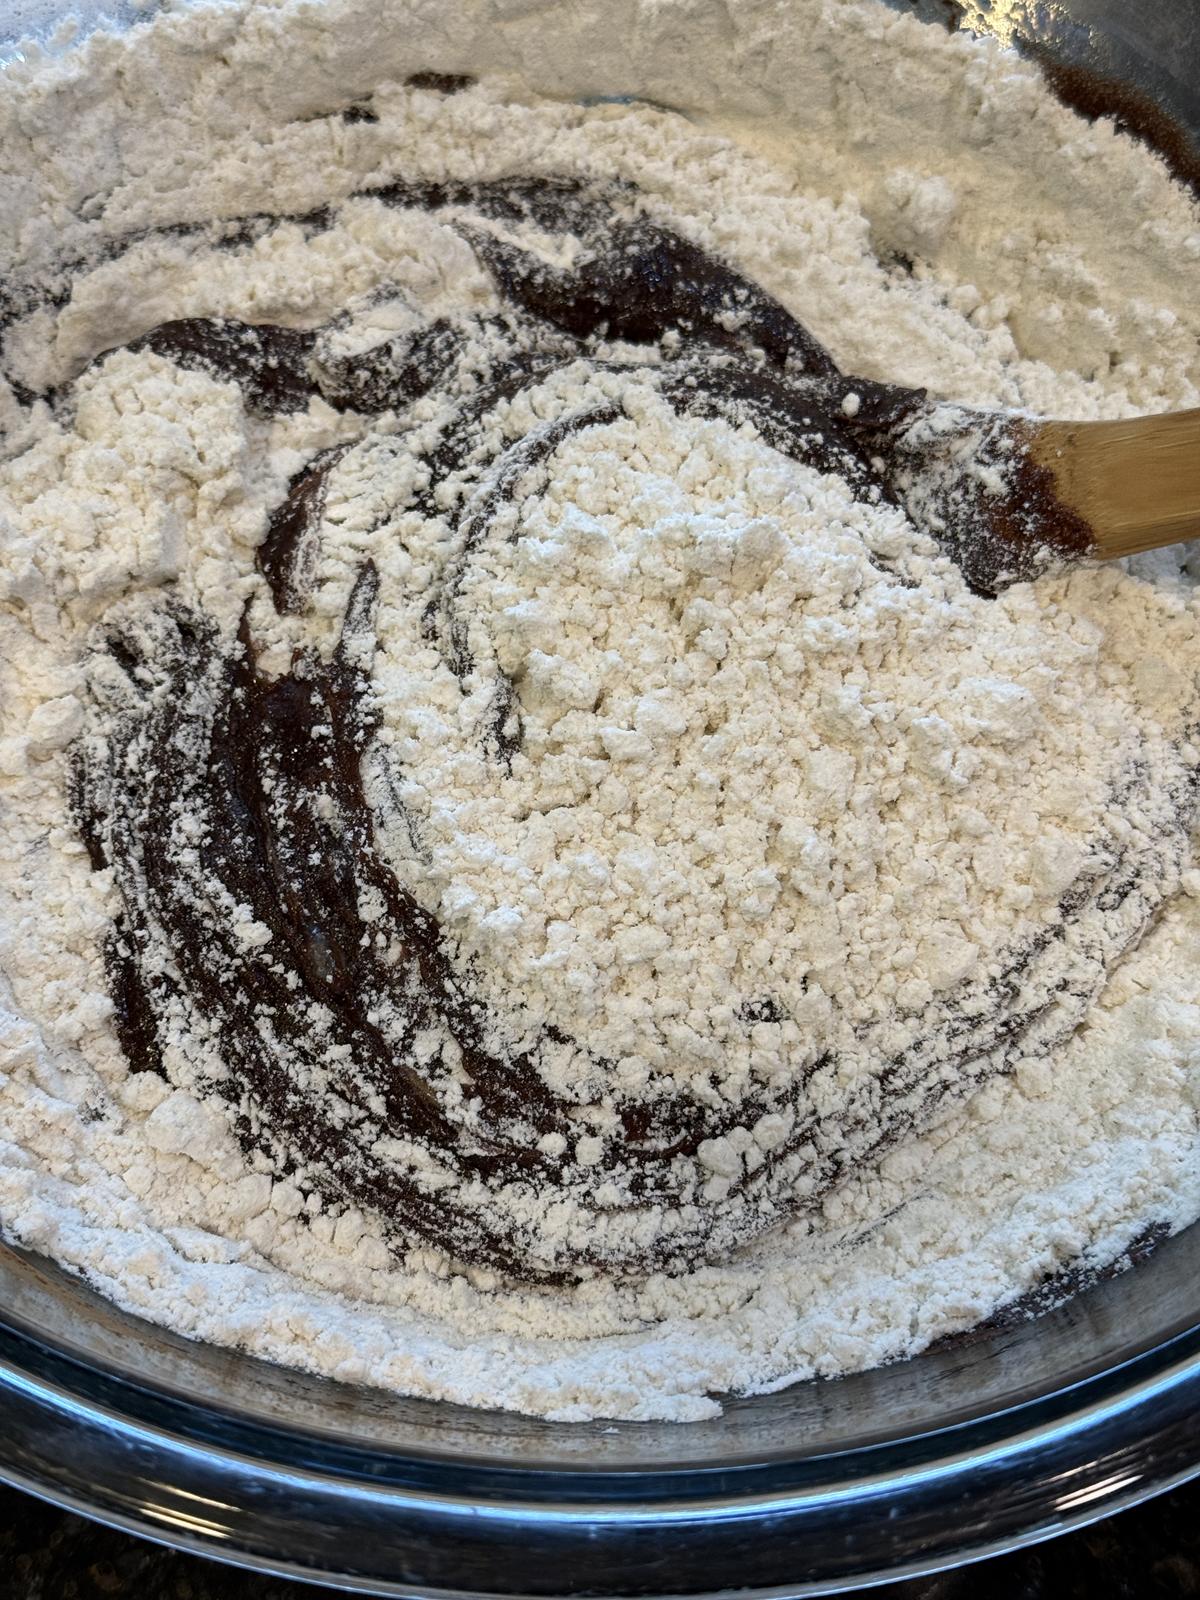 I think what I like best about this recipe is the chocolate on top. For this recipe, you make the brownies and bake them until almost done. Then you sprinkle chocolate chips on top. Bake a couple more minutes and then spread the melted chocolate over the brownies. A little bit of extra chocolate takes these gluten free fudge cake brownies to the next level. 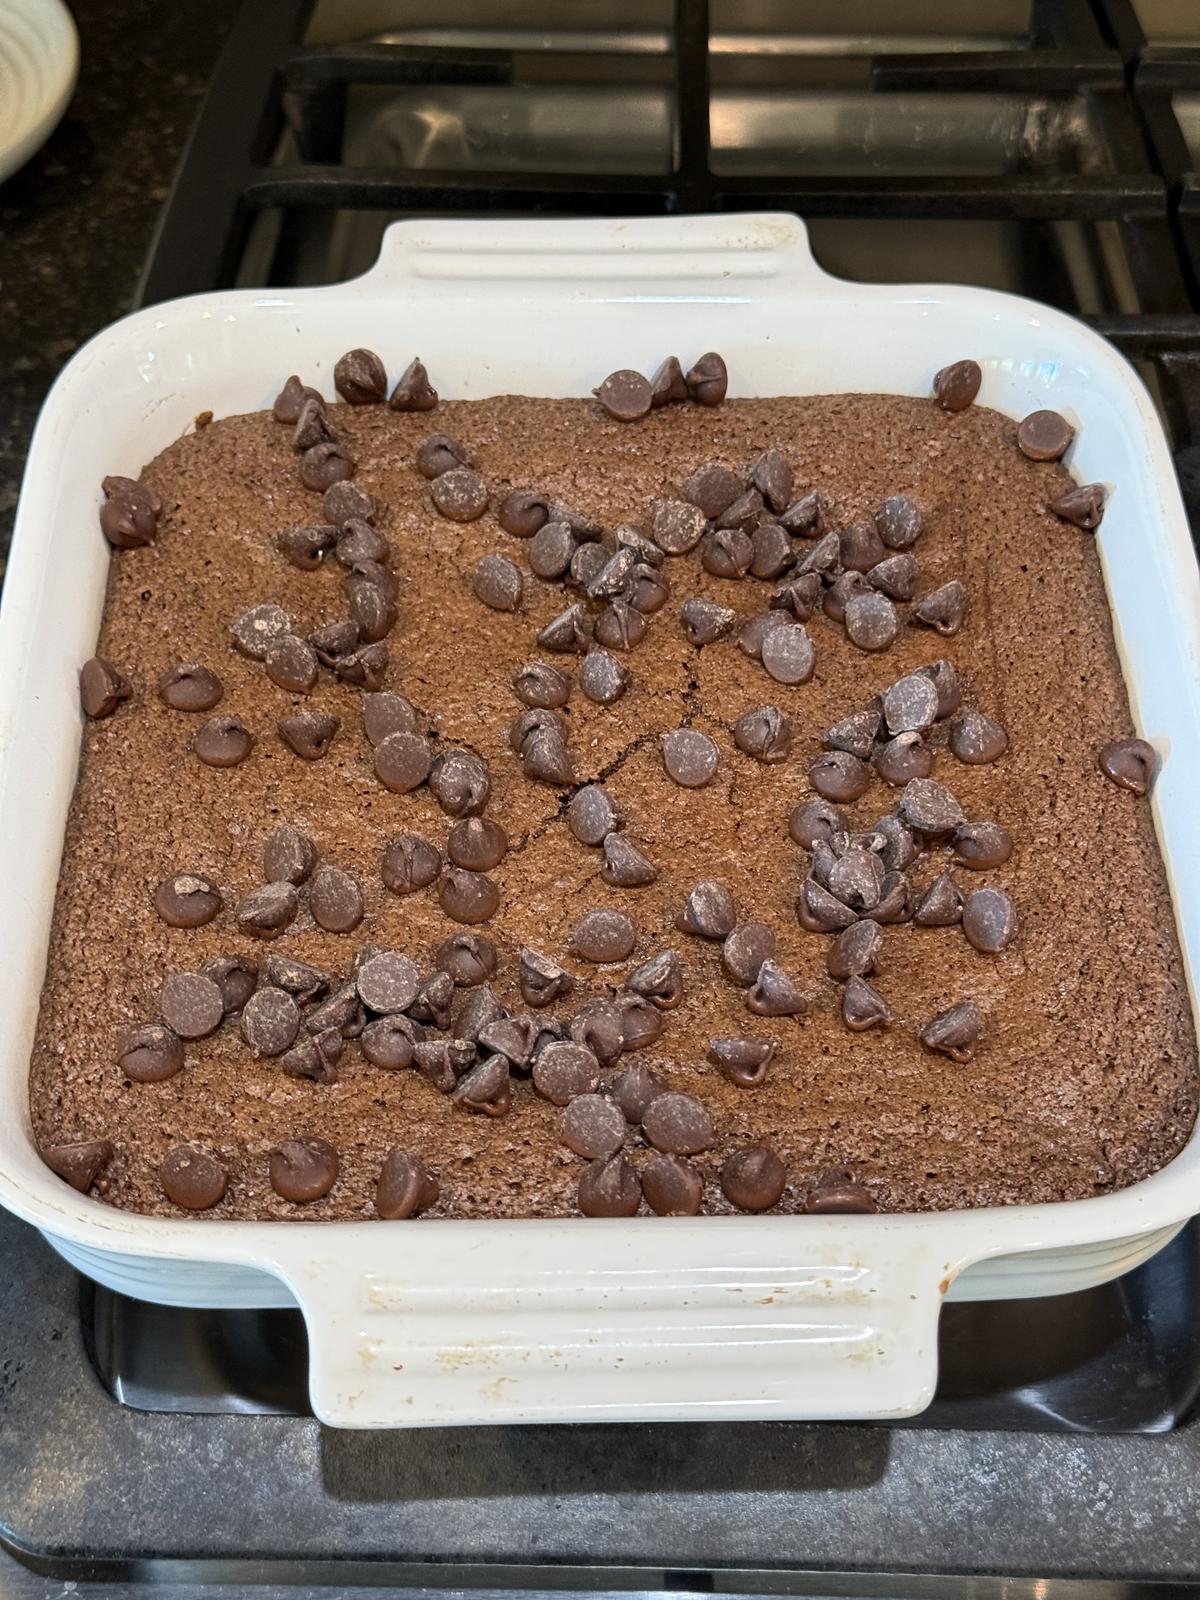 Ingredients

Yield: 12
Southern Living Brownies Made Gluten Free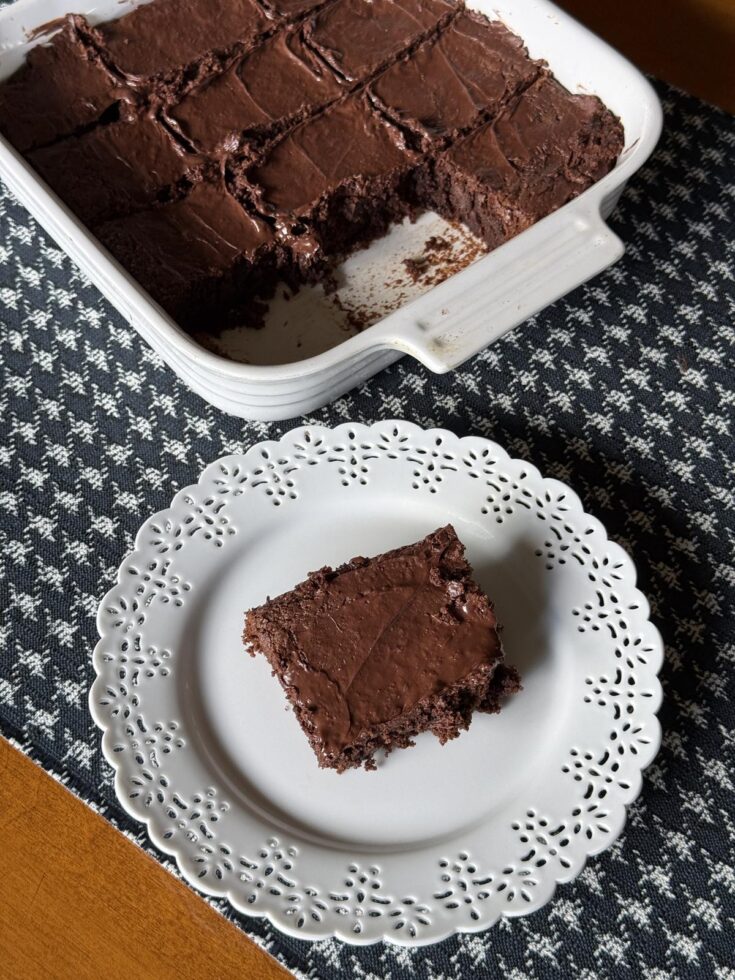 No Ratings
A Southern Living recipe from twenty years ago made gluten free. Easy, delicious, and gluten free.
Prep Time
10 minutes
Cook Time
30 minutes
Total Time
40 minutes
Ingredients
Instructions
NotesGluten free self rising flour is easy to make at home with this gluten free self rising flour recipe. Nutrition Information:Yield:12Serving Size:1Amount Per Serving: Calories: 357Total Fat: 21gSaturated Fat: 8gUnsaturated Fat: 12gCholesterol: 54mgSodium: 80mgCarbohydrates: 41gFiber: 3gSugar: 27gProtein: 5g Nutritional values are approximate and aren't always accurate. The post Southern Living Brownies Made Gluten Free appeared first on Lynn's Kitchen Adventures. • View comments • Track comments •
Gluten Free Self Rising Flour Recipe
This gluten free self rising flour recipe is perfect for when you need self rising flour in a gluten free recipe. 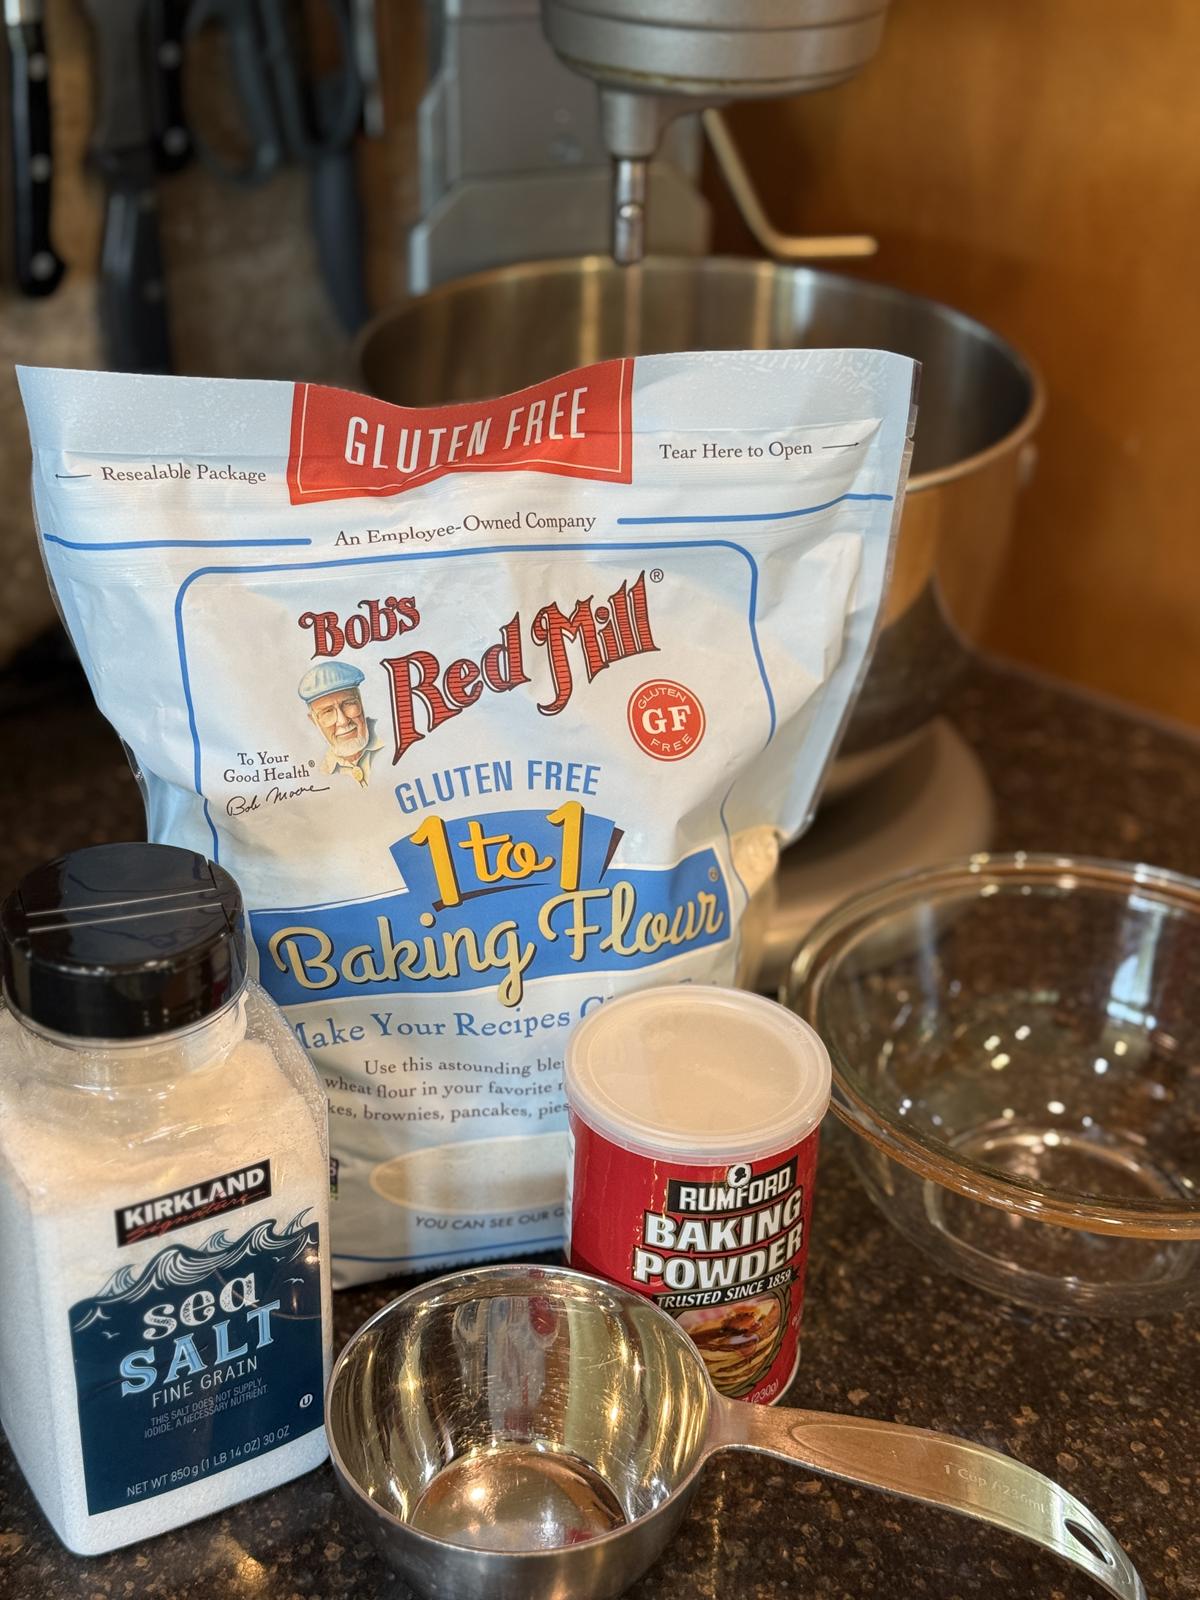 Self-rising flour is common in recipes, especially Southern recipes like biscuits, cakes, and cornbread. It can also be used in brownies, pancakes, waffles, and other baked goods. When I went gluten-free back in 2009, I had several favorite recipes that called for self-rising flour. For a long time, I did not try to make those recipes gluten-free because I did not have gluten-free self-rising flour, but then I realized that I could easily make it myself. I recently made gluten free brownies, I will share the recipe later this week, and realized that I had never shared my recipe for making gluten free self rising flour. What is self-rising flour?You might be wondering exactly what self-rising flour is. Self-rising flour is flour with leavening and salt in it. It is also usually milled with a softer wheat than all-purpose flour. Softer wheat has lower protein, which helps make baked goods more tender. Many people consider self-rising flour to be the secret to soft and tender baked goods. White Lily Self Rising Flour is one of the most well known brands of self rising flour. IngredientsGluten Free Flour Blend– I used Bob’s Red Mill 1 to 1 Gluten Free Flour Blend, but you can use your favorite gluten free flour blend. Baking Powder– I use an aluminum-free baking powder, but any baking powder will work. Salt 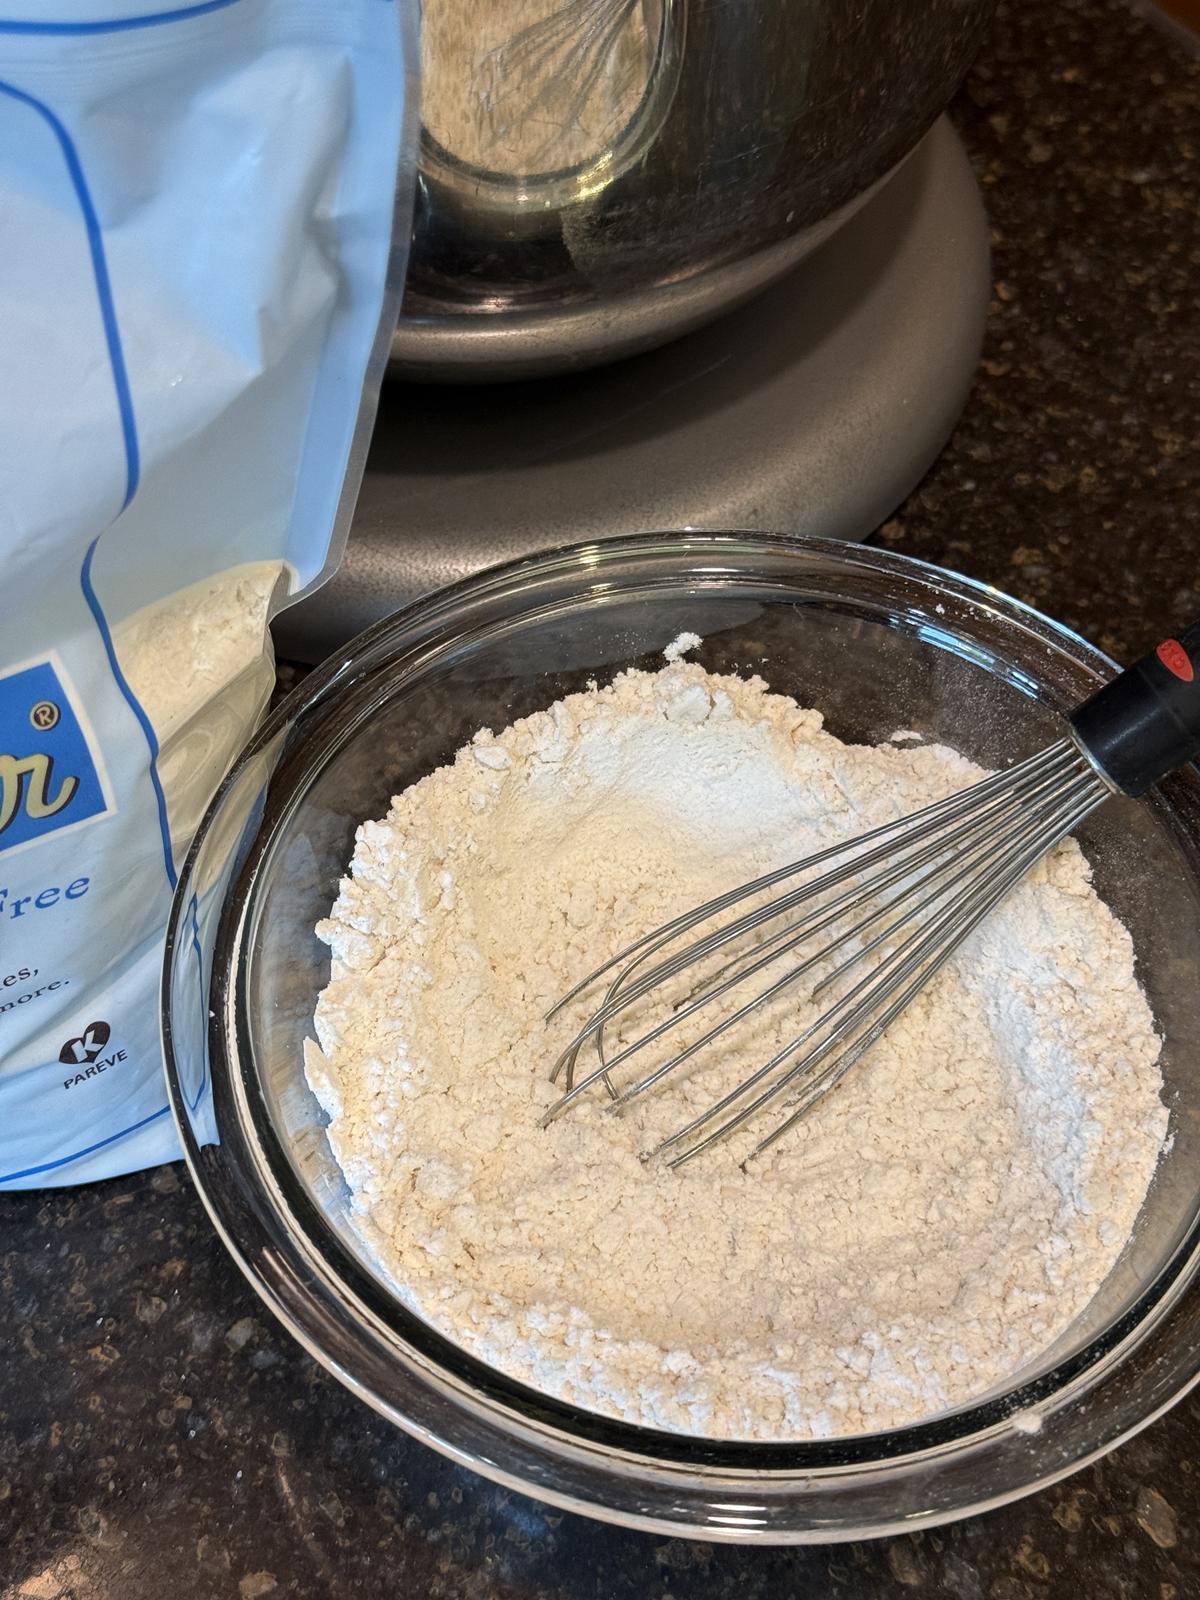
Yield: 1 1/2 cups
Gluten Free Self Rising Flour No Ratings
Gluten free self rising flour can easily be made at home with this three ingredient recipe.
Prep Time
5 minutes
Total Time
5 minutes
Ingredients
Instructions
NotesI used Bob's Red Mill 1 to 1 Gluten Free Flour Blend, but you can use your favorite gluten free flour blend. Nutrition Information:Yield:1Serving Size:1Amount Per Serving: Calories: 911Total Fat: 3gSaturated Fat: 0gUnsaturated Fat: 2gSodium: 1457mgCarbohydrates: 195gFiber: 7gSugar: 1gProtein: 26g Nutritional values are approximate and aren't always accurate. The post Gluten Free Self Rising Flour Recipe appeared first on Lynn's Kitchen Adventures. • View comments • Track comments •
| ||||||||||||||||||||||||||||||||||||