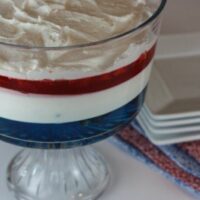
Gluten Free Menu Plan July Week 3
This week’s gluten free menu plan includes delicious gluten free recipes for summer. I made notes next to the ingredients that need to be gluten free, but as always read labels to make sure that the ingredients are safe for your family. 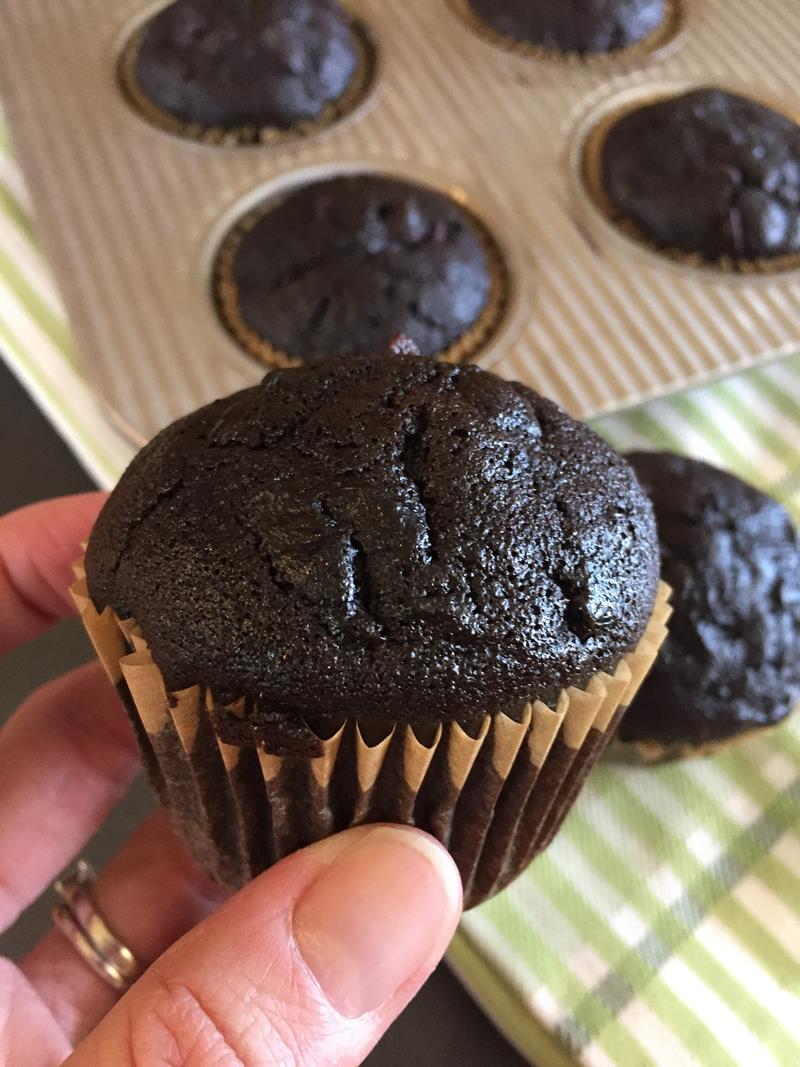 Gluten Free Menu Plan July Week 3Breakfast for dinner, fish tacos, homemade smoothies and more are on this week's gluten free menu plan. 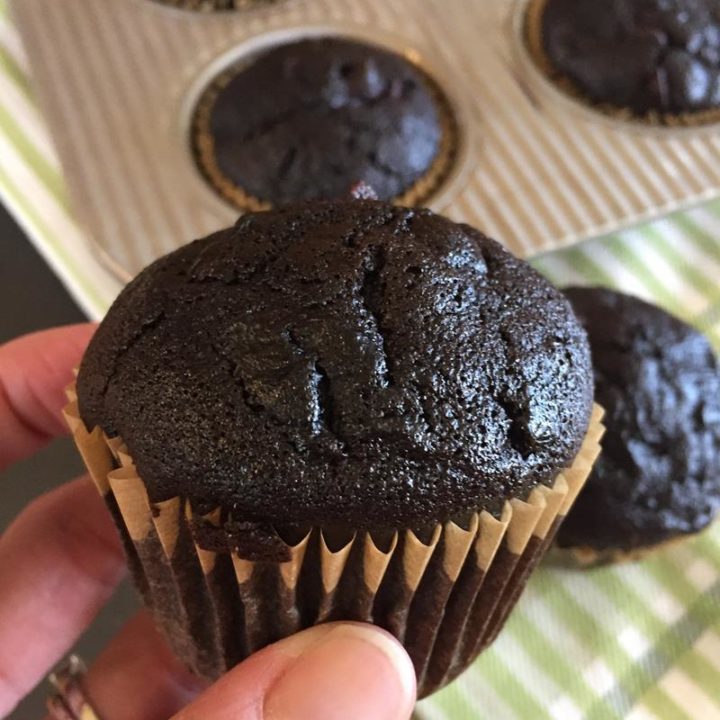 Gluten Free Chocolate Zucchini MuffinsA delicious gluten free way to use up extra zucchini.  Gluten Free Banana Pancake MuffinsGluten free pancakes can be easy to make ahead and keep in the freezer with these gluten free banana pancake muffins. 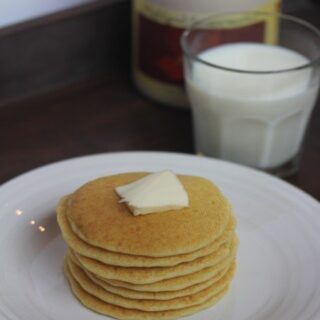 Easy Gluten Free Sourdough PancakesMy mom's sourdough pancakes are made gluten-free. 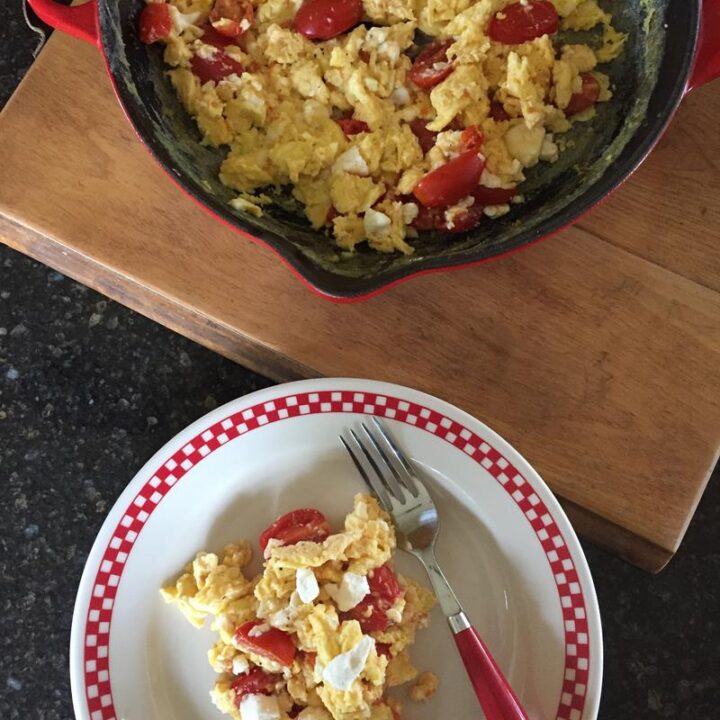 Greek Scrambled EggsMake scrambled eggs special with these Greek Scrambled eggs. Makes a great breakfast for dinner. 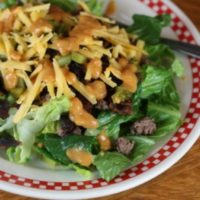 Bacon Cheeseburger SaladAll the flavors of a bacon cheeseburger in an easy to make main dish salad.  Skillet PotatoesOld fashioned skillet fried potatoes. 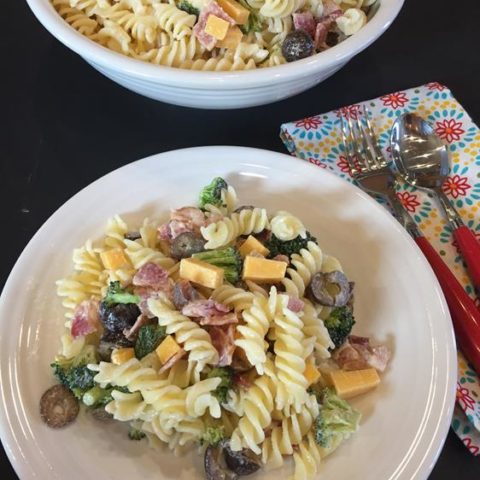 Broccoli Bacon Pasta SaladBroccoli Bacon Pasta Salad is a quick and easy summer lunch or dinner. Use gluten free pasta for gluten free version. 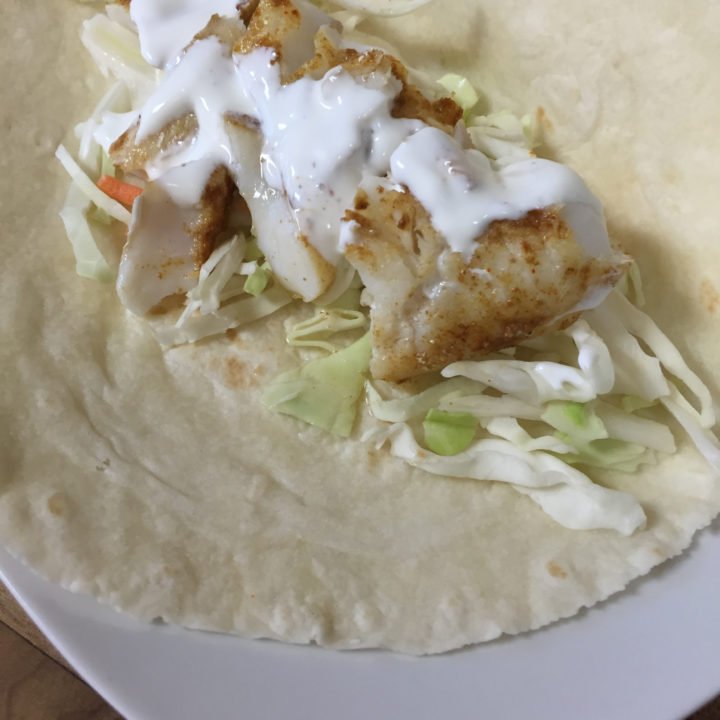 Fish TacosChange up taco night with fish tacos. Use corn tortillas or gluten free tortillas for gluten free version. 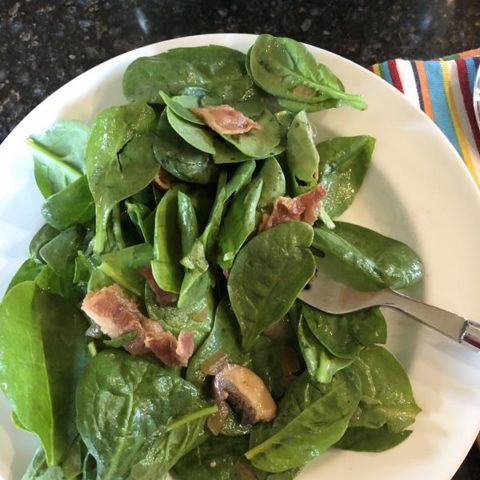 Spinach Bacon SaladSpinach and bacon combined in this delicious salad side dish. It also makes a great lunch. 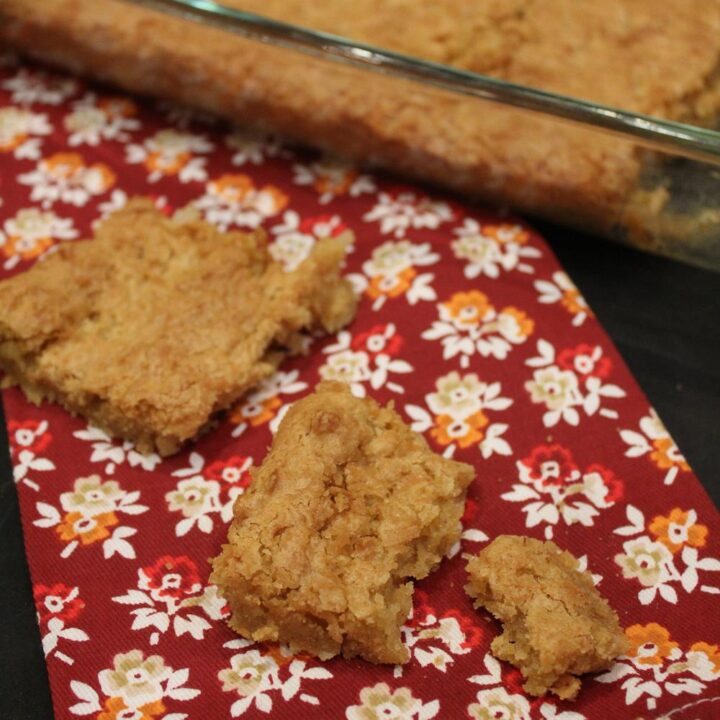 Gluten Free Coconut Bars - Gluten Free Kitchen Adventures
Photo Credit:
gfkitchenadventures.com
My mom's coconut bars made gluten free. 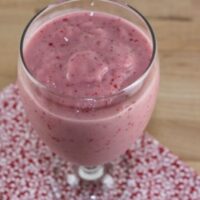 Jamba Juice Strawberry Smoothie RecipeA make at home recipe of a famous strawberry smoothie. The post Gluten Free Menu Plan July Week 3 appeared first on Lynn's Kitchen Adventures. • View comments • Track comments •
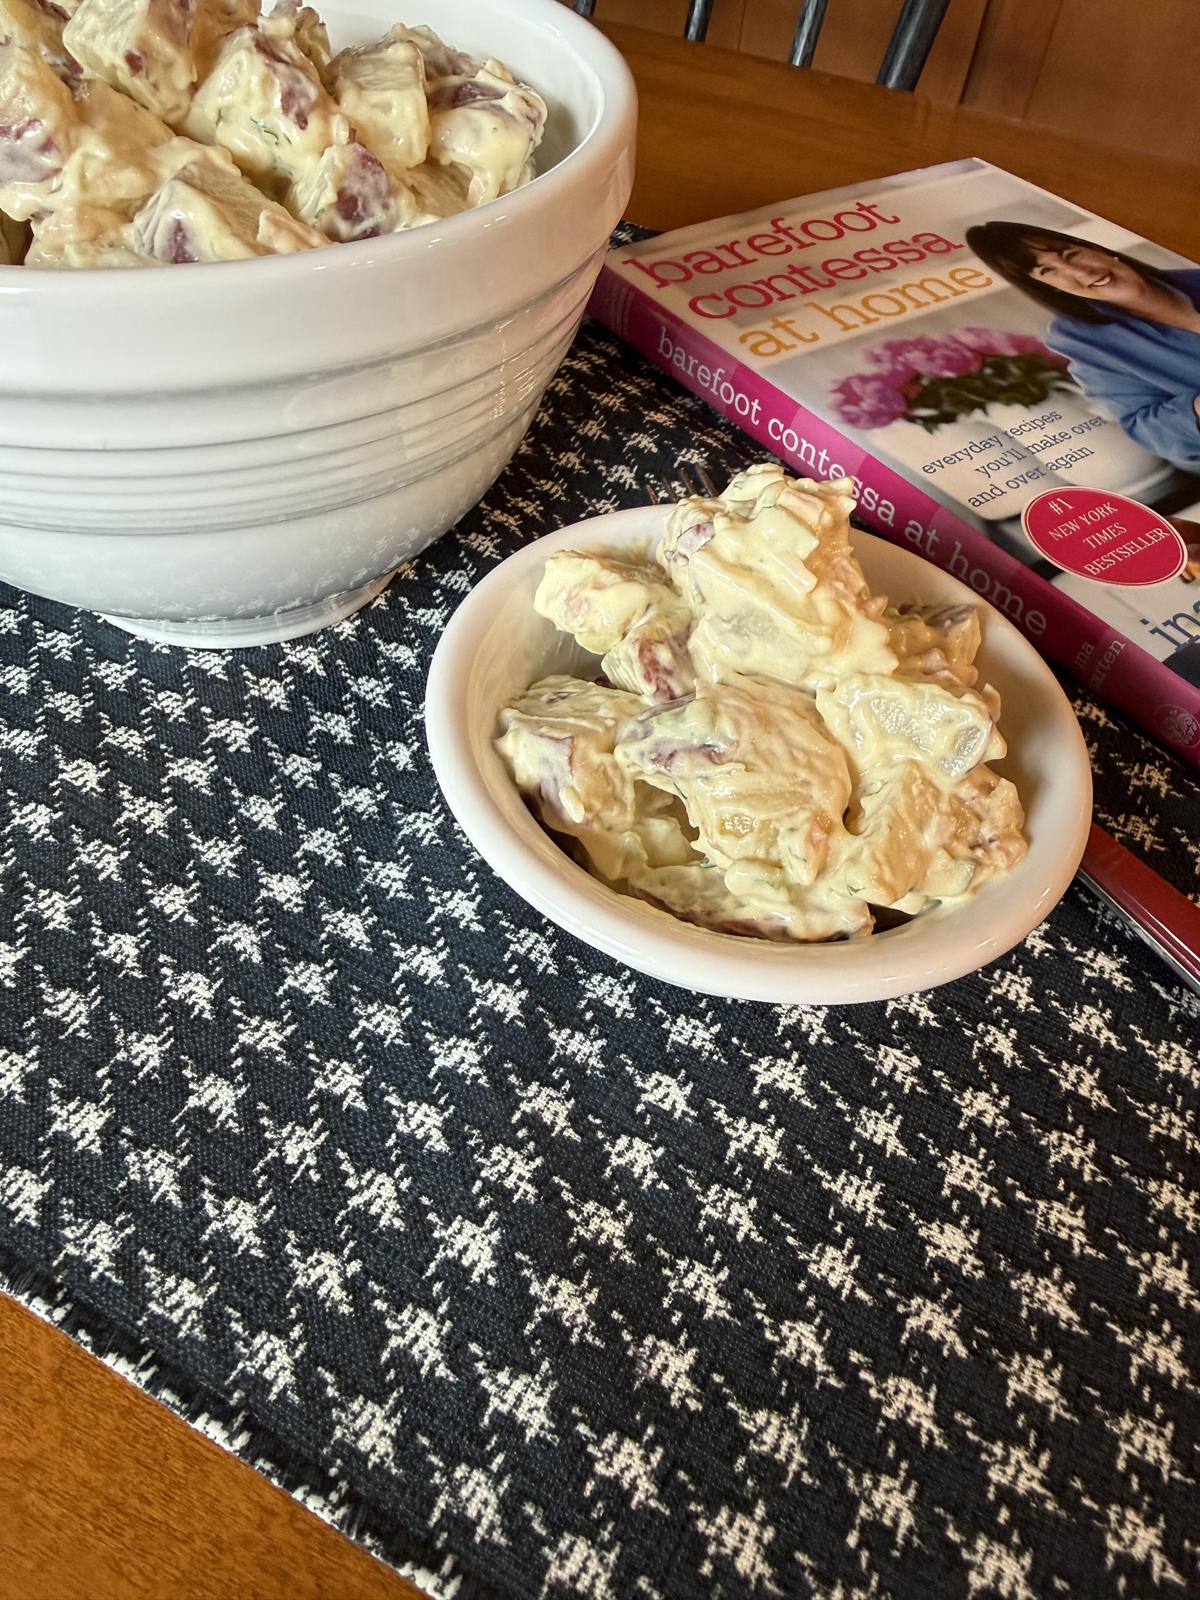
Ina Garten Potato Salad
This potato salad by Ina Garten is my new favorite potato salad. 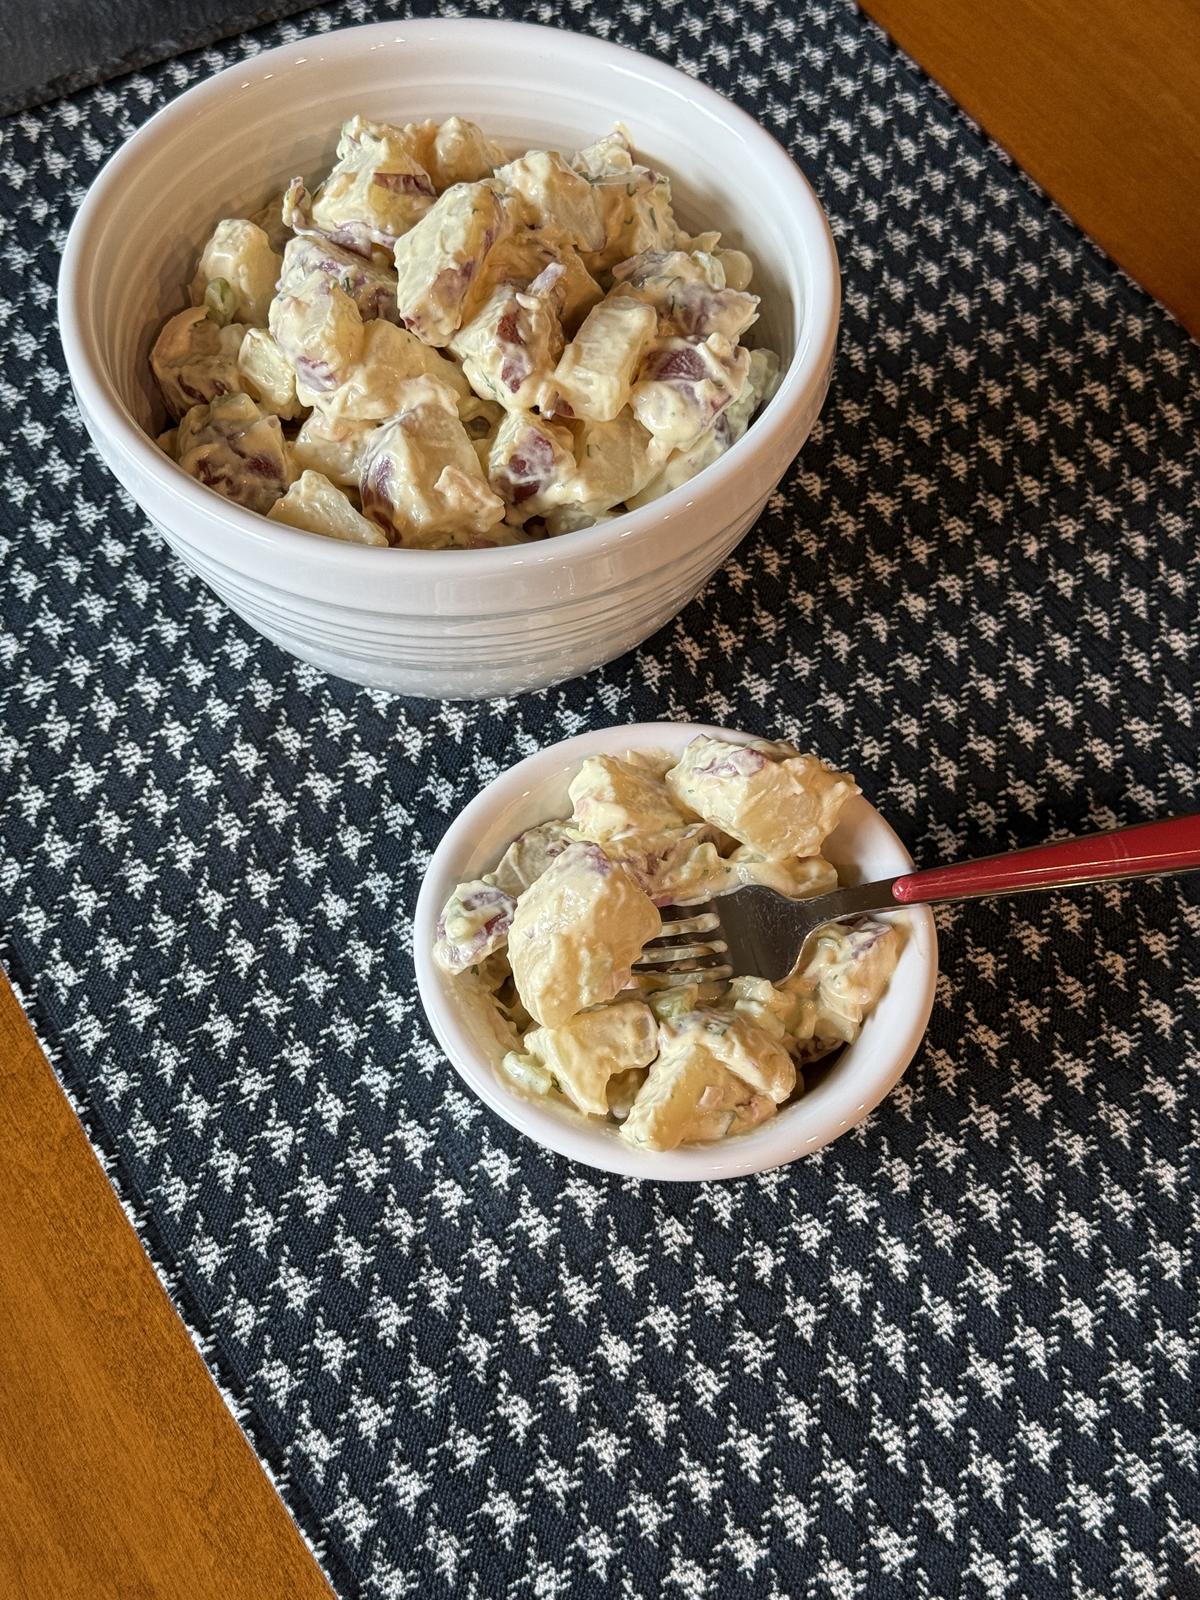 This potato salad recipe by Ina Garten is the potato salad recipe that I am making this weekend! I love it! When I made this last week, I knew it would be the next recipe I featured for my Cooking with Ina series. My husband is not a huge fan of potato salad, but he really enjoyed this potato salad. He said it tasted like a good restaurant potato salad, which makes total sense since it is an Ina Garten recipe. 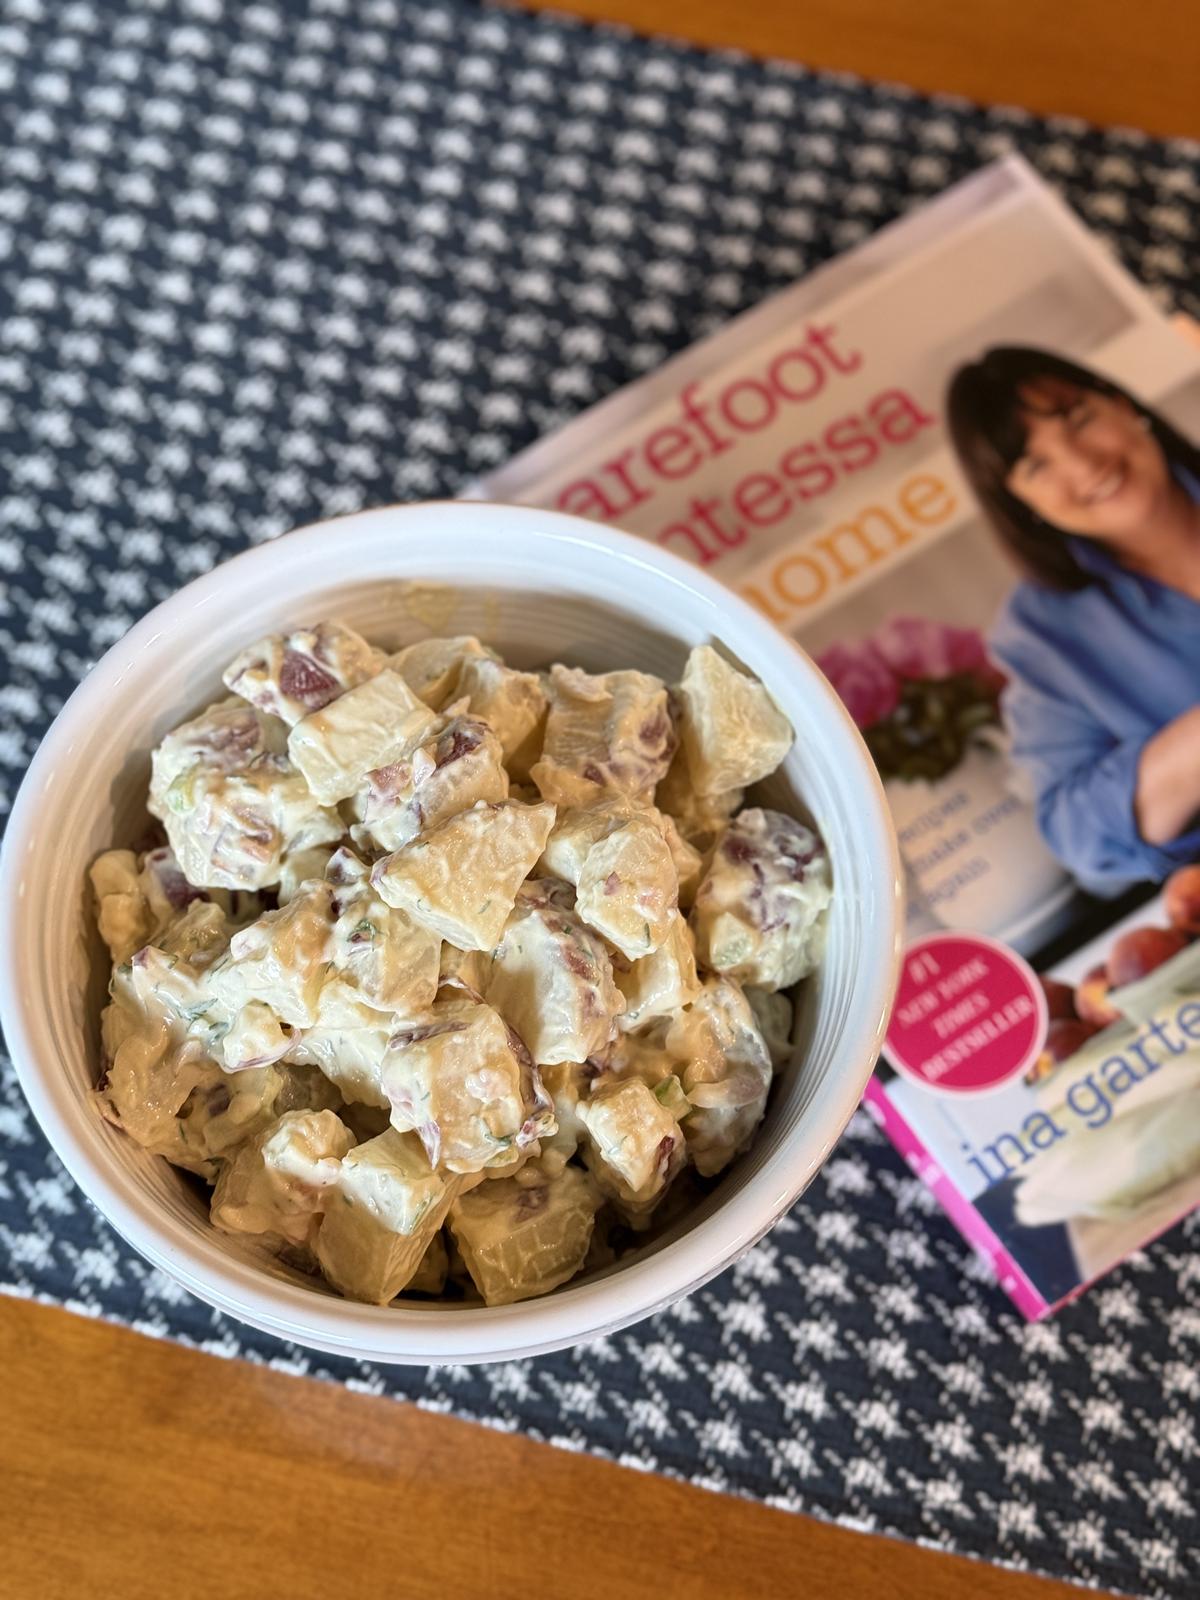 I think there are two things that make this potato salad special. The first is how you cook the potatoes. You boil them and then steam them, and it gives them the best texture. Instead of just mayonnaise, it also has buttermilk as part of the base. Ina’s original recipe says you can use buttermilk, milk, or white wine. I say skip the milk and white wine and just use buttermilk. Buttermilk is what I think makes this potato salad so good! 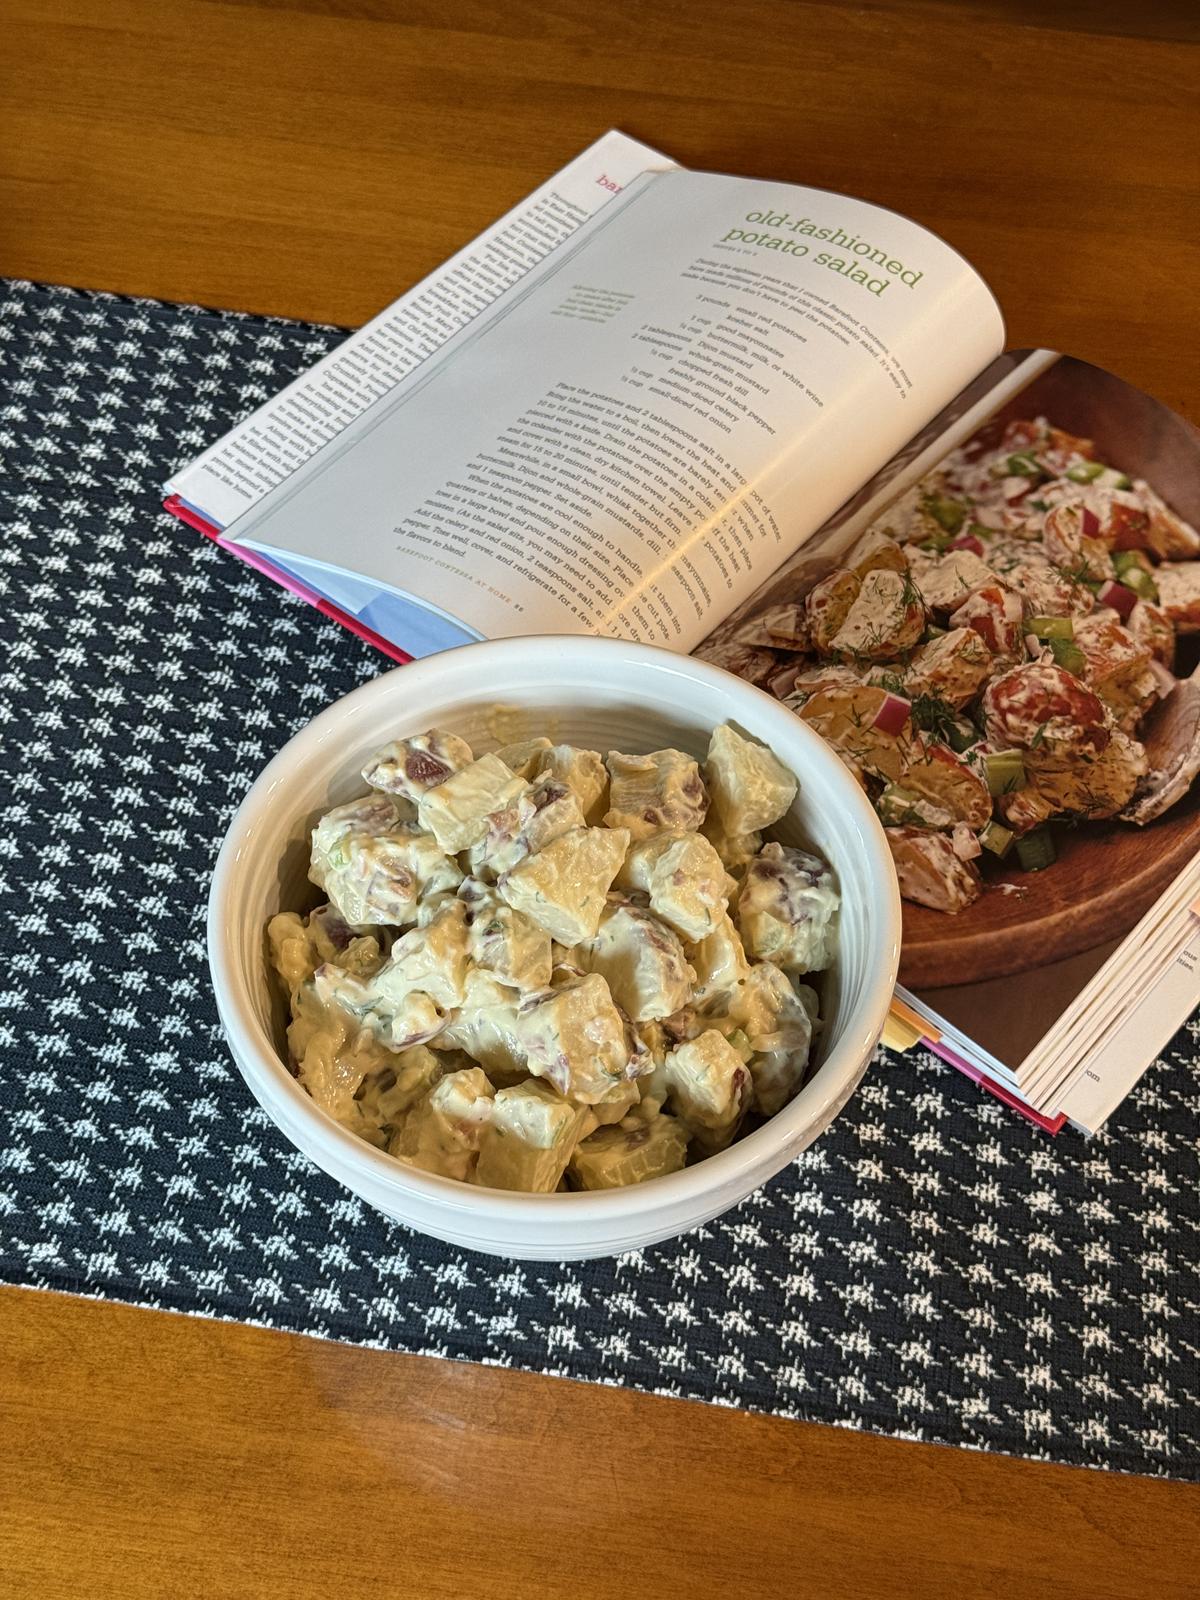 What I ChangedI only changed a couple of things in this recipe. My changes are what are listed in the recipe below. I changed the salt. I used regular salt instead of Kosher salt. I used pickled onions instead of raw red onions, and I highly recommend them. They are so good. Ingredients
Yield: 10
Ina Garten Potato Salad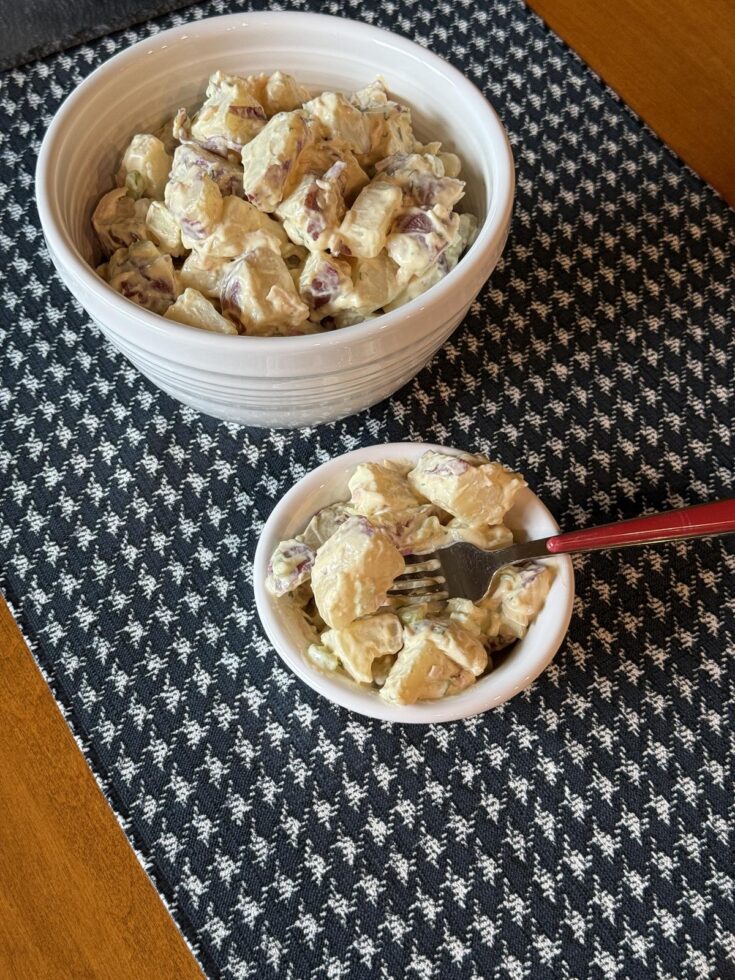
This recipe for Ina Garten Potato salad is now my all time favorite potato salad recipe.
Prep Time
10 minutes
Cook Time
30 minutes
Additional Time
2 hours
Total Time
2 hours 40 minutes
Ingredients
Instructions
NotesThis recipe is gluten free as long as you read lables, like on the mustard, to make sure they are gluten free. Nutrition Information:Yield:10Serving Size:1Amount Per Serving: Calories: 311Total Fat: 19gSaturated Fat: 3gUnsaturated Fat: 16gCholesterol: 11mgSodium: 1504mgCarbohydrates: 30gFiber: 3gSugar: 3gProtein: 4g Nutritional values are approximate and aren't always accurate. The post Ina Garten Potato Salad appeared first on Lynn's Kitchen Adventures. • View comments • Track comments •
Gluten Free Menu Plan July Week 1
Summer weather is here, at least where I live, so that means summer recipes are coming to the menu plans. This week’s plan is titled July week 1, but it is actually still June until Wednesday. Since it is 4th of July week, though, I added some fun foods to the plan. Here is this week’s gluten free menu plan. I made notes next to the ingredients that need to be gluten free, but as always read labels to make sure that the ingredients are gluten free. 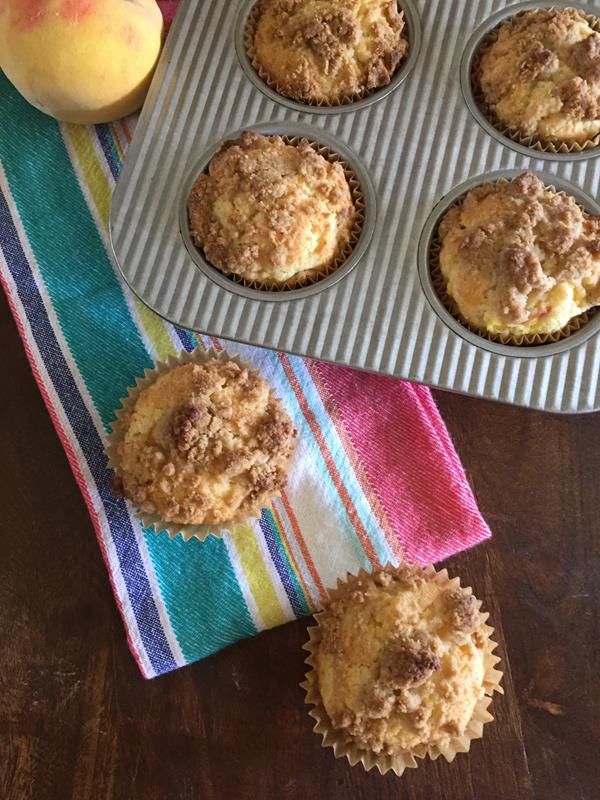 Gluten Free Menu Plan July Week 1This week's menu plan is full of easy and delicious gluten free recipes. 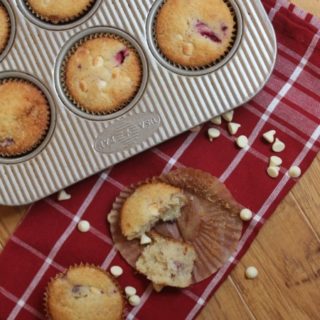 Gluten Free White Chocolate Raspberry MuffinsIf you love bakery style muffins these gluten free white chocolate raspberry muffins are a must make. 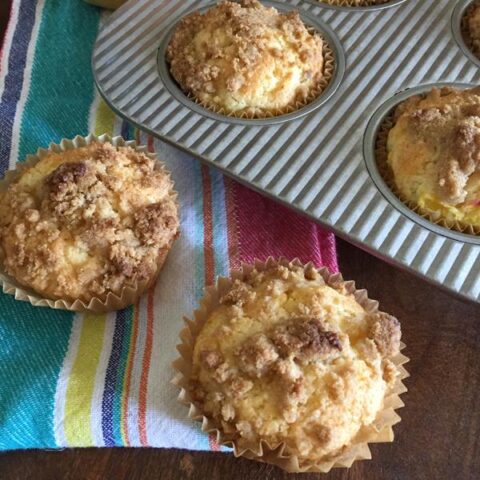 Gluten Free Peach MuffinsFresh peaches are added to a gluten-free batter in these delicious gluten-free peach muffins. 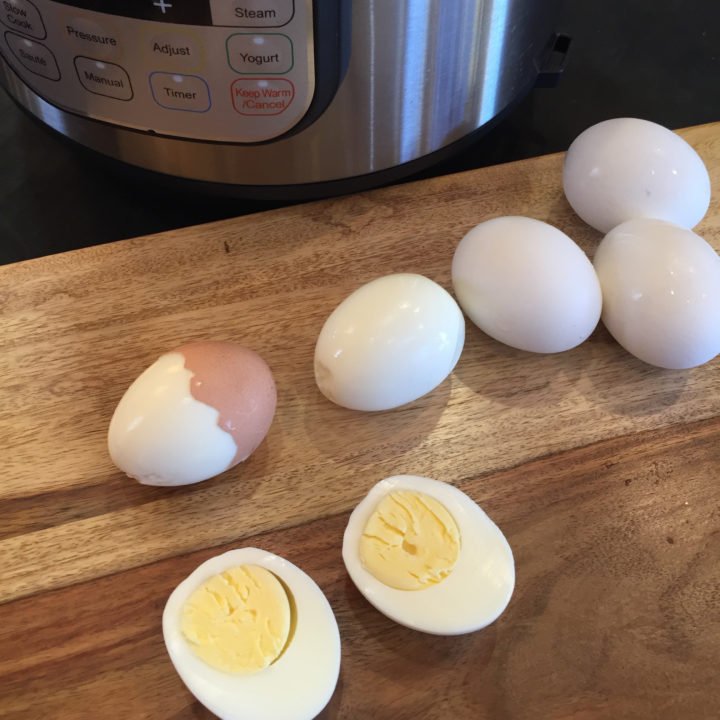 Instant Pot Hard Boiled EggsBoiled eggs made easy in the Instant Pot. 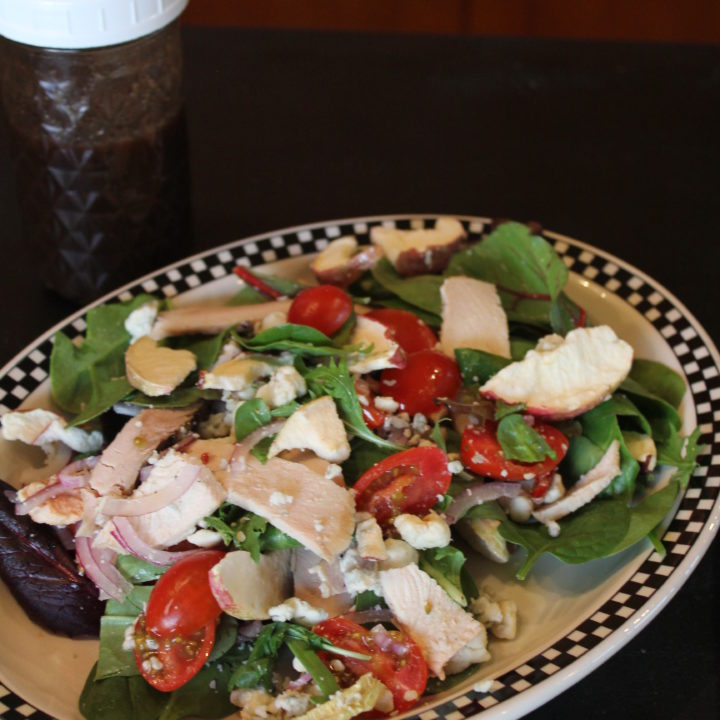 Apple Chicken SaladApple chicken salad is a delicious salad for anytime of the year. 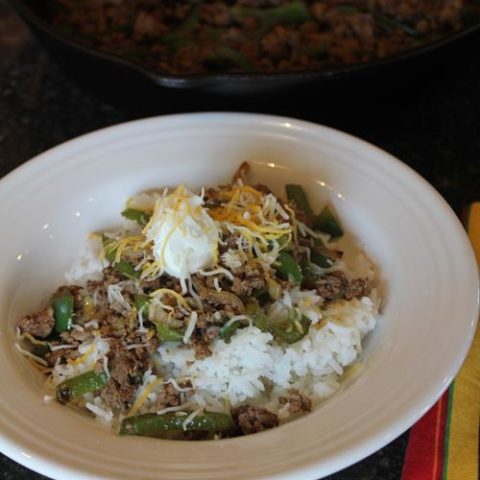 Ground Beef Fajita BowlChange up taco or fajita night with these ground beef fajita bowl recipe. 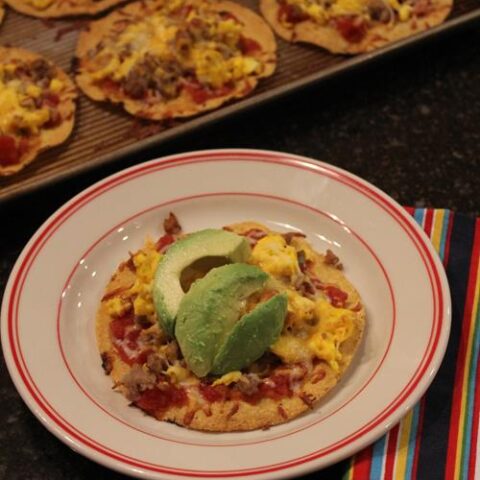 Mexican Breakfast PizzaBreakfast for dinner is easy and delicious with this Mexican Breakfast Pizza recipe. 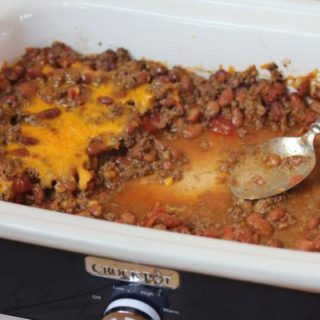 Crock Pot Beef and Bean Casserole Recipe {Five Ingredients or Less}Need a simple dinner that is easy to make gluten free? Make Crock Pot Beef and Beans for dinner this week. 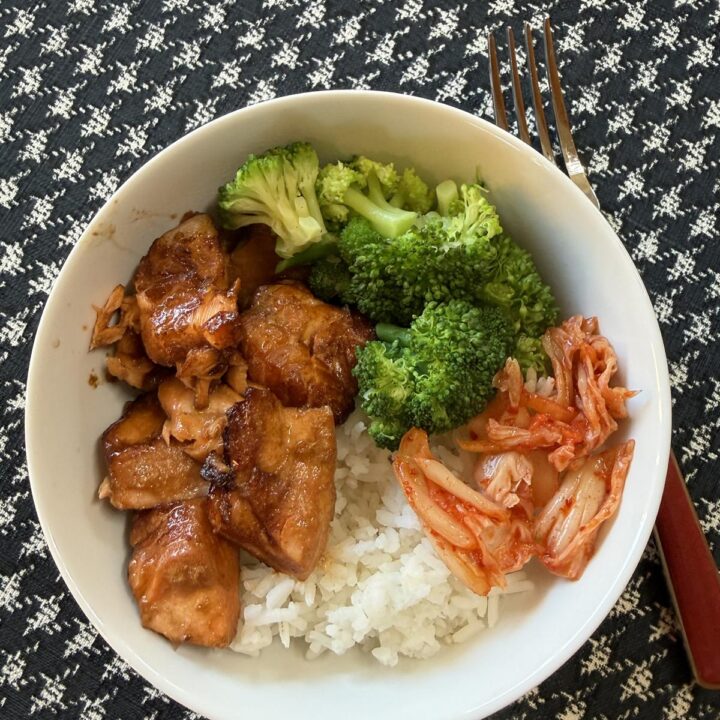 Air Fryer Teriyaki SalmonAir Fryer Teriyaki Salmon is a favorite way to cook salmon.  Gluten Free Lemon BrowniesLemons and brownies are combined in these easy to make gluten free lemon brownies. The post Gluten Free Menu Plan July Week 1 appeared first on Lynn's Kitchen Adventures. • View comments • Track comments •
Gluten Free Menu Plan June Week 4
It is Father’s Day week, so I put steak, corn on the cob, and a delicious oatmeal cookie on the menu plan. Here is this week’s gluten-free menu plan. I made notes next to the ingredients that need to be gluten free, but as always, read labels to make sure that the ingredients are safe for your family. 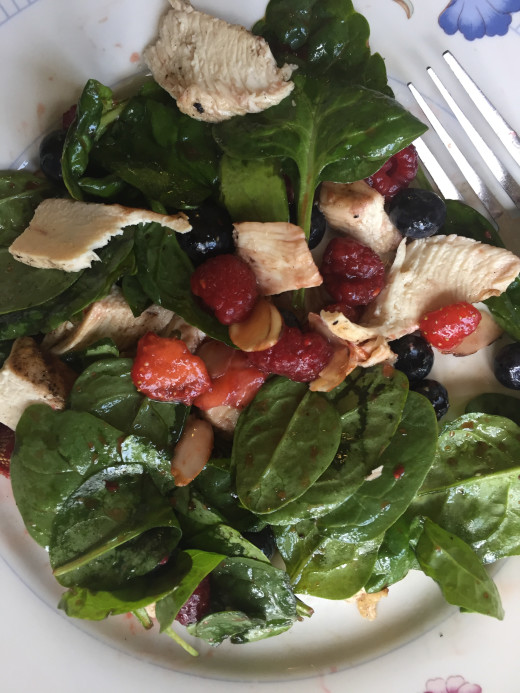 Gluten Free Menu Plan Week 4Gluten Free Menu Plan for July. Make sure to read labels to be sure all the ingredients are safe for your family.  Gluten Free Blueberry Pancake MuffinsPancakes for breakfast can be eas with these gluten free blueberry pancake muffins. They are make ahead and freezer friendly. 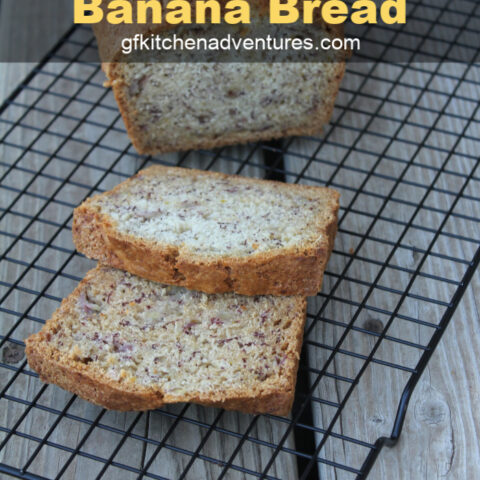 Gluten Free Banana Bread Recipe
Photo Credit:
gfkitchenadventures.com
Delicious gluten free banana bread. 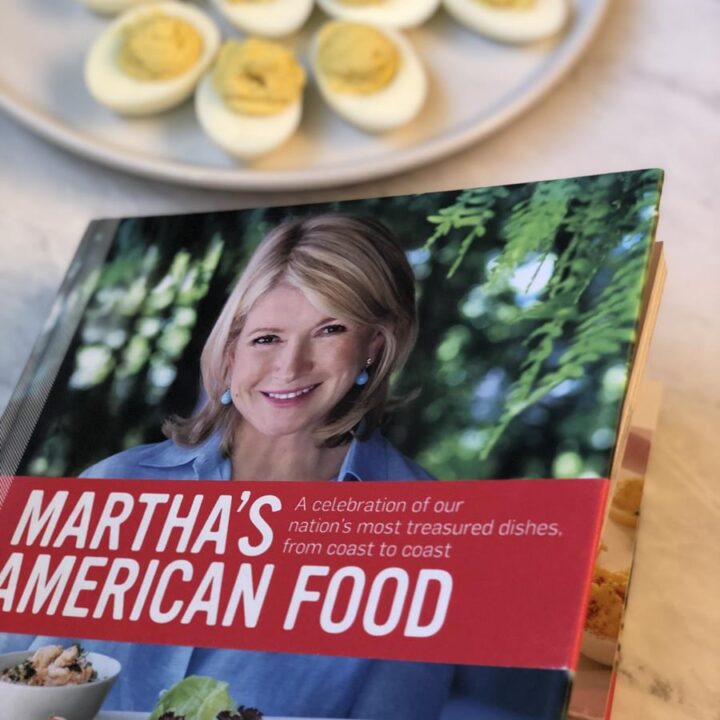 Martha Stewart's Deviled EggsMartha Stewarts Deviled Eggs are a simple old fashioned deviled egg that is easy and delicious. 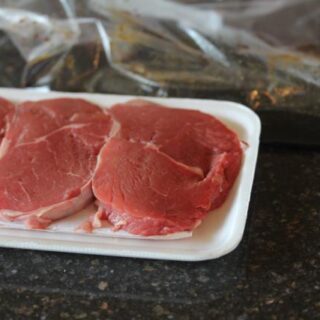 Teriyaki SteakA simple steak marinade that I have been making for years. 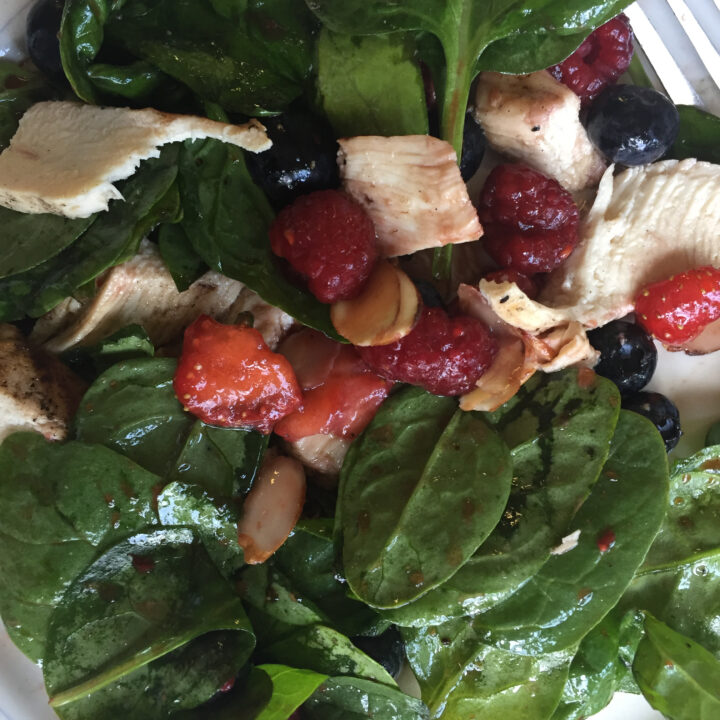 Triple Berry Chicken Almond Spinach SaladTriple Berry Chicken Salad is a delicious main dish salad or lunch for any day of the year.  Gluten Free Pop Up Taco PieGluten Free Popu Up Taco Pie  Baked Chicken FajitasFajitas are easy and delicious with this baked chicken fajita recipe. 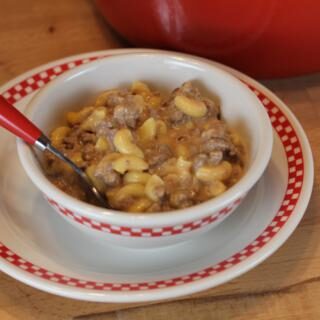 Gluten Free Cheeseburger Helper RecipeGluten Free Cheeseburger Helper is a gluten free version of that famouse box meal.  Slow Cooked Corn on the CobCorn on the Cob is easy to make in the slow cooker. 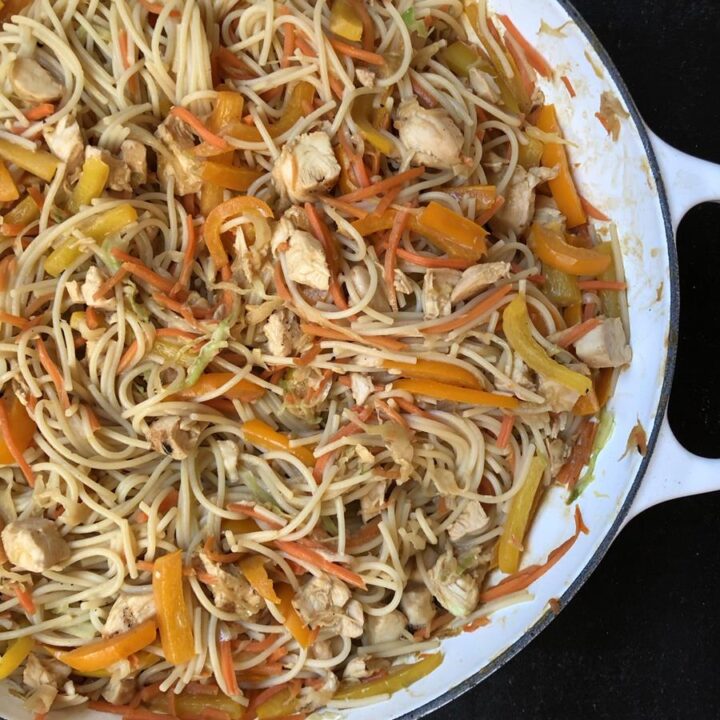 Chicken Peanut NoodlesChicken Peanut Noodles are a quick and easy dinner. The leftovers make a great lunch. 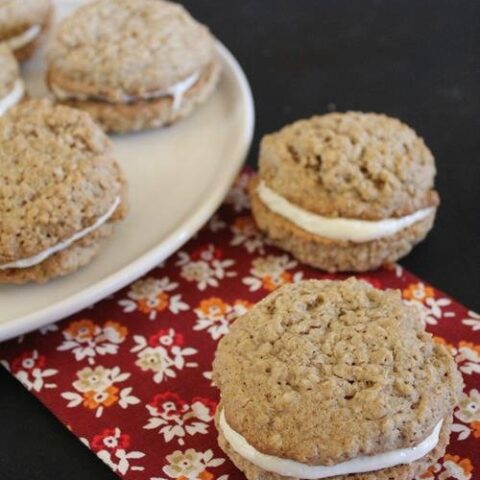 Gluten Free Oatmeal Cream PiesIf you miss those famouse oatmeal cream pies these gluten free oatmeal cream pies are a must make! The post Gluten Free Menu Plan June Week 4 appeared first on Lynn's Kitchen Adventures. • View comments • Track comments •
Air Fryer Teriyaki Salmon
Air Fryer Teriyaki Salmon bites are a quick, easy, and flavorful dinner. It can be served as is, in salmon bowls or in so many other ways. 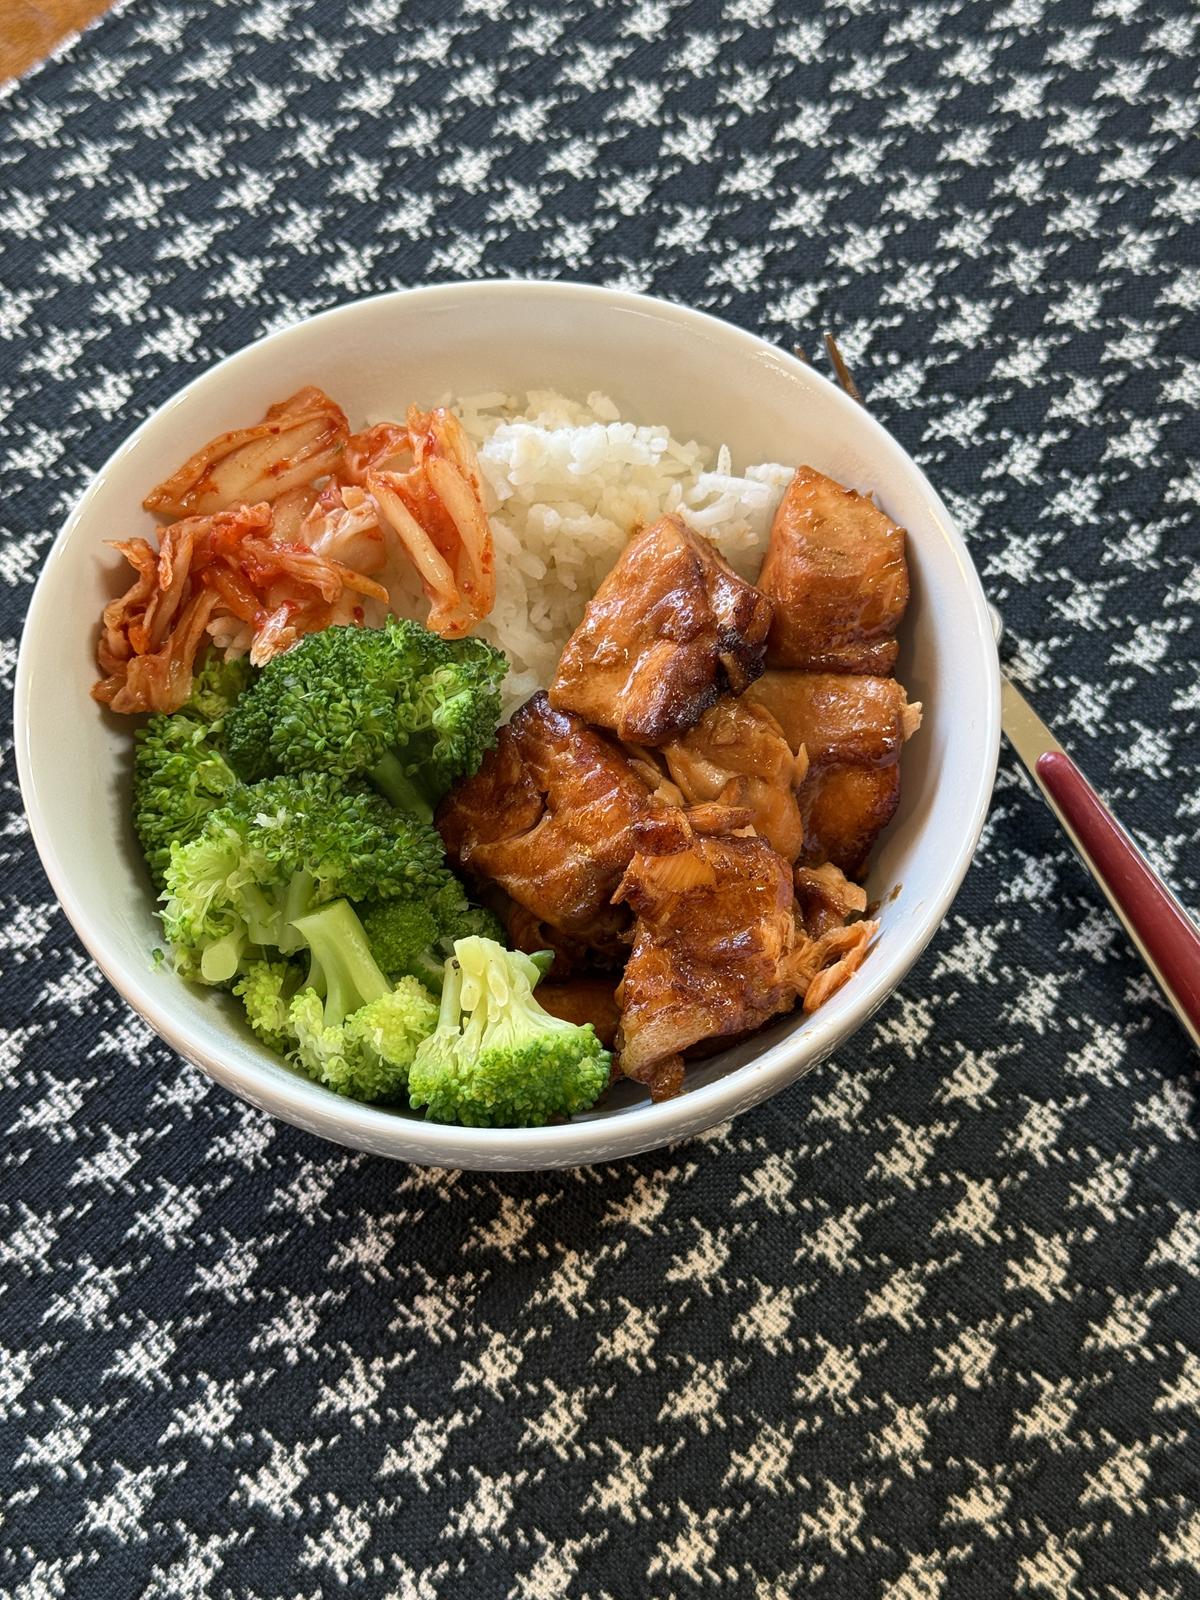 I was born and raised in the far northwest corner of Oregon. The town I grew up in has a salmon festival. My love of salmon runs deep. It has been a favorite of mine since I was a kid. I have been working on a recipe for air fryer teriyaki salmon for months, maybe close to a year. 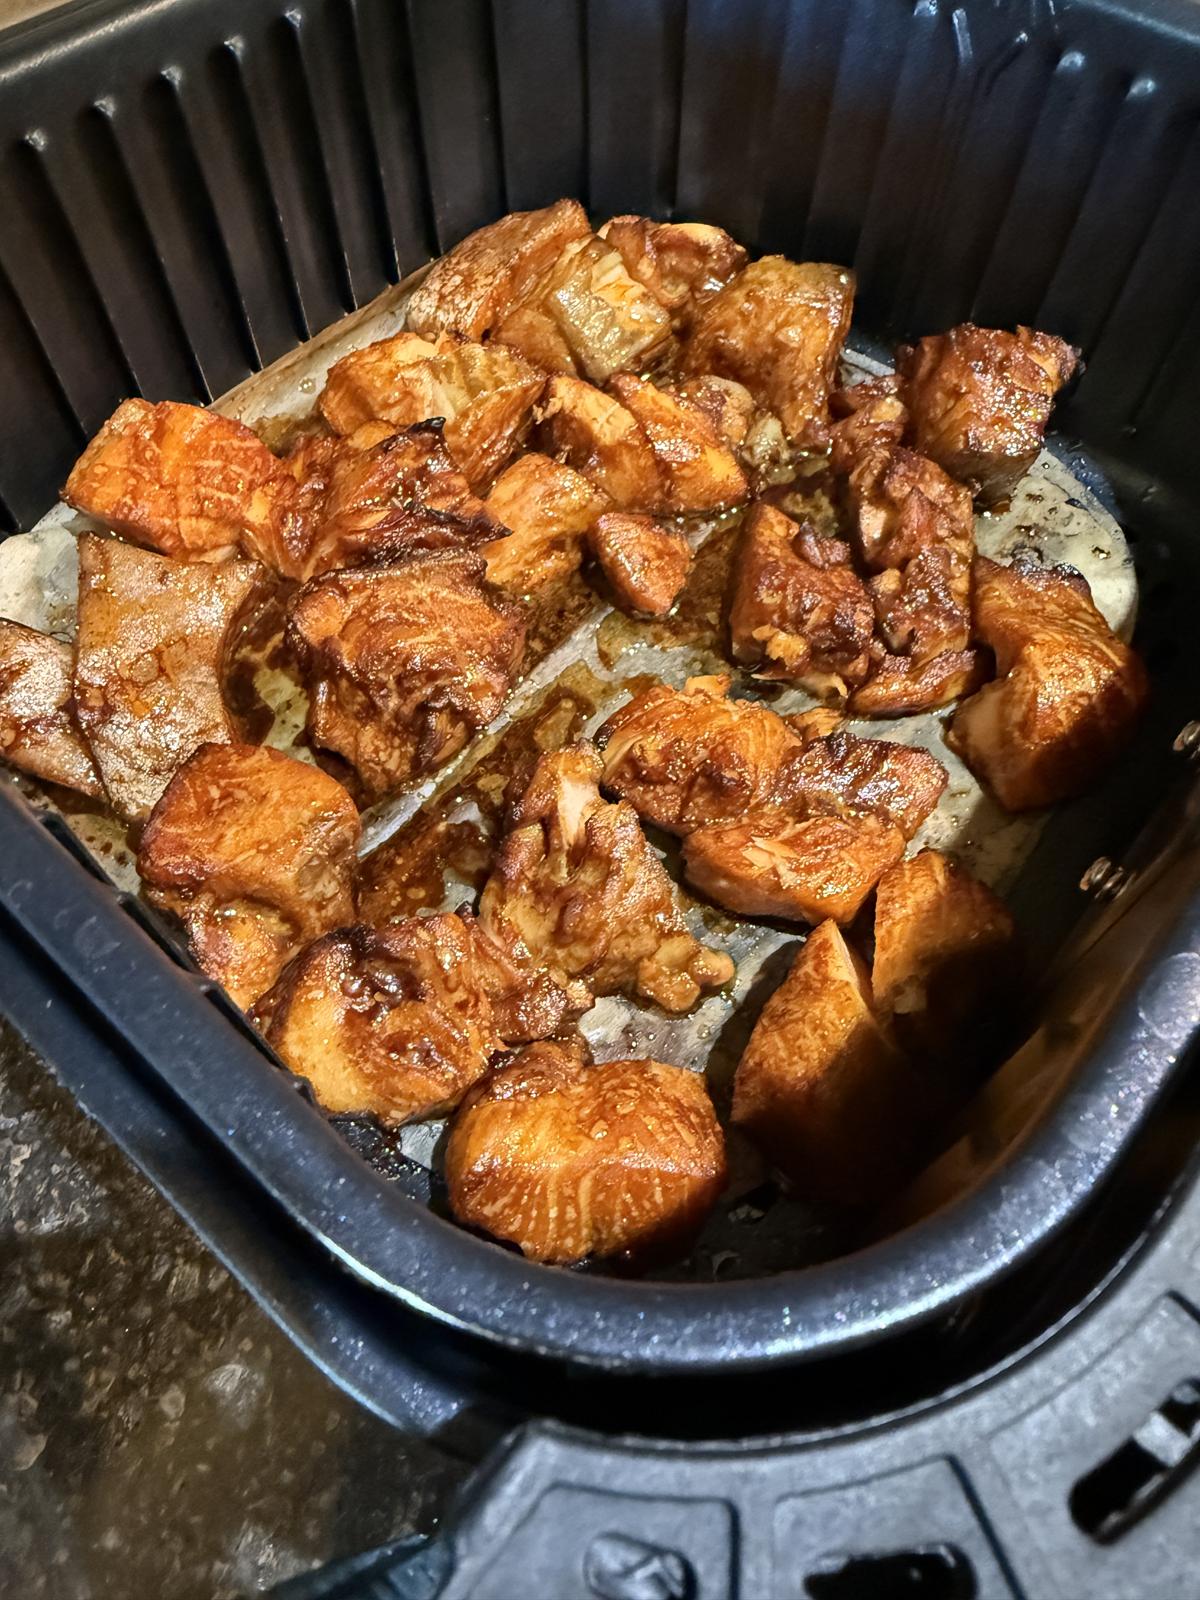 I have tried multiple recipes that I found online, but I was never completely happy with any of them. The flavor just wasn’t quite what I wanted, so I decided to try air-fryer teriyaki salmon using my teriyaki chicken marinade that I have been making for years. 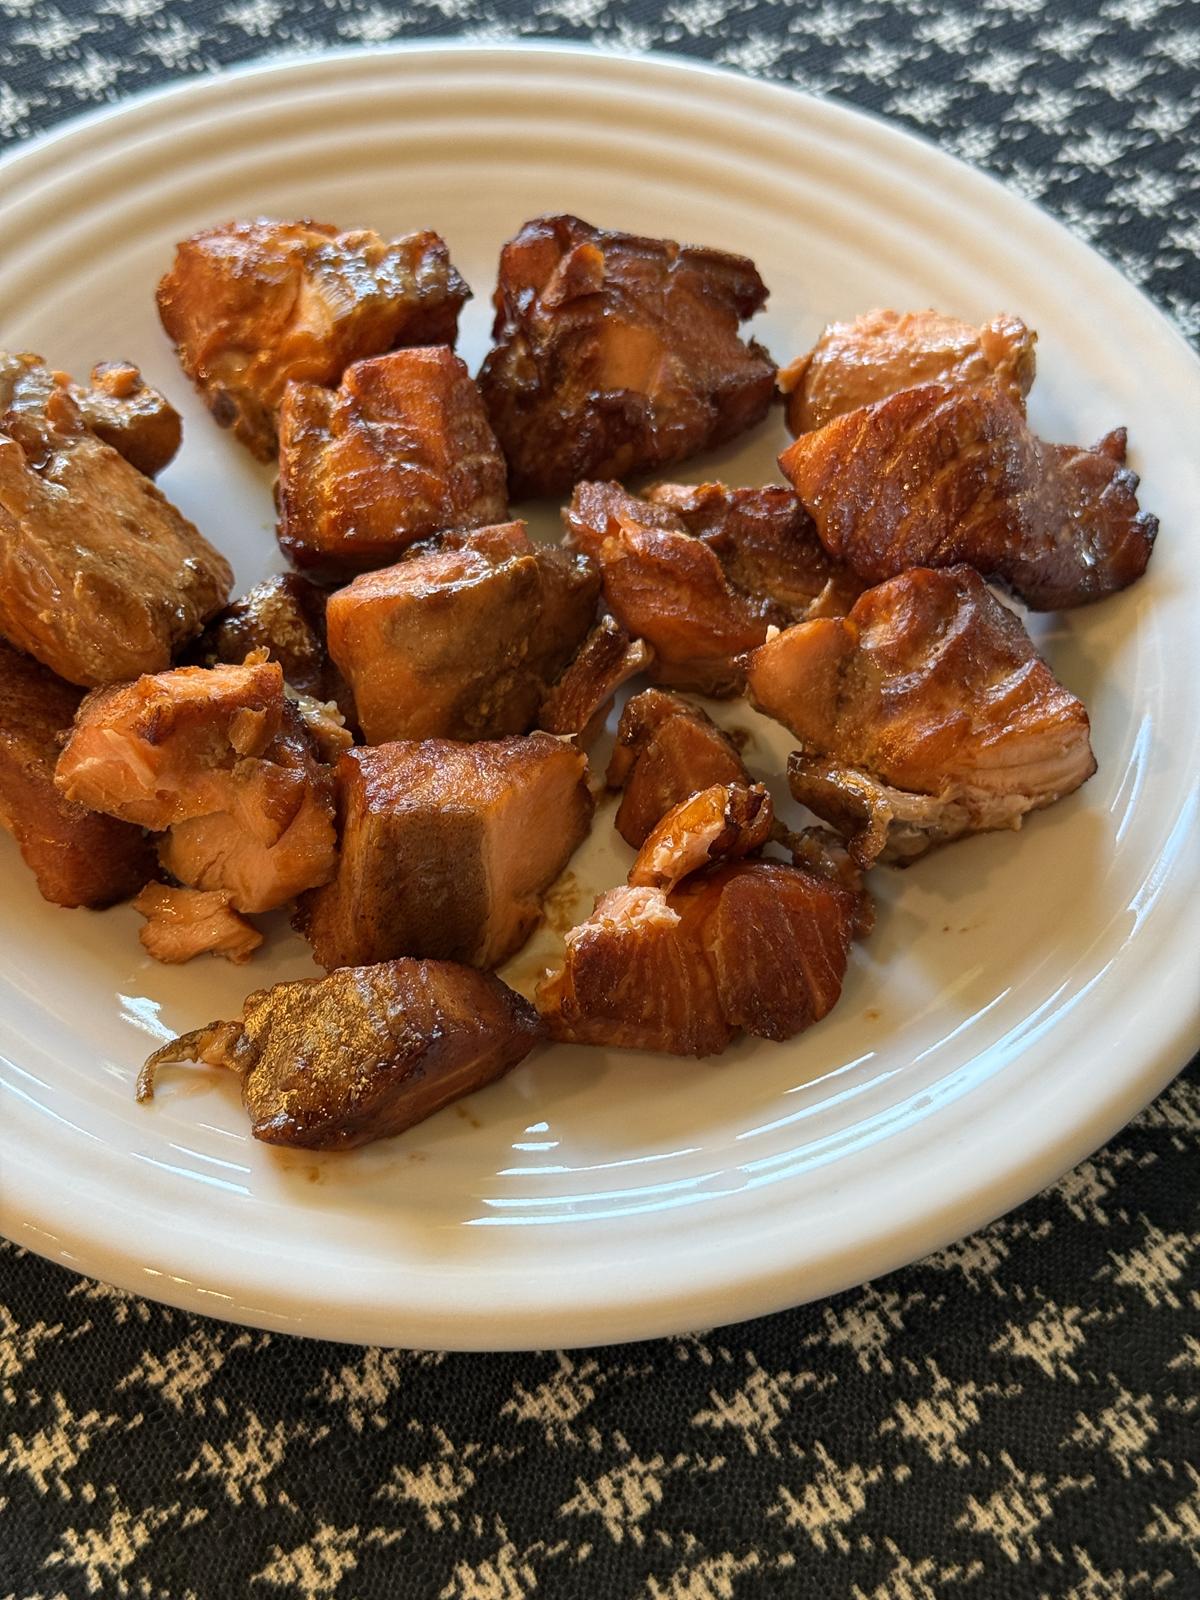 I had to adapt the recipe a bit, but after experimenting with it a few times, I came up with a version of air fryer teriyaki salmon that we love. I love to use this salmon to make salmon bowls. There are all kinds of ways to make salmon bowls, but this is how we make them. We layer cooked rice, cooked vegetables, kimchi or pickled onions, and soy sauce. It is an easy and delicious dinner! No matter how you serve it, I think you will enjoy this air fryer salmon.
Yield: 4 servings
Air Fryer Teriyaki Salmon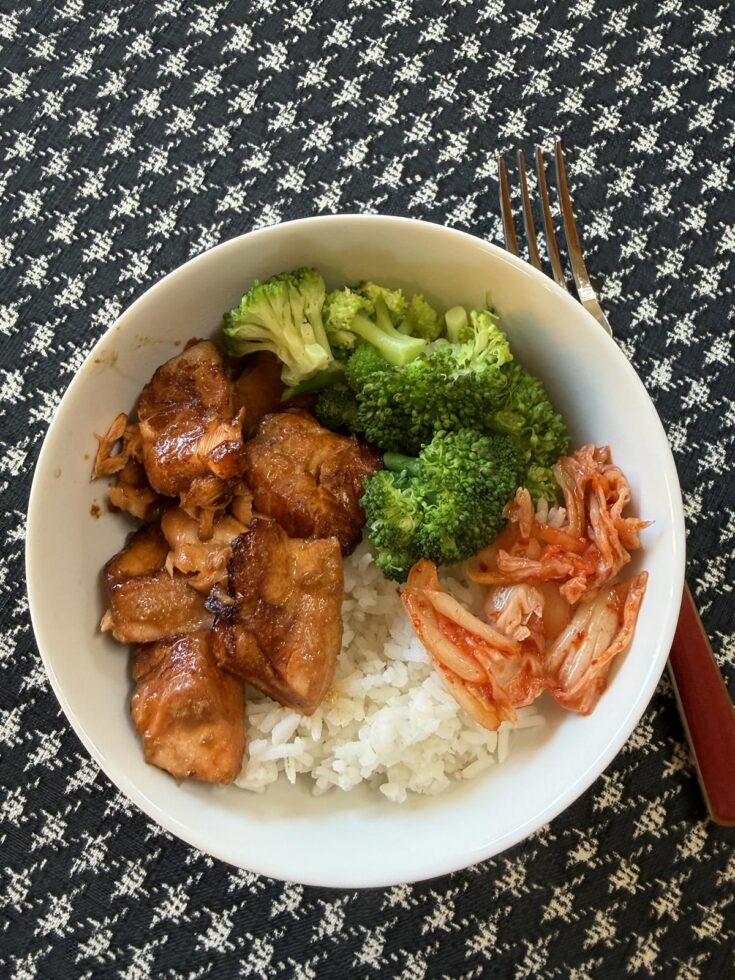
Air Fryer Teriyaki Salmon is a favorite way to cook salmon.
Prep Time
5 minutes
Cook Time
10 minutes
Additional Time
1 hour
Total Time
1 hour 15 minutes
Ingredients
Instructions
NotesTo make this recipe gluten free be sure to use gluten free soy sauce and read labels to make sure that your ingredients are gluten free. Nutrition Information:Yield:6Serving Size:1Amount Per Serving: Calories: 269Total Fat: 16gSaturated Fat: 3gUnsaturated Fat: 13gCholesterol: 72mgSodium: 820mgCarbohydrates: 4gFiber: 0gSugar: 3gProtein: 26g Nutritional values are approximate and aren't always accurate. More Air Fryer FavoritesThe post Air Fryer Teriyaki Salmon appeared first on Lynn's Kitchen Adventures. • View comments • Track comments •
| |||||||||||||||||||||||||||||||